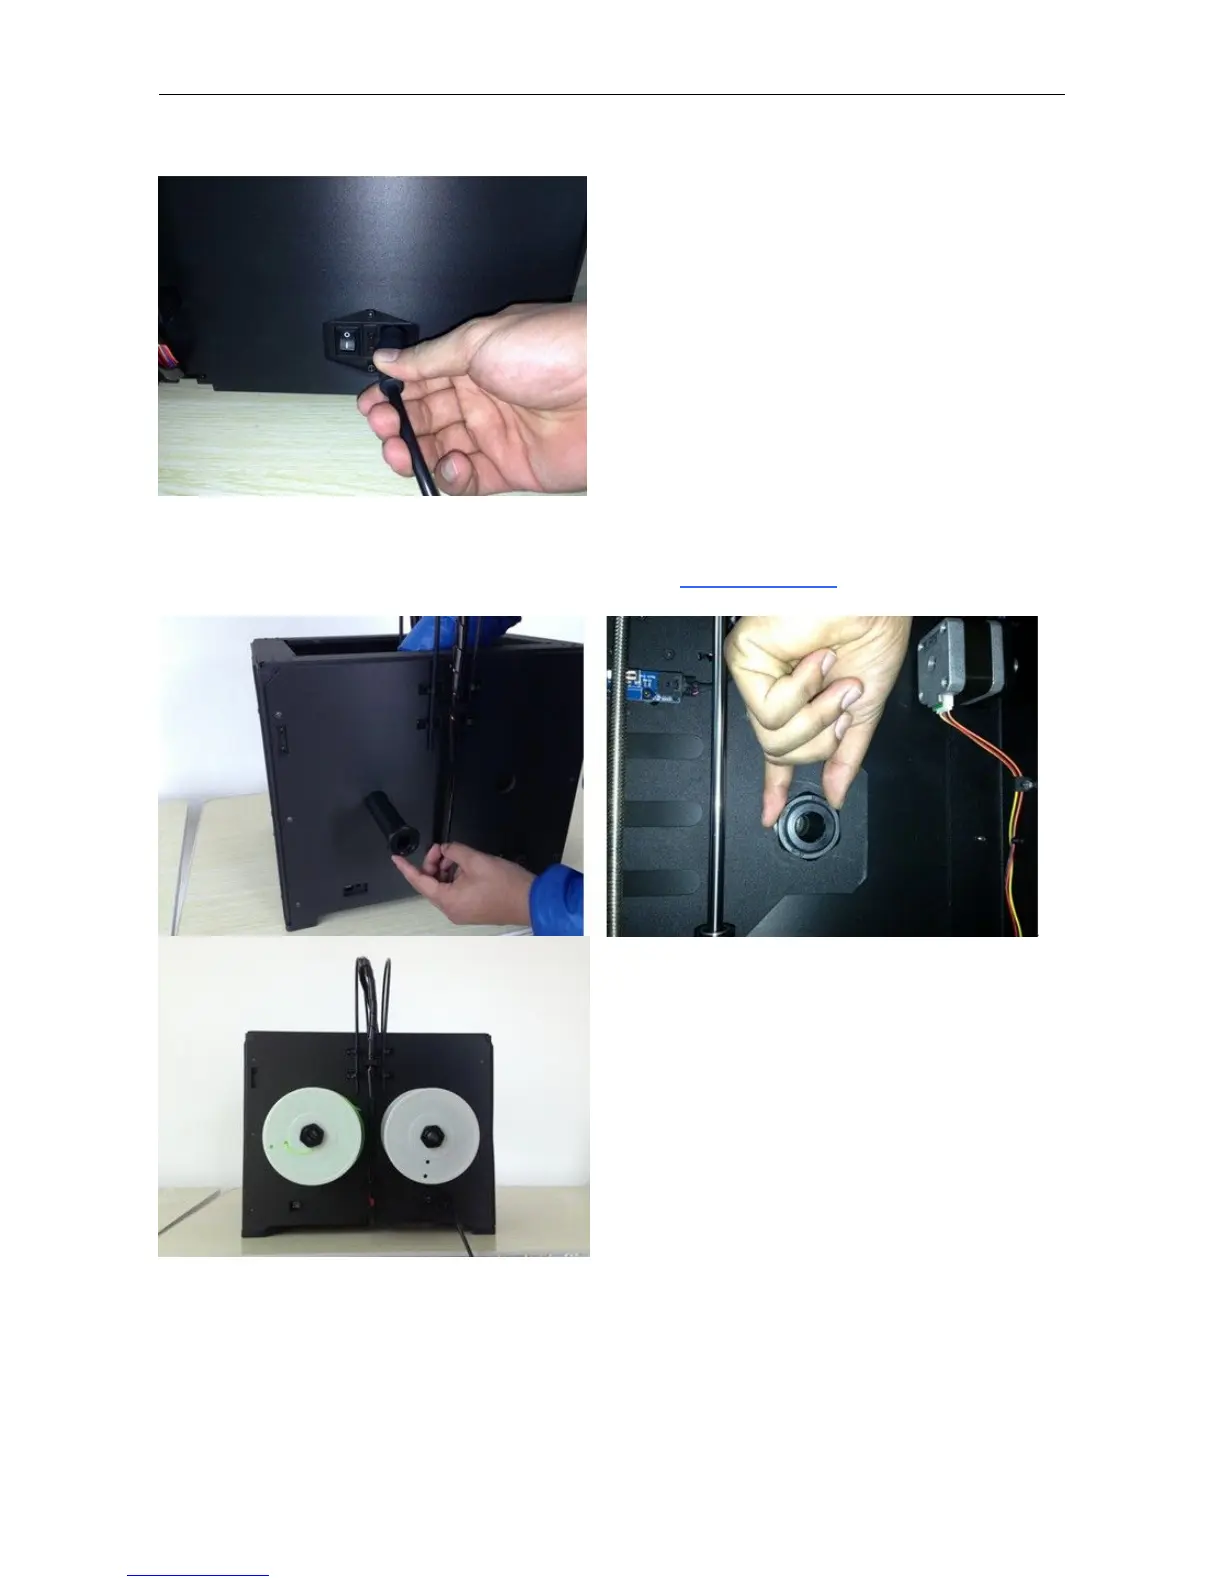
Next, with the power switch in the OFF position, confirm that the power cord is plugged into the power outlet next to
the power switch.
Now plug the USB A to B cable into the USB B-type port, do not plug the other end in yet.
Finally install the filament on the spool holder and screw in the nut. Do not over tighten.
Congratulations! You have completed the initial hardware installation! If you're ready to start printing, proceed to the
next step: Software Installation.