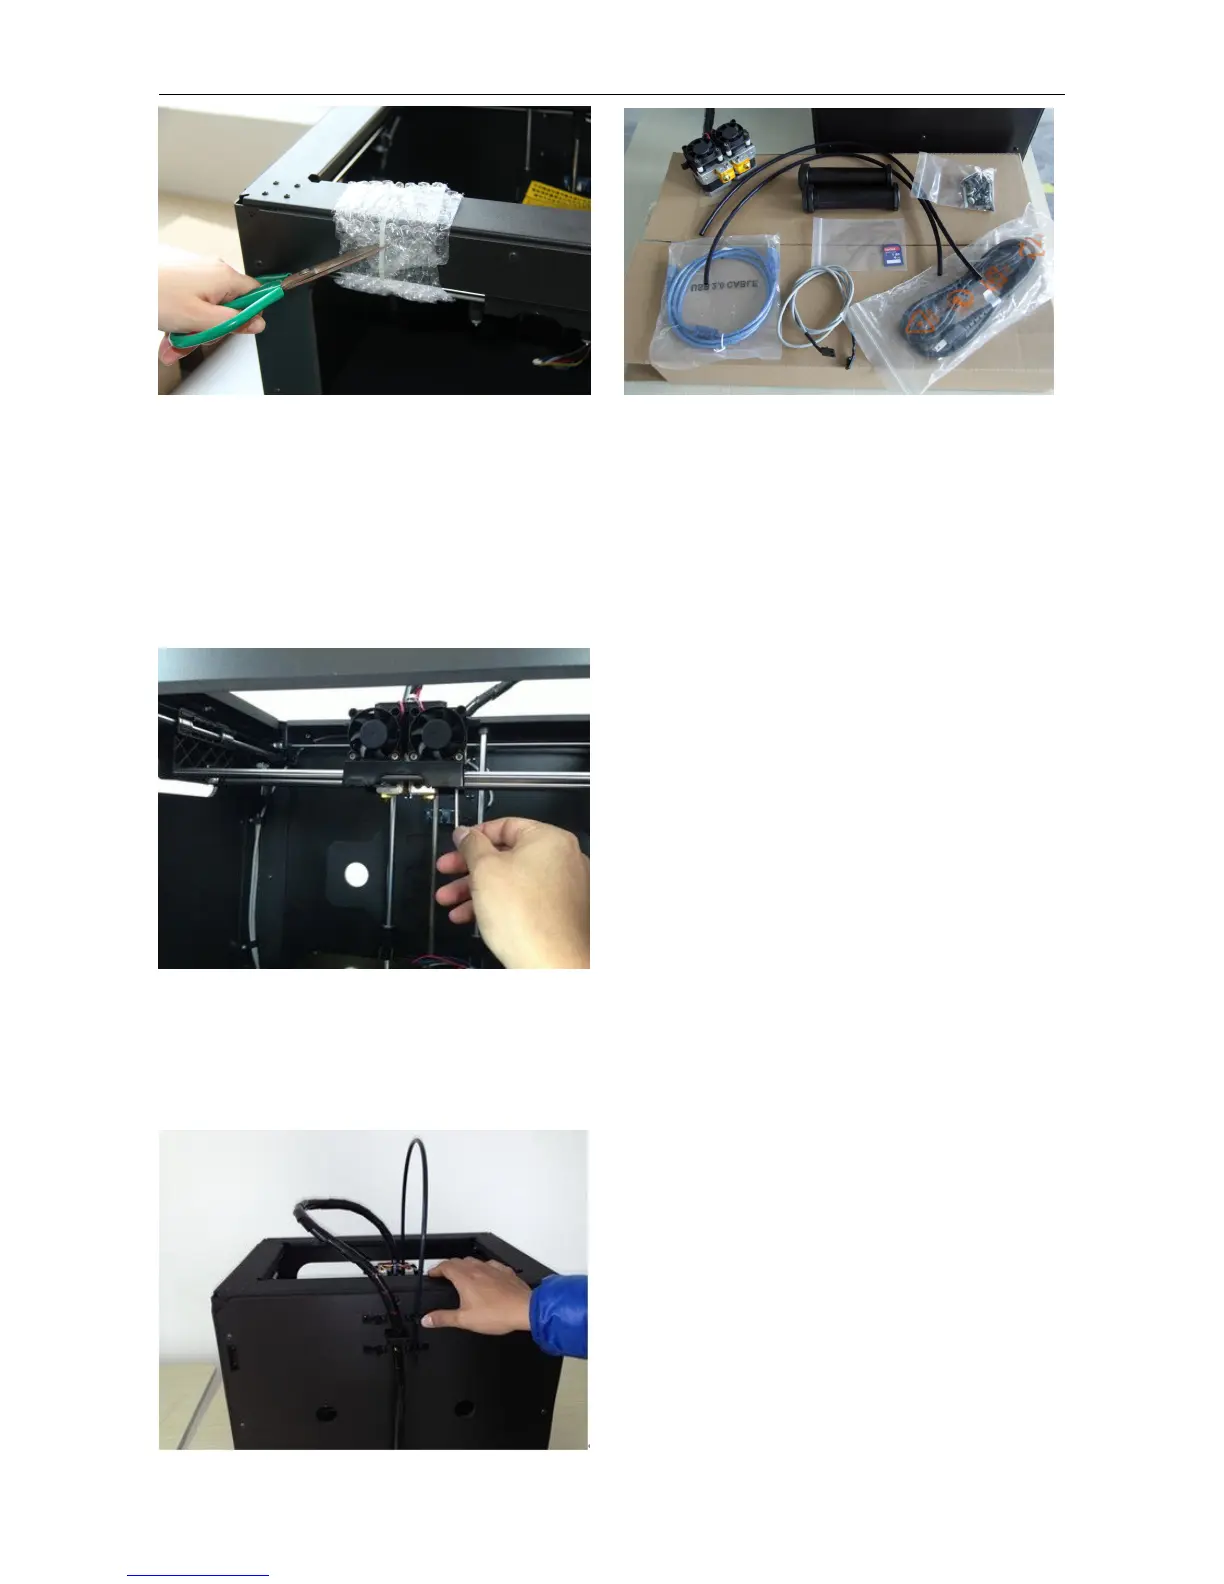
3 Initial Hardware Installation
You need the two shortest silver screws from the kit found in the accessory box, and the appropriate hex wrench.
First, lower the build platform by using one of the methods described in the previous section. Holding the extruder by
both sides, take it out of the accessory sleeve and position it on the extruder seat with the fan facing forward. Align
the screw holes and fasten with the two short silver screws.
Next is the installation of the spool holder. Install one on each side.
The installation of the spool holder is very simple – just insert it into the circular opening and tighten the nut behind.
Then install the filament guide tube to the empty spot on the extruder. Place one end of the guide tube into the hole.
The hardware installation is almost complete.