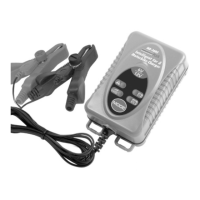
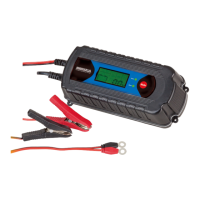
Insert the AC plug into the mains supply (220-240 Volts AC only).
The battery charger is now in the stand-by mode with the default
choice of
Battery - “Gel Cell / SLA”
Current – “2A DC Slow”
If the Start Charging Button is now pressed, the charger will
immediately go into the 2A DC, Gel Cell battery charging mode.
For alternative selection, please follow the following steps:
Step1 – Press the Charge Rate Button to pick the battery
type for charging.
Step 2 – Press the Battery Selection Button to pick the
charging power.
Step 3 – Press the Start Charging Button to start the
charging process.
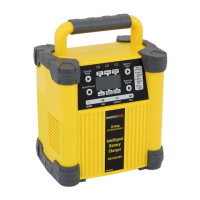
LED INDICATORS
On the front panel there are also 4 LED indicators for the following
function:
1. Reverse Polarity – The DC Clamps have been connected at
the wrong pole on the battery. Simply disconnect and
reconnect the DC clamps at the correct pole, restart the
charging process.
2. Battery Fault – When this is light, this mean the battery can
be broken. If the battery fault display persists after resetting
the charger, the battery may be faulty. Please consult a
nearby battery service centre.
3. Charging –This shows the battery is in charging process.
4. Full Charge – This shows the battery is fully charged and the
battery charger is in maintenance mode.
8