2.6.7 Adjustments
2.6.7.1. Burner Gas Pressures
This is set for the required heat input before despatch. In
the case of High/Low and Modulating units both high and
low pressures are set. Pressures should be checked in the
following manner.
2.6.7.1.1. Standard On/O Units
1. Set external controls to ensure that the main burner is
o. Open the side access door. Connect a pressure gauge
to the burner pressure test point on the multifunctional
control.
2. Set external controls so as to turn on the main burner.
Compare the measured burner gas pressure to that
stated on the data plate. If necessary adjust the burner
gas pressure by turning the regulator screw anticlockwise
to decrease the pressure, or clockwise to increase the
pressure.
3. In addition it is advisable to check the gas rate using the
gas meter dial pointer. Ensure that no other appliances
supplied through the meter are in operation.
4. If required, after checking or setting the burner
pressures, the CO2 content in the ue gases can be
checked by sampling in the rst section of ue tted to the
ue outlet of the unit. Nominal CO2 values are given for
guidance in section 1.2..
5. Turn o the main burner and disconnect the pressure
gauge and replace the sealing screw. Turn on the main
burner as above and test for gas soundness around
pressure test joint using a leak detection uid e.g. soap
solution.
Governor adjustment screw under cover cap
(Honeywell VR4605AB1027)
Fitted to all HEMNVx modules
2.6.7.1.2. High/Low Regulator
1. Set external controls to ensure the main burner is o.
Open the side access panel. Connect a pressure gauge
to the burner pressure test point on the multifunctional
control.
2. Set external controls to turn on the main burner and
maintain high re. Compare the measured burner gas
pressure to that stated on the data plate. In addition it
is advisable to check the gas rate using the gas meter
dial pointer ensuring that no other appliances supplied
through the meter are in operation.
3. Repeat 2 above with external controls set to maintain
low re.
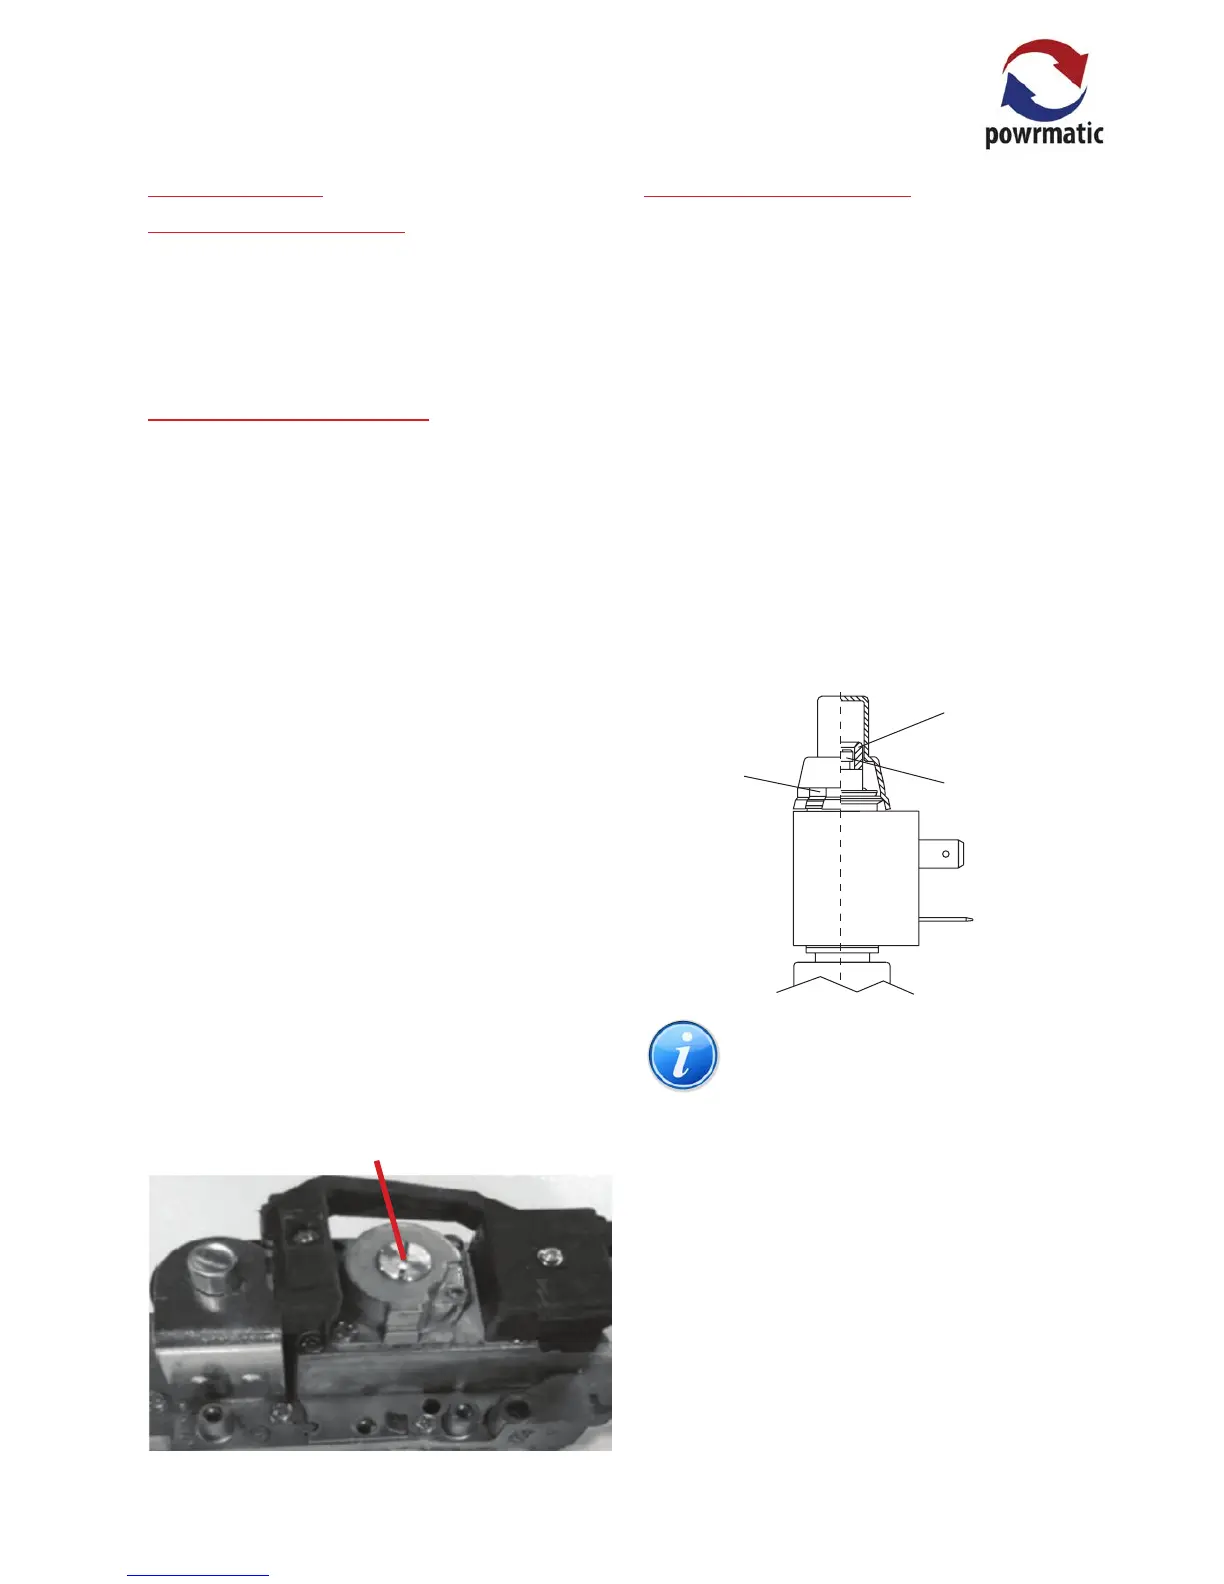
4. If it is necessary to adjust either the high re or low re
pressures proceed as follows after levering o the plastic
cover from the High/Low regulator.
Cover
Lever point
Hexagonal
adjustment screw for
maximum pressure
setting
Internal slotted
adjustment screw for
minimum pressure
setting
Note: High re setting must be adjusted rst
after which the low re setting can be set. Any
adjustment of the high re setting alters the
minimum setting.
Maximum Setting
With the controls set to high re use an adjustable or 8mm
spanner to turn the adjustment screw for high re pressure,
clockwise to increase and counter-clockwise to decrease,
until the required pressure is obtained. Turn the burner On
and OFF several times to check the pressure setting and
then turn o.
Minimum Setting
Disconnect electrical connection of high/low regulator and
turn burners back on and wait until the burner pressure has
stabilized. Use a screwdriver to turn the slotted adjustment
screw for low re pressure, clockwise to increase and
counter-clockwise to decrease, until the required pressure
is obtained. Reconnect high/low regulator and check high
re pressure. Repeat both steps if necessary and then
replace cover cap.
 Loading...