4/14
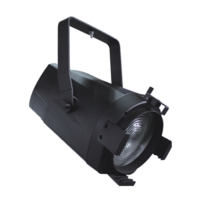
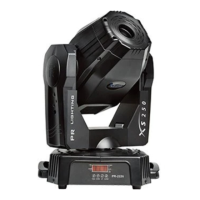
INSTALL THE PROJECTOR
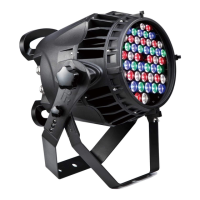
The unit was designed to make installation easy: The fixture’s head can be rotated within 240°manually,
before it rotates, two side retainers are loosened with care; after the head at a desired angle, tighten two
side retainers..
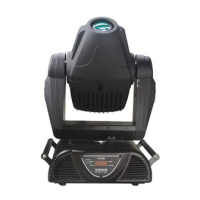
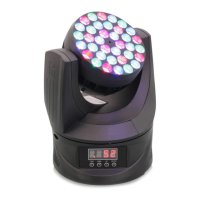
Take 1 clamps and 1 safety cord out from the package and mount 1 clamps on the handle of fixture with 1 retainer
attached to the clamp. Hang the fixture on the structure and fasten the screw attached to the clamp. Always ensure
that the projector is firmly anchored to avoid vibration and slipping whilst functioning. Always ensure that the
structure to which you are attaching the projector is secure and strong enough to support the weight of the
fixture. For safety the projector should have a secondary fixing with a safety cord through the handle of the
unit to ensure safe mounting.
Warning:
1. The projector MUST be lifted or carried by the HANDLES instead of clamps.
2. For safety the safety cord should afford 10 times of the unit’s weight.
CONTROL CONNECTION