EASYKA – EASYBKA
________________________________________________________________________________________________________________________________________________________________________________________________
19
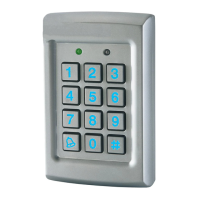
17.2 Deleting Primary and Secondary Codes using the Code Search Method
1. Enter Programming Mode.
2. Press "8" to enter Menu 8: the Mode LED will turn red.
3. Enter the 3-digit User Slot 000: the Door LED will flash orange.
4. Enter the 4-digit PIN Code of the Primary Code belonging to the user you want
to delete: the Mode LED will flash red (if the PIN Code is invalid, you will hear a
long beep and the Mode LED will not flash).
5. Enter your Programming Code to confirm the deletion: If the Programming
Code is valid, you will hear three beeps and the EASYKA will return to Normal
Mode (If the Programming Code is invalid, you will hear a long beep and the
EASYKA will return to Normal Mode).
18. LOCK STRIKE RELAY AND AUXILIARY RELAY CODE -
ASSIGNMENT USING THE STANDARD METHOD
When a Primary Code is enrolled for any user, that user is assigned rights to activate the Lock Strike Relay
when they present a valid code to the controller. The Code Assignment Menu allows you to assign whether
the Lock Strike Relay and/or the Auxiliary Relay is activated when a user enters a valid code. There are two
methods to Assign Codes, Standard Method and the Code Search Method.
18.1 Relay Code Assignment using the Standard Method
1. Enter Programming Mode
2. Press "9" to enter Menu 9: the Mode LED will turn green.
3. Enter the 3-digit User Slot that you want to assign a code to: The Mode LED will
flash green.
4. Enter the assignment digit for the current User Slot:
"1" assigns the Lock Strike Relay only
"2" assigns the Auxiliary Strike Relay only
"3" assigns the Lock Strike and Auxiliary Relay
5. If the assignment code is valid the Mode LED will stop flashing and the EASYKA
is now waiting for another slot number. Press the "#" key to go to the next
slot, press the "#" key twice to return to Normal Mode.
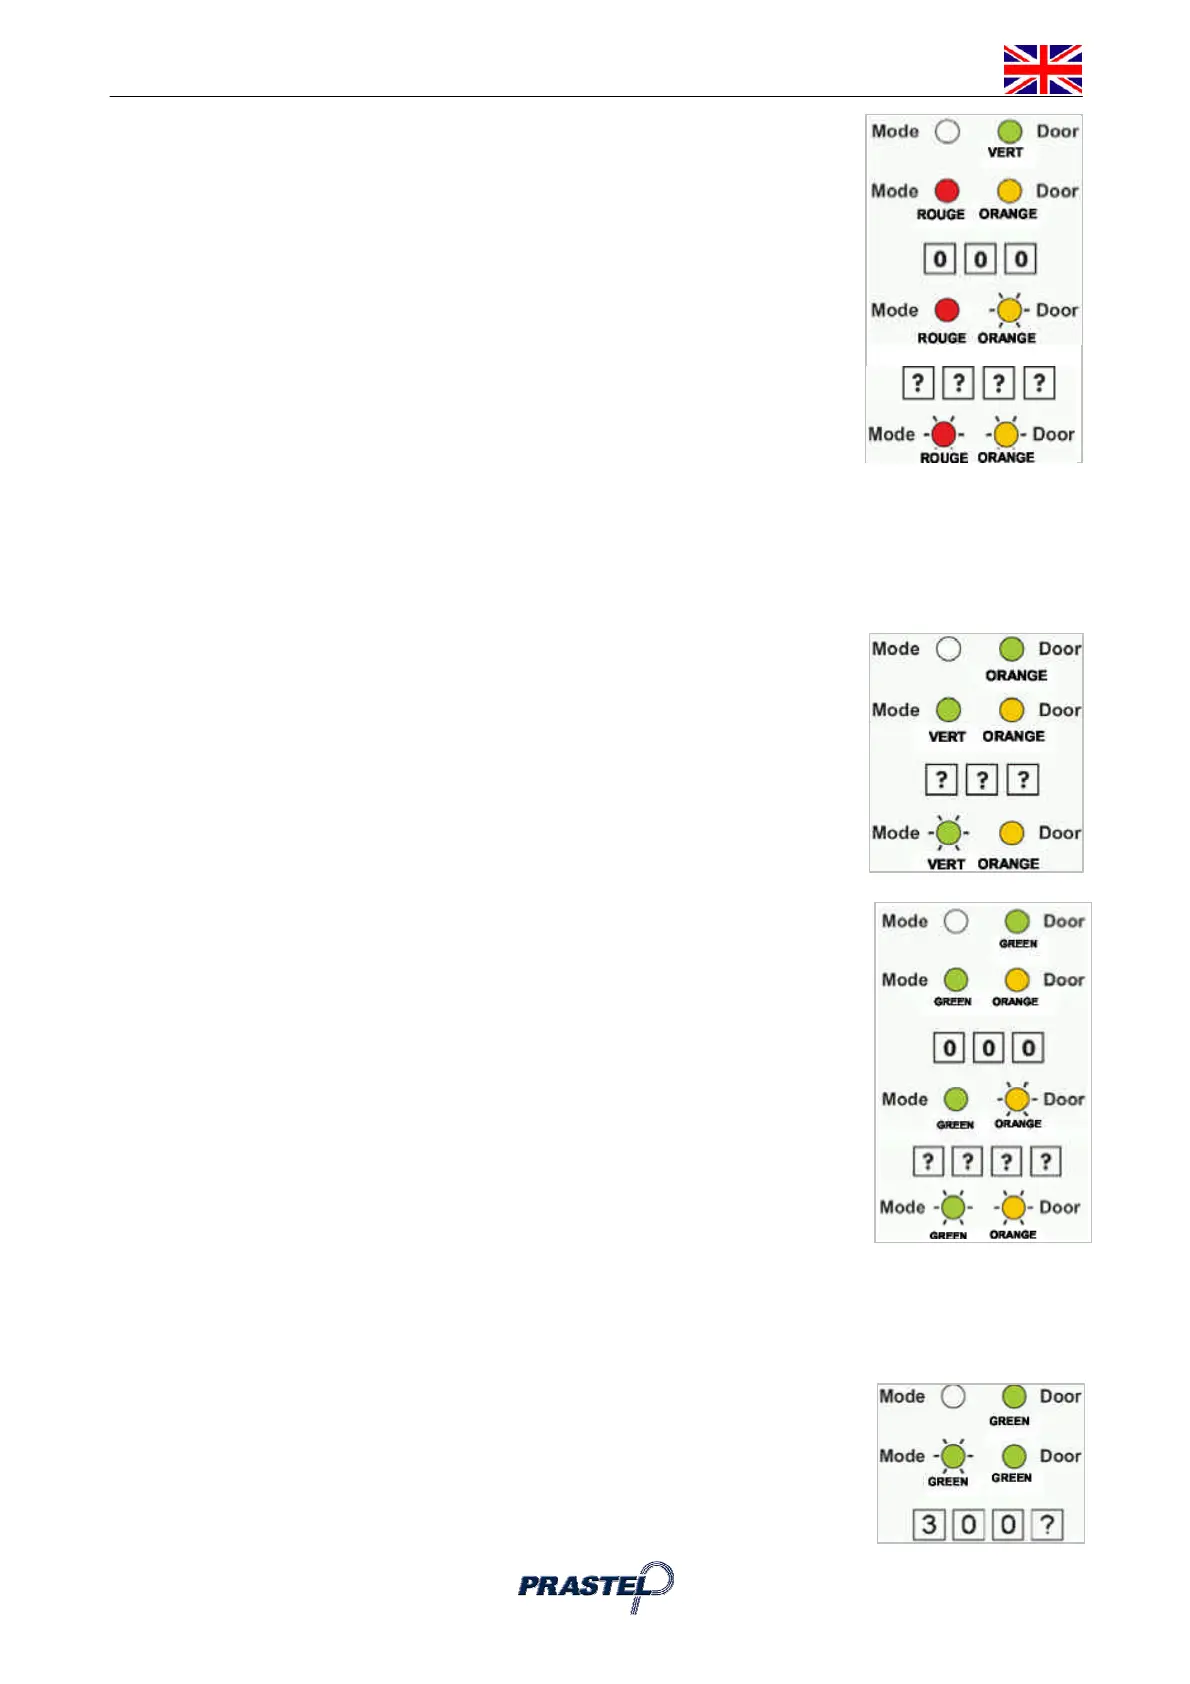
18.2 Relay Code Assignment using the Code Search Method
1. Enter Programming Mode
2. Press "9" to enter Menu 9: The Mode LED will turn green.
3. Enter the 3-digit User Slot 000: The Door LED will flash orange.
4. Enter the 4-digit PIN Code of the Primary Code belonging to the user you want
to assign a code to: The Mode LED will flash green.
5. Enter the assignment digit for the current User Slot:
"1" assigns the Lock Strike Relay only
"2" assigns the Auxiliary Strike Relay only
"3" assigns the Lock Strike and Auxiliary Relay
6. If the assignment digit is valid the LED ‘Mode’ will stop flashing and the
EASYKA is now waiting for another slot number. Press the "#" key to go to
the next slot, press the "#" key for 2 seconds to return to Normal Mode.
19. ENABLING OR DISABLING THE BUILT-IN KEYPAD HEATER
The EASYKA contains a built-in keypad heater. When is enabled the keypad heater will activate when the
ambient temperature drops to approx. 3°C to 5°C and will remain active until the keypad temperate rises to
approx 5°C to 8°C. When the heater is enabled the EASYKA is lowest operating temperature is -20 C,
otherwise is 0°C; When the built-in keypad heater is active it will require additional power.
The factory default setting for the keypad heater is disabled, to changing it:
1. Enter Programming Mode.
2. Press "6" to enter Menu 6: the Mode LED will flash green.
3. Construct the digit code 3 0 0 and the fourth digit as follows:
“0” to DISABLE the heater “1” to ENABLE the heater
 Loading...