page 6
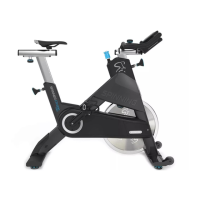
Installing the
electronic console
onto the display arm
Diagram 5
Display arm
Display arm console
Bolt holes
13. Place the bolts (A) through the holes located on the display arm console
and insert them into the electronic console. (See Diagram 5.)
14. Using the hex key (D), begin to tighten the two bolts. Alternate between
each one until both bolts are snug up against the console. Do not
overtighten.
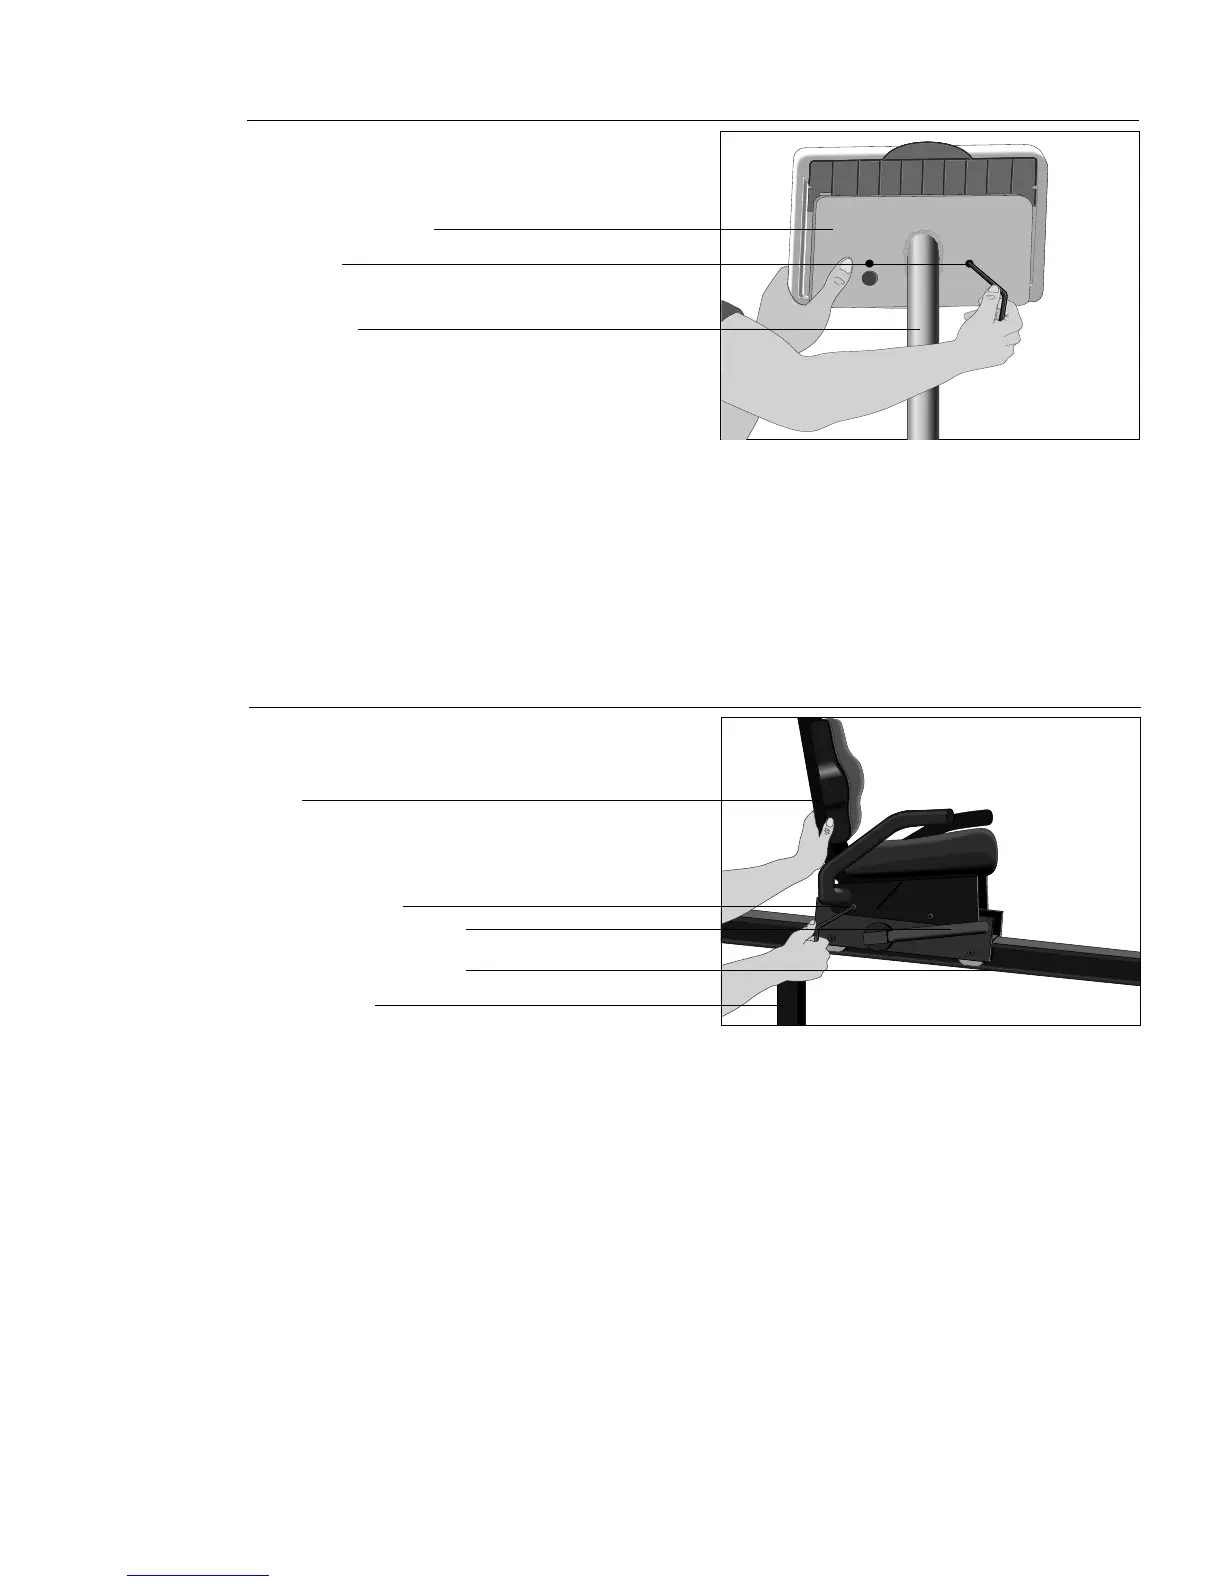
Diagram 6
Seat
Rear support
Mid-column support bar
Seat adjustment handle
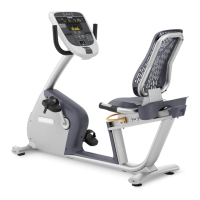
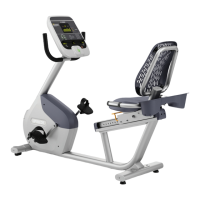
Installing the seat
15. Four bolts (A) and two external washers (E) secure the seat to the support
bar. Refer to Diagram 6. Place one washer (E) on each of the two front
bolts (A). Unpack the seat and lift it onto the support bar. Align the seat
base with the mounting bolt holes and insert the bolts with the washers
through the mounting holes and into the support bar. Be sure to place the
bolts with the washers through the front two mounting bolt holes. The rear
bolts do not use washers.
16. Using the hex key (C), begin to tighten the four bolts. Alternate between
each one until all bolts are snug up against the seat base mount. Do not
overtighten.
WARNING: BEFORE MOVING THE RECUMBENT CYCLE, MAKE SURE
THE POWER SWITCH IS IN THE OFF POSITION AND THE POWER
CABLE IS DISCONNECTED FROM THE OUTLET.
Bolt hole mounts