Page 4
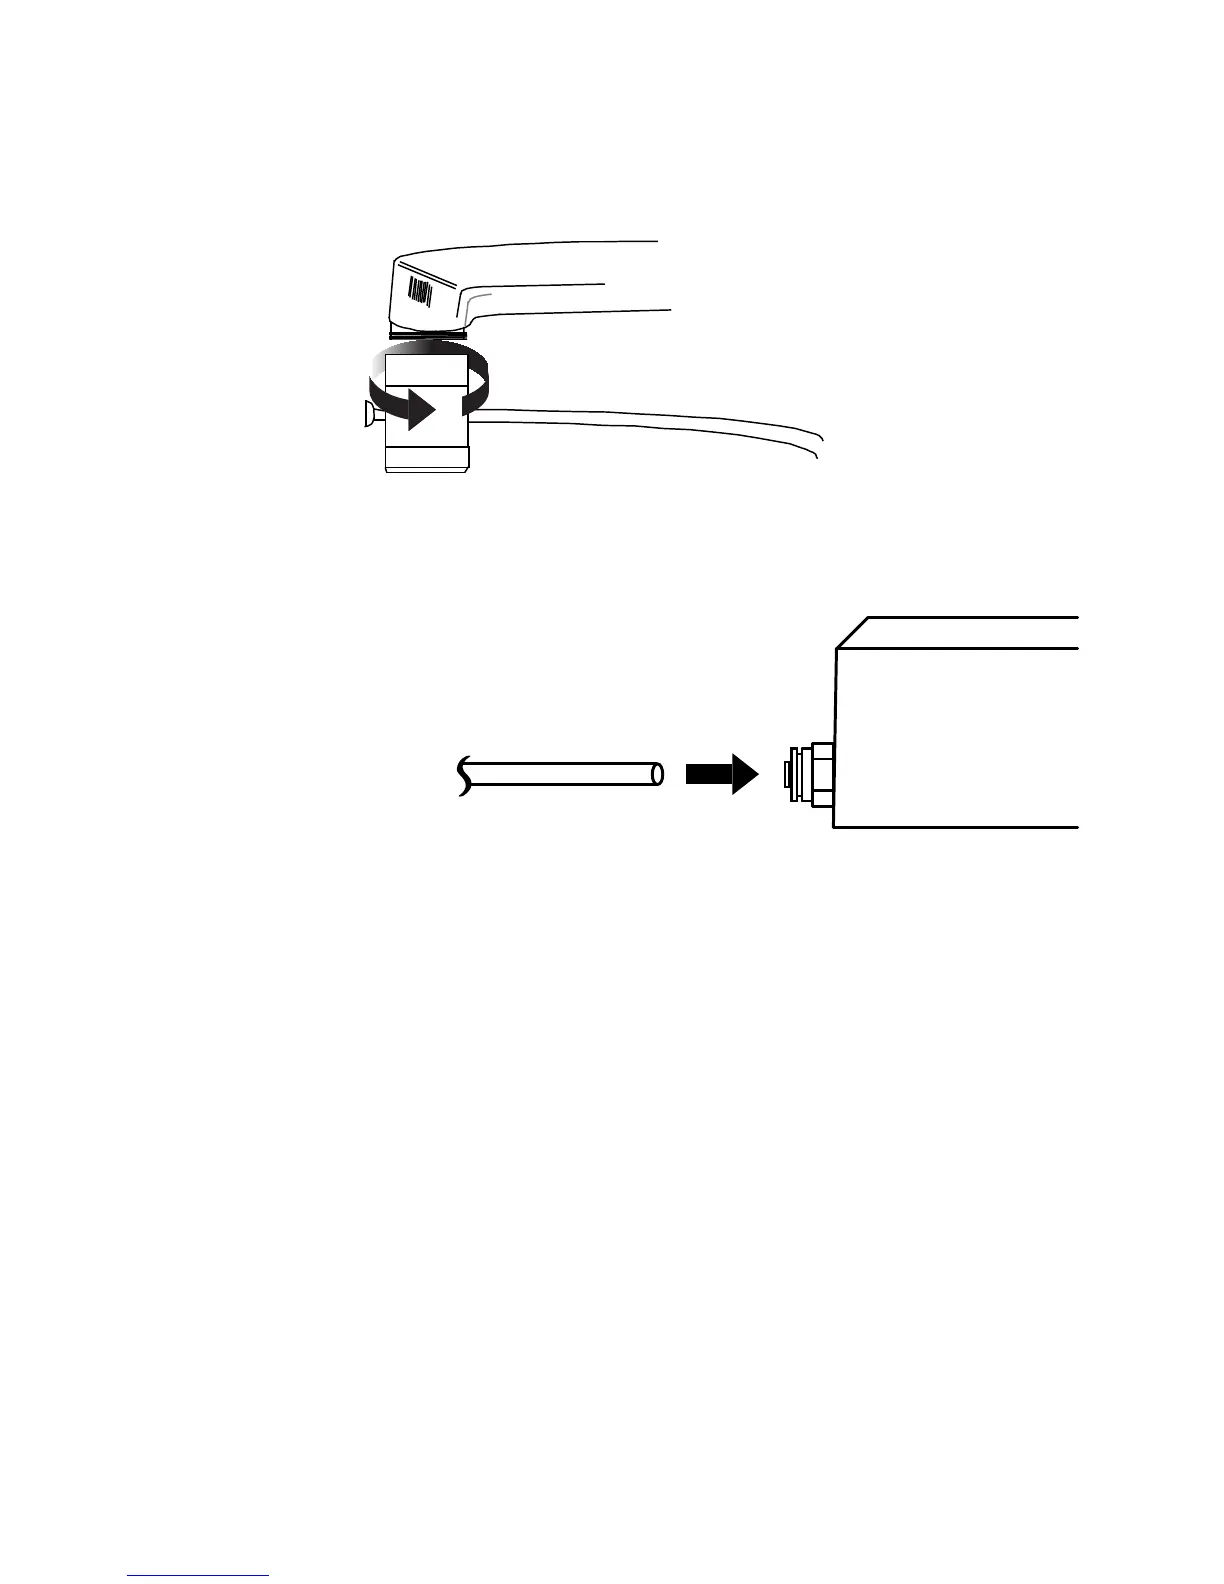
Step B:
Check faucet aerator threads. If your faucet aerator threads are the same as
the diverter valve, screw the diverter directly on to your faucet. (See Figure B).
If the aerator threads are different than the diverter valve, the adapter kit will
be required. If necessary, screw in the adapter into the faucet.
Figure B: Attach Faucet Diverter
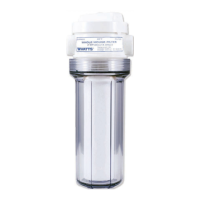
Step C: Insert the end of the white tube from the Faucet Diverter into the quick-connect
tting at the base of the lter canister
Step D: Now that you have connected your CT-1 to the faucet you need to purge the air
from the system. Turn on the cold water then pull out the diverter control button
and water will run through the CT-1. Note: You may hear some noise as air
is being purged from the CT-1 and the rst few glasses of water through
the unit may be dark color due to carbon nes. Run water through your unit
until it is clear of carbon nes.
Your CT-1 is now ready to provide you with fresh, clean drinking water.
WHITE TUBE
WHITE TUBE