22 Pathrider
www.pridemobility.com
IV. YOUR SCOOTER
WARNING! Do not expose the electronic controller module to moisture. If it does become
exposed to moisture, do not attempt to operate your scooter until it has dried thoroughly.
WARNING! Your scooter is equipped with a microprocessor based, programmable
controller. The controller must be programmed by an authorized Pride technician only.
Improper programming of the controller could result in unsafe operation of your Scooter,
causing personal injury or damage to your scooter.
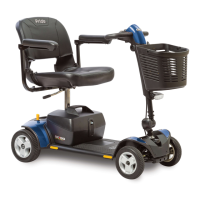
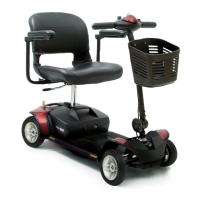
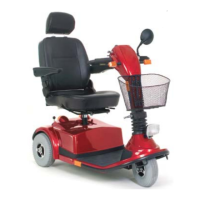
Motor/Transaxle Assembly
The motor/transaxle assembly is the geared transmission and differential. It is a one-piece, direct drive,
fully sealed assembly designed to provide quiet operation with maximum power and long life.
Manual Freewheel Lever
Whenever you want to push your Scooter for short distances, you can put it in manual freewheel mode.
! The manual freewheel lever is located on the end of the motor/transaxle assembly at the right rear of the
scooter.
! Pull up on the manual freewheel lever to disable the drive system and the brake system; you will then be
able to push your scooter.
! Push down on the manual freewheel lever to reengage the drive system and the brake system and take
your scooter out of manual freewheel mode.
WARNING! It is important to remember that when your scooter is in manual freewheel
mode, the braking system is disengaged. Follow these safety rules when using the manual
freewheel mode:
! Do not disengage the drive motors when your scooter is on an incline; the scooter
could roll down on its own and cause injury!
! Before placing your scooter in or taking it out of manual freewheel mode, ensure the
key is removed from the key switch.
! Never sit on a scooter when it is in manual freewheel mode.
! When you have finished pushing your scooter, always return it to the drive mode to
lock the brakes.
Anti-tip Wheels
The anti-tip wheels are an integral and important safety feature designed to help prevent your scooter from
tipping backwards on an incline. They are bolted to the frame at the rearmost part of your scooter.
WARNING! Do not remove the anti-tip wheels or modify your scooter in any way that is not
authorized by Pride.
Fuses
There are two 2-amp fuses located on the rear section that protect the rear lighting. To replace a fuse, first
remove the rear shroud. The fuses are part of the rear light assembly located on the underside of the shroud.
Lift the rubber cap that opens the fuse box and replace the old fuse with a 2-amp ATO fuse.
Charger Fuse
The 15-amp fuse located on the harness for the battery charger is to protect the controller if there is a
problem with the charging circuit. See figure 11. To replace the fuse, remove the rear shroud, lift the rubber
cap that opens teh fuse box, and replace it with a 15-amp ATO fuse.