P
Penny BaxterJul 31, 2025
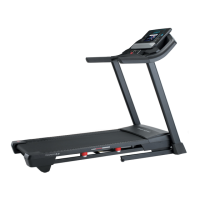
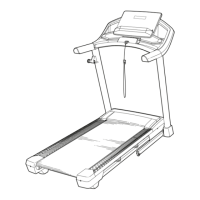
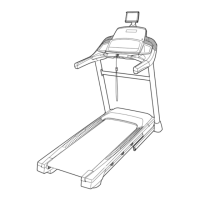
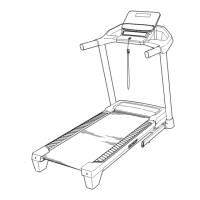
How to fix walking belt off center on Pro-Form Treadmill?
- BBrandon MitchellJul 31, 2025
If your Pro-Form Treadmill's walking belt slips or is off-center, first remove the key and unplug the power cord. If the belt has shifted left, use the hex key to turn the left rear roller bolt clockwise 1/2 turn. If it has shifted right, turn the left rear roller bolt counterclockwise 1/2 turn. Plug the power cord back in, insert the key, and run the treadmill for a few minutes. Repeat until the belt is centered. If the belt slips, turn both rear roller bolts clockwise 1/4 turn. When correctly tightened, you should be able to lift each edge of the belt off the platform. Plug the treadmill back in, insert the key, and carefully walk on it for a few minutes. Repeat until the belt is properly tightened.