Do you have a question about the Pro-Form 350 Treadmill and is the answer not in the manual?
Information on how to contact customer care for questions or missing parts, emphasizing not to contact the store.
General caution to read all precautions and instructions before use and save the manual.
Instructions on applying decals and requesting replacements if missing or illegible.
Key safety warnings displayed on decals, including precautions for operation, storage, and children.
Recommendation to consult a physician before starting any exercise program, especially for those over 35 or with pre-existing conditions.
Ensuring users are informed, proper treadmill placement, indoor use, keeping children and pets away, weight limits, and single-person use.
Guidelines on wearing suitable clothing and athletic shoes, avoiding loose clothing and bare feet or sandals.
Mandatory use of a surge suppressor, specifications, and risks of damage without proper protection.
Instructions on not moving the belt when off, checking for damage, using the emergency stop, starting procedures, and adjusting speed incrementally.
Clarification that the pulse sensor is not a medical device and its readings may vary.
Never leave the treadmill unattended while running; remove the key and unplug the cord when not in use.
Do not move the treadmill until assembled; requires ability to lift 45 lbs (20 kg).
Ensure the storage latch is closed when folding/moving; do not insert objects into openings.
Inspect and tighten parts regularly; servicing only by authorized personnel.
Treadmill is for in-home use only, not commercial, rental, or institutional settings.
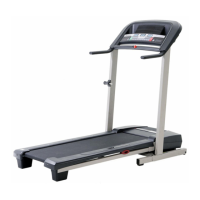
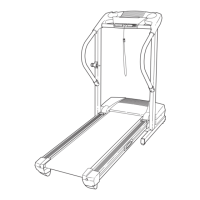
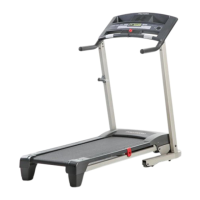
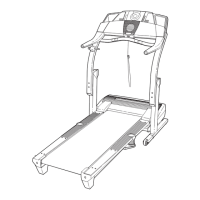
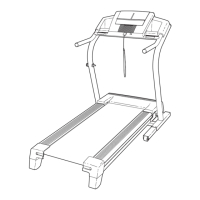
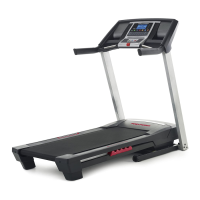
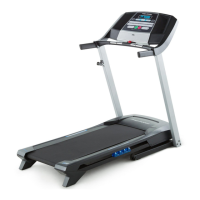
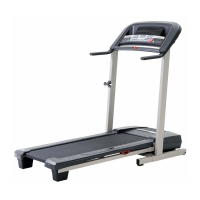
Reviewing the manual and familiarizing oneself with the labeled parts of the treadmill.
Instructions to register the treadmill online to avoid a fee for warranty service.
Requires two persons, tools, and removal of packing materials. Lubricant on belt is normal.
Illustrations of hardware used for assembly. Do not use power tools.
Attaching base pads and extension legs to the uprights using bolts and nuts.
Attaching wheels and base pads to the uprights, ensuring wheels turn freely.
Connecting wire harness to handrails and attaching handrails to uprights using bolts and washers.
Connecting the console base wiring harness and ground wire. Improper connection can damage the console.
Mounting the console assembly onto the handrails using screws, bolts, and washers. Ensure no wires are pinched.
Attaching the latch housing to the left upright and installing the latch knob mechanism.
Ensuring all parts are properly tightened before use and keeping hex keys safe.
Important note on never applying silicone spray or other substances to the walking belt.
Detailed instructions on connecting the power cord, the necessity of a surge suppressor, and electrical safety guidelines.
Diagram of the console layout and description of features like speed, incline, and pulse sensor.
Explanation of the calorie tracking feature and goal setting for workouts.
Steps to turn on the treadmill, including warming up, plugging in, using the circuit breaker, and inserting the safety key.
Instructions for using the treadmill in manual mode, including starting, speed/incline control, and display readings.
Guidance on selecting, starting, and adjusting calorie goal programs, plus heart rate and fan use.
How to access and use the information mode for usage data, unit changes, and demo mode settings.
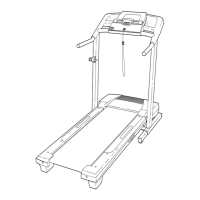
Detailed steps to fold the treadmill, including adjusting incline, lifting the frame, and engaging the latch pin.
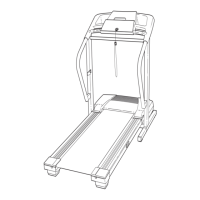
Instructions on how to safely move the folded treadmill using its wheels, cautioning against uneven surfaces.
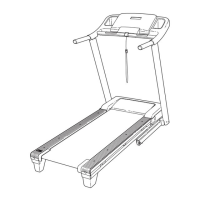
Steps to unfold the treadmill by releasing the latch and lowering the frame carefully.
Emphasis on using proper lifting technique and avoiding dropping the frame to prevent injury.
Solutions for power issues, including checking cord connection, key insertion, and circuit breaker status.
Troubleshooting steps for unexpected power loss, checking circuit breaker and cord.
Steps to fix console display issues, including checking the reed switch and magnet alignment.
Solutions for a slow walking belt, including checking surge suppressor and adjusting belt tension.
Instructions for centering and tightening the walking belt using the hex key.
Troubleshooting demo mode issues where console displays stay on after removing the key.
Importance of consulting a physician and understanding the pulse sensor's limitations.
Using heart rate to determine proper intensity for fat burning and aerobic exercise.
Guidelines for warming up, training zone duration, breathing, and cooling down.
Advice on workout frequency for maintaining or improving fitness, suggesting rest days.
Demonstrates correct form for basic stretches targeting hamstrings, calves, quadriceps, and inner thighs.
A comprehensive list of treadmill parts with their corresponding key numbers and quantities.
A visual representation showing the exploded view of the treadmill components and their assembly order.
Details on what information to provide when ordering replacement parts, including model, serial number, and part key number.
Details on the warranty period for the drive motor, parts, and labor, along with exclusions and limitations.