Checking And Adjusting Calibration
7. Rotate the laser 90 degrees to aim the +Y-axis (control panel) at the
target. Precisely re-level the bubbles in the precision level vials. Check
the reading at the target. If the reading is on, or within tolerance of the
true level mark, calibration is complete. If not, continue on.
8. Adjust the Y-axis leveling screw until the beam is on the true level
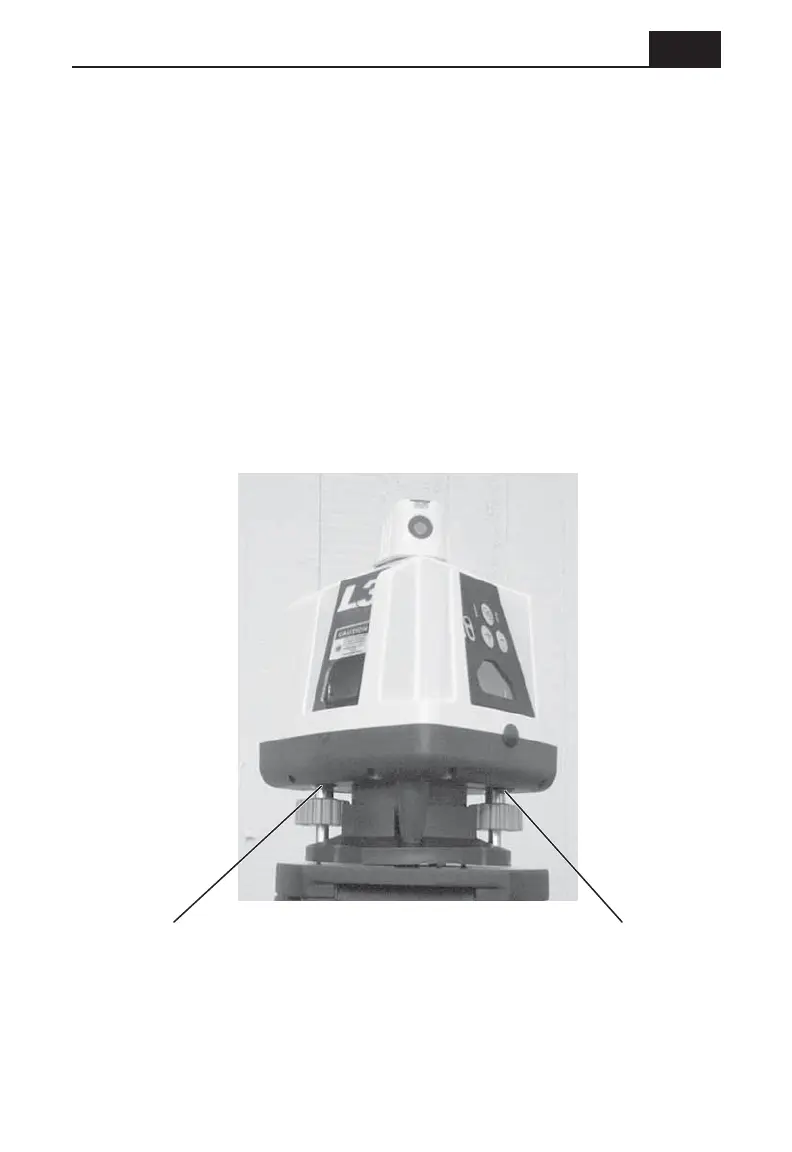
mark established in step 5. Remove the black rubber plug from the
Y-axis calibration port under the laser housing (shown in the picture on
this page). Using a 3/32" hex driver, adjust the Y-axis vial until it
indicates level.
Calibration is now complete.
15
Y-axis calibration port
X-axis calibration port