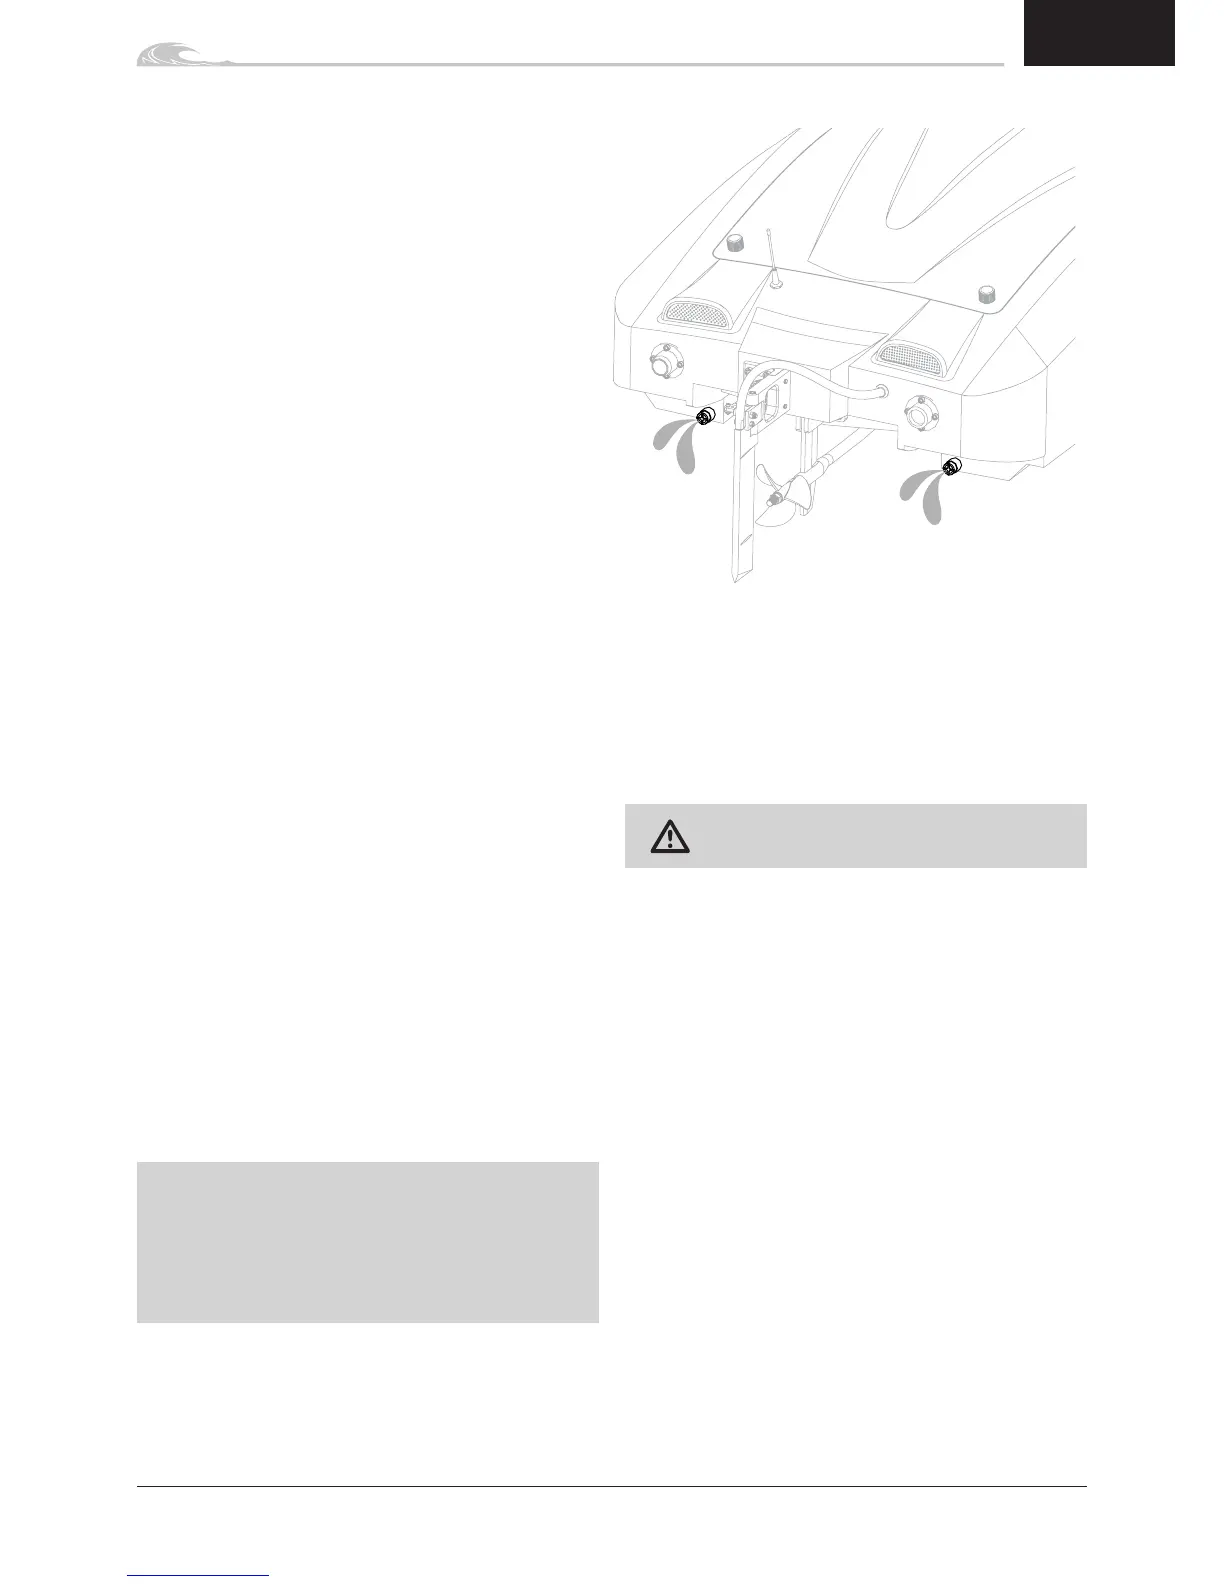
Auto Bailers
Yourboatisequippedwithtwoautobailers.Eachauto
bailerworksasamechanicalone-wayvalve.
Insidetheautobailerisaballbearingandarubberseal.
Theballbearingisfreetomovewhenthebailerisnotin
contactwithwater,allowingwatertoexitthehull.
Oncesubmerged,thepressurefromthewaterpresses
theballbearingagainsttherubberseal,preventingwater
fromenteringthehull.
1. Keeptheinsideofthehullcleanandfreeofdebristo
ensuretheautobailerswillworkproperly.
2. Whenyouapplythrottleandtheboatisonplane,the
autobailersareoutofthewater.Theboat’sforward
momentumdrivestheballbearingback,openingthe
valveandallowingthewaterinsidethetheboatto
exitthehull.
3. Onceyouremovetheboatfromfromthewater,tip
thenoseoftheboatupwardsandwaterinthehull
willrunfromtheautobailers.
Testing and Servicing
Undernormaluse,itisnotnecessarytoservicethe
autobailersoftenbecausetherearenowearableparts.
However,ifyourunyourboatinsaltwaterorinwater
withhighchemicalcontent,itmaybenecessaryto
inspectthecomponentsinsidetheautobailersforwear.
PRB286043hasthenecessarypartstoreplaceworn
partsorreplacetheautobailerscompletely.
1. Carefullyunscrewtheendoftheautobailer,taking
carenottodropthealuminumballbearinginsidethe
autobailerasyouremovethecover.
2. Removetheballbearingandinspectitforpitting.If
theballbearingdoesn’tlookwornorpitted,youcan
reuseit.
3. CarefullyremovetheO-ringfrominsidethebailer
housing.UsetweezerstoremovetheO-ringifyou
cannotreachitotherwise.Do not use sharp tools
to remove the O-ring or you may damage it or
tear it.
4. InspecttheO-ringforwearortears.Replaceitas
necessary.
5. Ifthepartsarenotworn,reinstalltheminreverse
order.
NOTICE: DonotapplygreasetotheautobailerO-ring.
Doingsocouldpreventtheballbearingfrommoving
freelyinsidethebailerhousing.
NOTICE: Donotusethreadlockingfluidontheauto
bailerhousingcover.Doingsowillpreventyoufrom
laterservicingthebailerandcoulddamagethebailer.
Replacement
1. Useasolderingirontoapplyheattotheautobailer.
Placethesolderingirononthemiddleringoftheauto
bailerwhileholdingthebailerwithapairofpliers.
2. Asthebailerheatsup,lightlyapplybackandforth
lateralpressuretothebailer.Thebindbetweenthe
bailerandtheepoxywillweaken.
CAUTION:Applyingtoomuchforceortoo
muchheatcandamagethehull.
3. Oncetheautobailerisfree,setitasidetocooland
disposeofitaccordingly.
4. Disassembleyournewautobailerandsettheball
bearingandO-ringinasafelocation.Useanailfile
ormediumemeryclothtoremovethesmoothfinish
aroundtheneckofthebailer.Theneckofthebailer
insertsintothehull.
5. ApplyaminimalamountofmediumCA(DYNK0030)
aroundtheneckoftheautobailer.
6. Oncethebailerhasbeeninsertedandglued,we
recommendaddingCAtothebailerfrominsidethe
hull.TakecarenottorunCAintothebailerhousing.
Ifitrunsintothebailerhousing,useacottonswab
lightlysoakedinacetonetoremoveexcessglue.
7. AllowtheCAtodryovernight.Onceitisdry,
assemblethebailerbyinstallingtheO-ring,ball
bearing,andbailercap.
5