10 of 24 | English English | 11 of 24
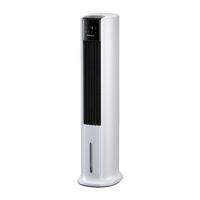
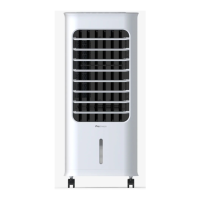
These images are for reference only, please refer to your product.
If you find you’re missing any parts from your order, please contact our customer care team by
emailing help@probreeze.com for fast and friendly help.
To purchase additional filters, visit www.probreeze.com/PB-AC08. If you have any questions or
struggle to find the specific filter you need, please contact our customer care team for friendly
and efficient help by emailing help@probreeze.com.
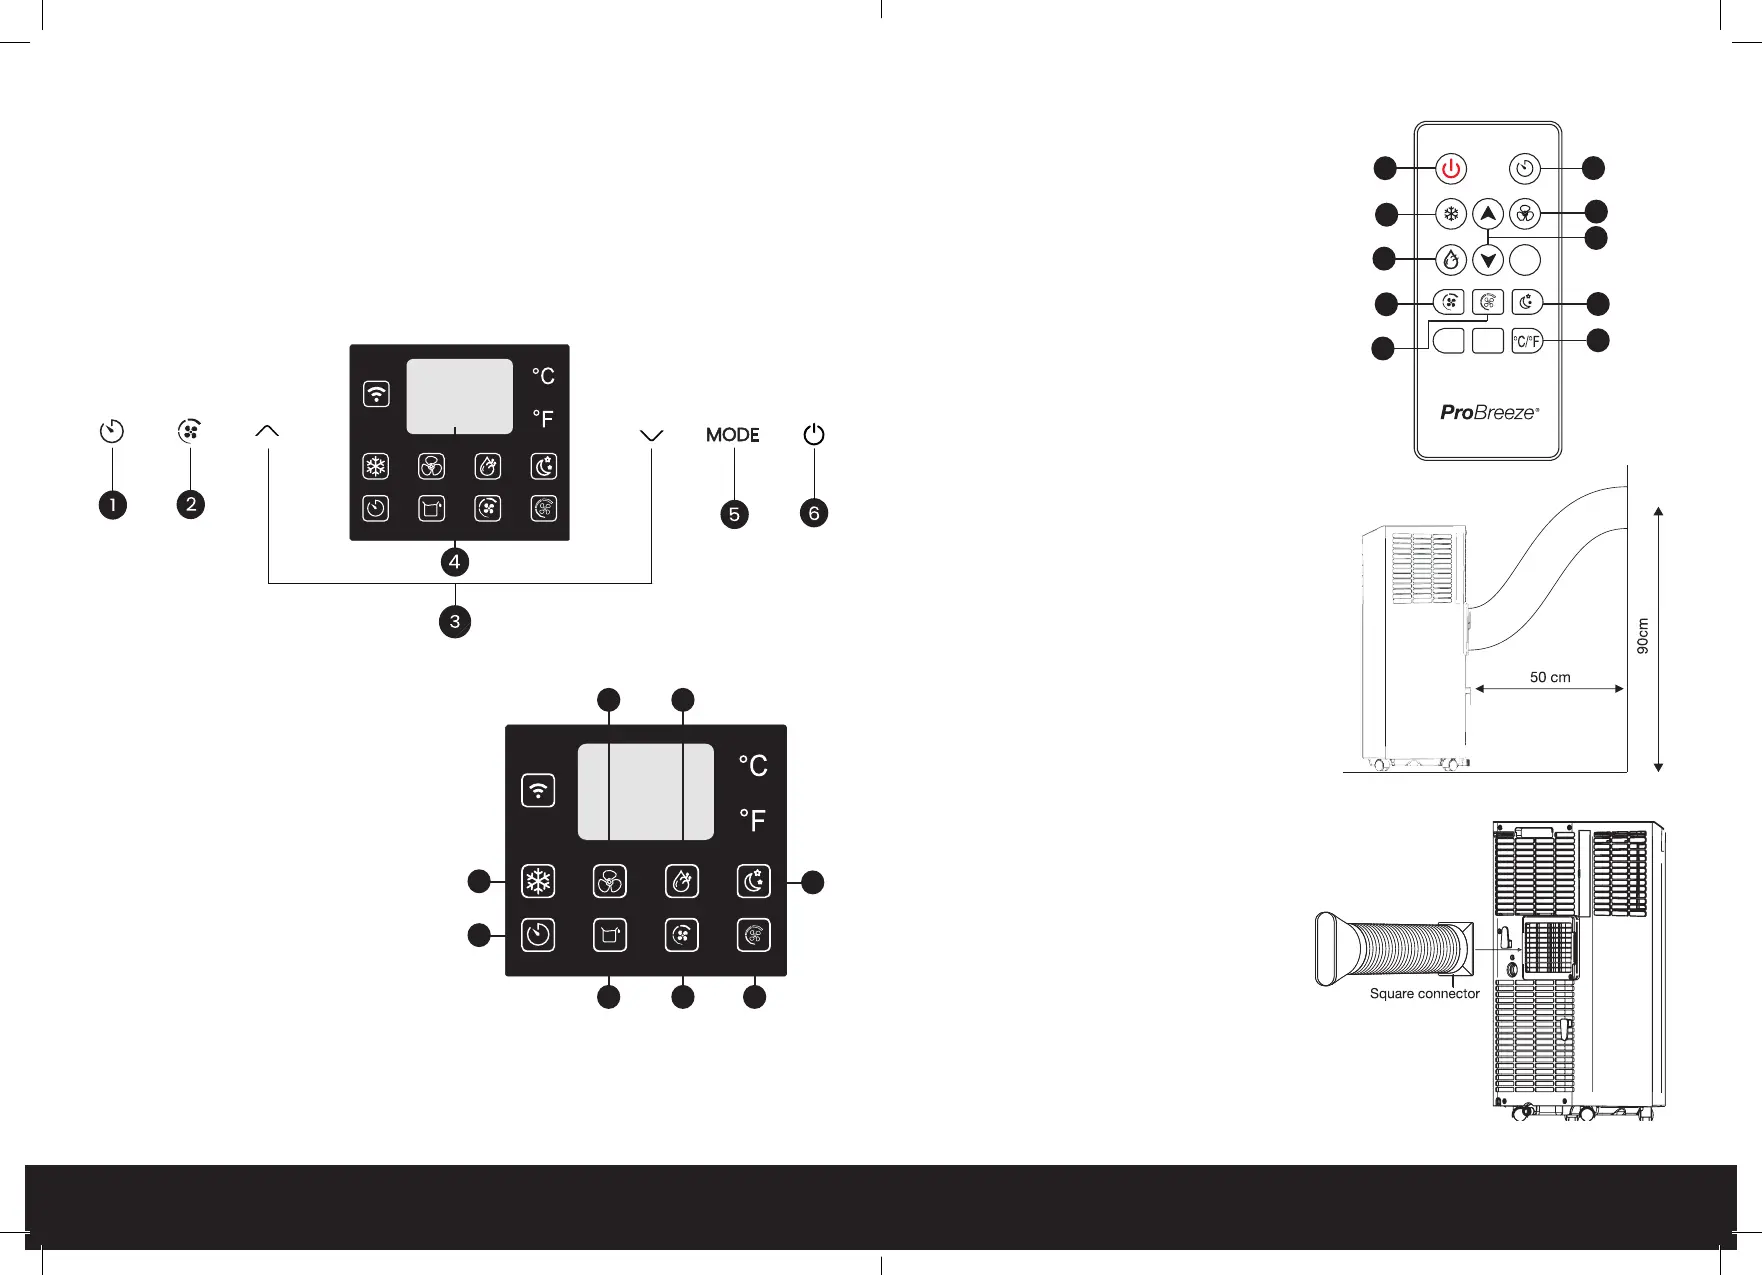
CONTROL PANEL
―
1. Timer button
2. Fan speed button
3. Up/Down buttons
4. Display
5. Change mode button
6. Power button
Display Explained
1. Cool Mode
2. Fan Mode
3. Dry Mode
4. Sleep Mode
5. Timer active
6. Water tank full
7. High Fan Speed
8. Low Fan Speed
1
5
6 7 8
4
2 3
Remote Control
1. Power button
2. Timer button
3. Cooling mode button
4. Fan-only mode button
5. Dry (Dehumidifying) mode button
6. Up/Down buttons
7. High fan speed button
8. Low fan speed button
9. Sleep mode button
10. Temperature unit button switch button
INSTALLATION
―
Prior to and after installation adhere to the below:
1. When moving the appliance to the chosen
location, ensure it is kept in an upright
position.
2. Do not place or use the appliance, power
cord, or any accessories in a bathroom, wet,
or damp place.
3. Place the appliance on a flat and dry surface.
4. Keep it at least 50cm away from surrounding
walls and/or objects.
5. Leave the appliance in an upright position for
at least two hours before first use.
6. Keep the heat exhaust hose at least 90cm
away from the floor.
Connecting the Exhaust Hose
In many ways, your new air conditioner is like
a refrigerator, but instead of securing the cold
air inside it blows the air around the room.
Air conditioners utilise refrigerant gas to cool
down warm air in a room and then blow the
now-cooled air around the space with internal
fans. They must vent the hot air outside (usually
via a window, ventilation shaft, or dedicated
passage) with an exhaust hose.
To connect you exhaust hose and other
accessories, follow the instruction below:
1
2
3
4
5
6
7
8
9
10