12 of 24 | English English | 13 of 24
Exhaust Hose Assembly
In this stage, you will be assembling the hose and will need…
• Square connector
• Heat exhaust hose
• Heat exhaust hose short connector
1. Rotate the square connector counterclockwise to lock it into
the end of the heat exhaust hose.
2. Rotate the short connector counterclockwise to lock it into
the end of the heat exhaust hose.
Heat Exhaust Hose Installation
In this stage, you will need…
• Assembled heat exhaust hose
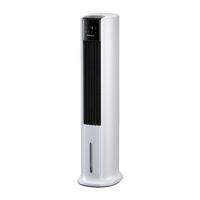
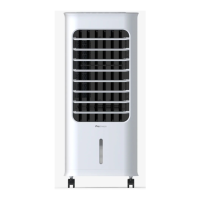
• Pro Breeze smart portable air conditioner
1. Slide the square connector onto the rear panel outlet
situated on the back of your air conditioner. Ensure it is
tightly secured in place.
2. When in Cooling Mode, position your air conditioner close
to a window or door, with the hose outside, to allow the unit
to vent the warm air out of the room. To seal your windows
and doors, please see the installation instructions below.
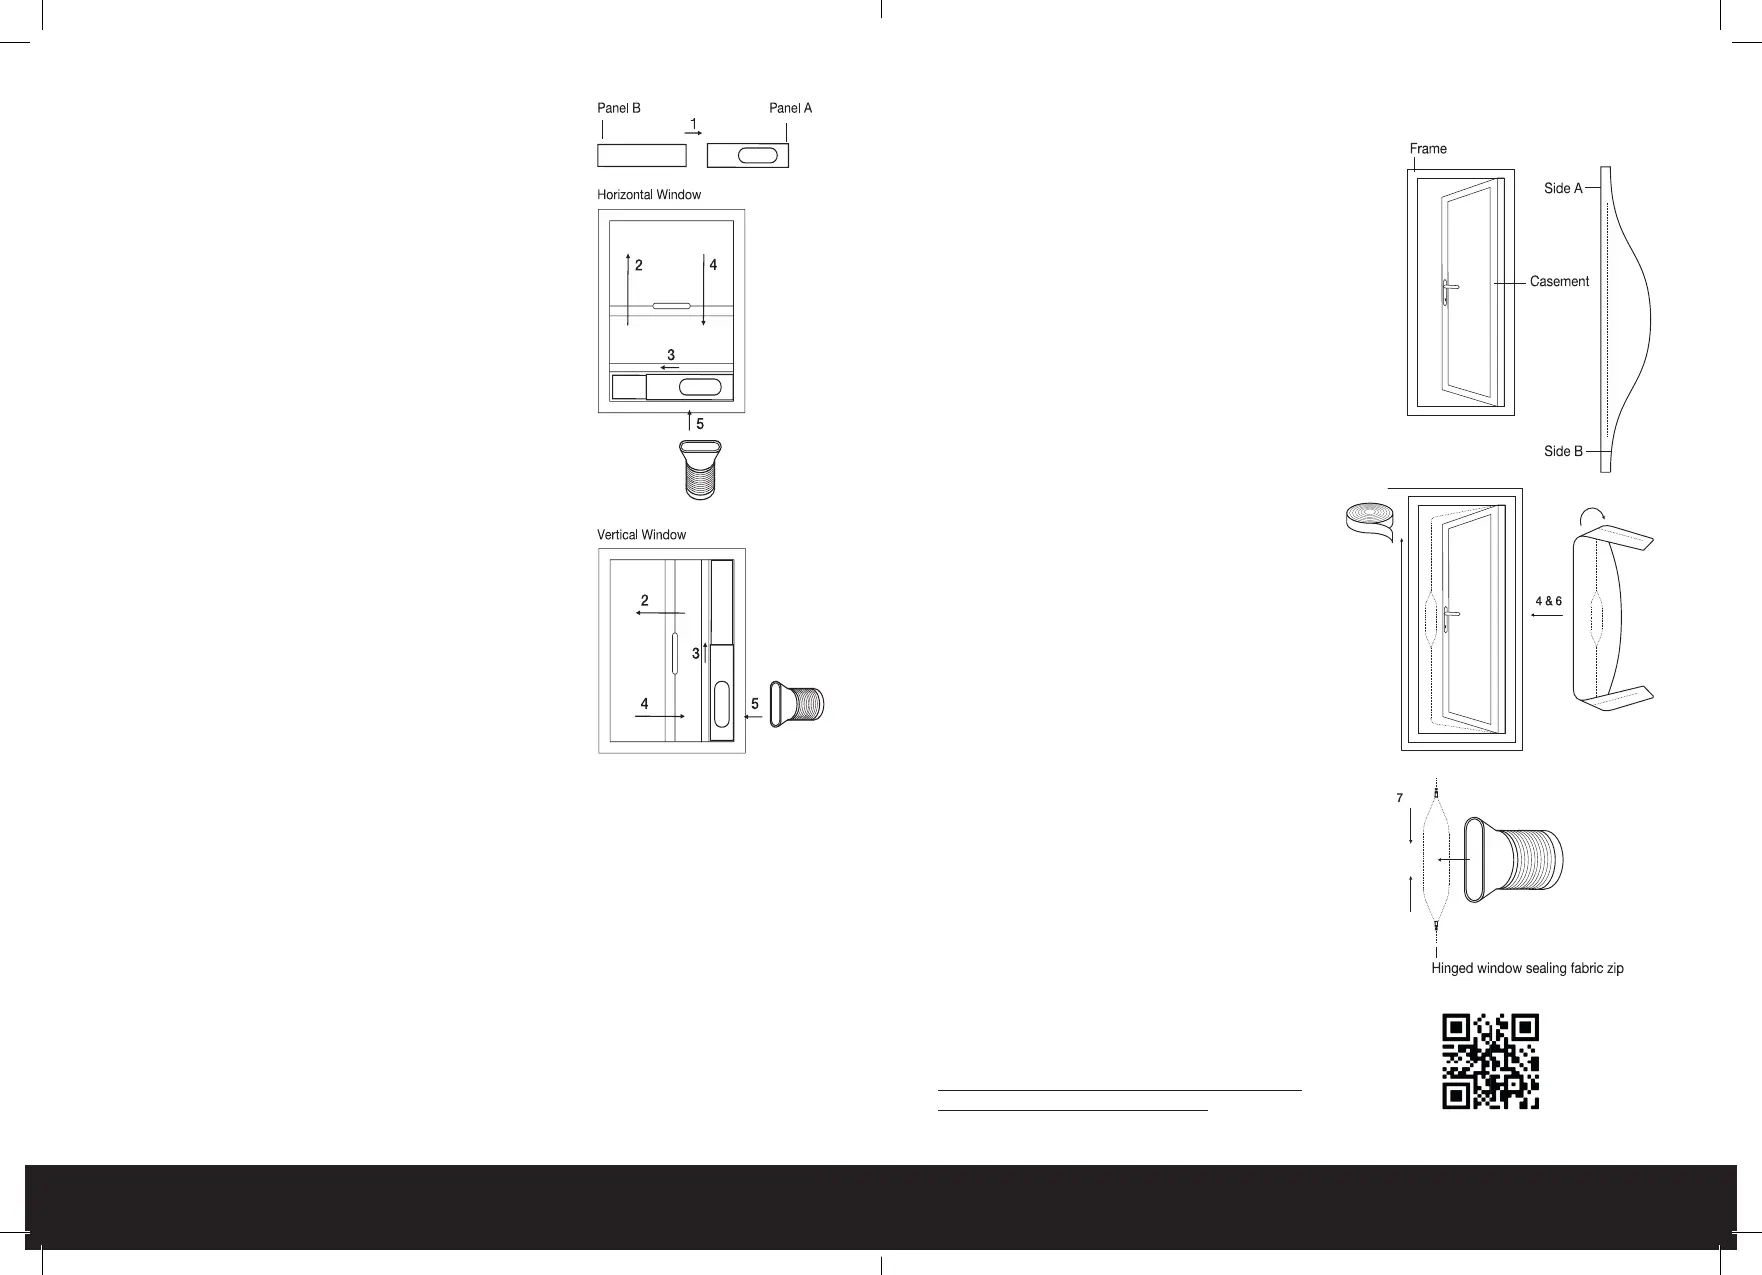
Sliding Windows Sealing Board Assembly Installation
If your windows slide open, please follow the below instructions:
You will need:
• Window sealing board kit (Panel A&B + Clip)
• Finished heat exhaust hose short connector
1. Insert Panel B into Panel A and adjust to the length or height
of the window (see images)
2. Open your window and place the sealing board assembly
into the open space.
3. Adjust to ensure an exact fit and secure with the clip.
4. Close the window to lock everything into place.
5. Attach the heat exhaust hose short connector to the elliptical hole.
The sealing board assembly is now ready for use.
Notes:
• If your window opening is smaller than the minimum
length of the sealing board assembly trim to desired
length using a hack saw.
• If your window opening is larger than the
maximum length
of the sealing board assembly use plywood or
similar to fill
the gap.
Hinged Window Sealing Fabric Assembly
Installation
If your window is hinged, follow the instructions
below:
You will need:
• Hinged window fabric sealing assembly
• Sealing velcro
• A soft, clean cloth
Step 1: Open window and clean frame and
casement surfaces of dust and particles.
Step 2: Stick the velcro tape around the entire
window frame. Never stick to the window seal as
doing so will prohibit the window from closing fully.
Step 3: Stick the velcro tape around the entire
window
casement (inside or outside). Check to ensure the
window can close fully.
Step 4: Attach side A of the sealing fabric assembly
to the velcro on the window frame working from the
centre outwards.
Step 5: Close and open window to ensure no fabric
gets trapped.
Step 6: Attach side B of the sealing fabric assembly
to the velcro on the window casement working from
the centre outwards.
Step 7: Open the window slightly and insert the heat
exhaust hose short connector into the sealing fabric
assembly securing with the zippers around its lip.
The sealing fabric assembly is now ready for use.
Scan for Full Video Instructions on How Best to Fit
Your Hinged Door and Window Seals