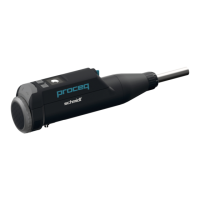
The provided document is a tutorial for the Original Schmidt OS8000 and Silver Schmidt OS8200 concrete test hammers, focusing on their controls and operation. Both devices share identical operation, as stated on page 2.
Function Description
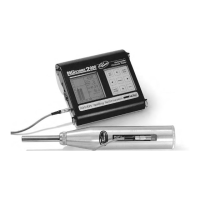
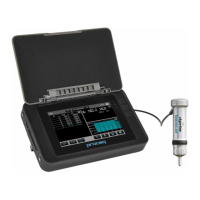
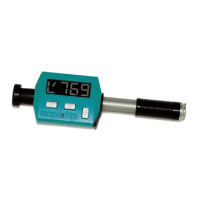
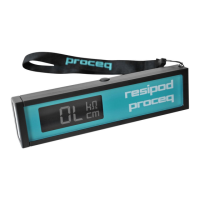
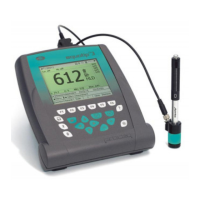
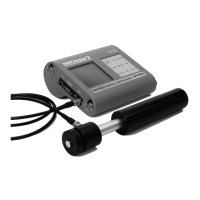
The Original Schmidt OS8000 and Silver Schmidt OS8200 are devices used for non-destructive testing of concrete, specifically for measuring its rebound hardness. This measurement is then used to estimate the concrete's compressive strength. The tutorial details how to power the devices on/off, control the backlight, start new measurement series, navigate menus, select modes and standards, clear memory, view device information, perform measurements, and review/print results.
Important Technical Specifications
While specific technical specifications like measurement range, accuracy, or dimensions are not explicitly listed in this tutorial, the document implies the following:
- Models: Original Schmidt OS8000 and Silver Schmidt OS8200.
- Connectivity: The presence of a Bluetooth icon (e.g., on page 7, 11, 12, 13) indicates Bluetooth connectivity, likely for data transfer to a computer or mobile device.
- Display: Both devices feature a digital display showing measurement values, series IDs, impact numbers, temperature (e.g., -14° on page 3), and menu options.
- Power: The devices are battery-powered, as indicated by the battery icon on the display (e.g., page 7).
- Memory: The devices have internal memory to store measurement series and individual impacts (e.g., "Current series is saved" on page 5, "Memory" option on page 7).
- Standards: The devices support various measurement standards, including ASTM, JGJ, JSCE, and JIS (page 8).
- Firmware: The devices run on firmware, with a version number displayed (e.g., FW:2.0.1 on page 10).
Usage Features
The tutorial highlights several key usage features:
- Power ON/OFF:
- Pressing either the "Play" (right arrow) or "Down Arrow" button turns the device ON.
- Pressing and holding either button for more than 5 seconds turns the device OFF (page 3).
- Backlight Control:
- Pressing and holding the "Down Arrow" button for more than 1.4 seconds toggles the backlight ON or OFF (page 4).
- Quick Start a New Series:
- Pressing and holding the "Play" button for more than 1.4 seconds saves the current series and starts a new one. This operation is possible at any time (page 5).
- Menu Navigation:
- The "Down Arrow" button is used to scroll through menu options.
- The "Play" button is used to select a highlighted menu item (page 6).
- Mode Selection (Print versions only):
- Users can select between "LIVE" and "PRINT" modes. The "Down Arrow" scrolls, and the "Play" button selects (page 7).
- Standard Selection:
- From the "Mode" menu, selecting "Standard" allows users to choose different measurement standards like ASTM, JGJ, JSCE, or JIS (page 8).
- Measurement Process:
- The device displays the current standard (e.g., EN), series ID, and impact number.
- After multiple impacts (e.g., 8x shown), a calculated rebound value is displayed (page 11).
- The "Down Arrow" button allows deleting the last measurement or the entire series (page 11).
- Viewing Results:
- The "Down Arrow" button allows scrolling through individual impacts within a series.
- The "Play" button returns to the series view.
- Users can delete a whole series or start a new one from the results viewing screen (page 12).
- Printing Results (Print versions only):
- Similar to viewing results, users can scroll through results in "PRINT" mode.
- A printer icon is available, indicating the ability to print results (page 13).
- Automatic Power Off (Time Out):
- If there is no activity for more than 5 minutes, the device automatically powers off, saves the current series, and closes it (page 14).
Maintenance Features
The tutorial mentions one significant maintenance-related feature:
- Clear Memory:
- From the "Mode" menu, selecting "Memory" and then "Clear" allows users to delete all stored series.
- A warning is provided that "Any unsynchronized data will be lost," emphasizing the importance of data backup before clearing the memory (page 9).
- Firmware Version Check:
- The "Info" menu displays the device's serial number and firmware version (page 10), which is useful for troubleshooting and ensuring the device is up-to-date.
The tutorial also provides a link to download a printout of the tutorial itself: https://www.proceq.com/downloads/ (page 15).