EasyManua.ls Logo

Procom MN200TBA-B - Page 10

Procom MN200TBA-B
24 pages
Print Icon
To Next Page IconTo Next Page
To Previous Page IconTo Previous Page
Loading...
www.usapr ocom.com
200158-02A
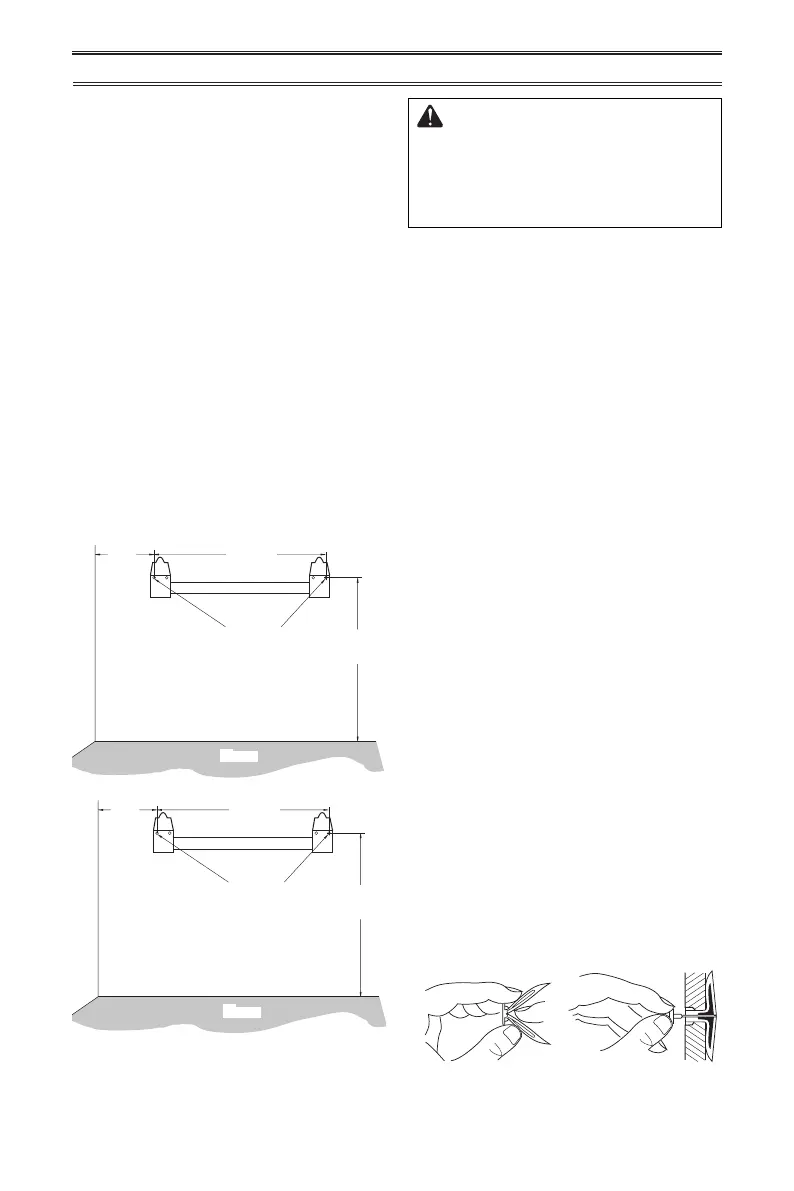
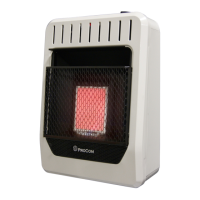
Figure 8 - Mounting Bracket Clearances
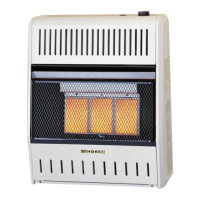
Figure 9 - Folding
Anchor
Figure 10 - Popping
Open Anchor Wings
For Thin Walls
INSTALLATION
WARNING: Maintain mini-
mum clearances shown in Figure
4, page 8. If you can, provide
greater clearances from oor
and joining wall.
 
Note: Mark only last hole on each end
of mounting bracket. Insert mounting
screws through these holes only.
 

Attaching Mounting Bracket To Wall
Note: Wall anchors, mounting screws, and
spacers are in hardware package. The hard-
ware package is provided with heater.
Attaching to Wall Stud Method

 

      


   

 

Attaching to Wall Anchor Method
     


     


 
 

 
       

IMPORTANT:


17
3
/8"
18
1
/2"
Min.
6
1
/2"
Min.
Adjoining Wall
Only Insert Mounting
Screws Through Last
Hole On Each End
Floor
10
5
/
8
"
Min.
17
3
/
8
"
18
1
/
2
"
Min.
Only Insert Mounting
Screws Through Last
Hole On Each End
Floor
Adjoining Wall




Methods For Attaching Mounting
Bracket To Wall




1. Attaching to wall stud:



2. Attaching to wall anchor:






Marking Screw Locations
      



Related product manuals