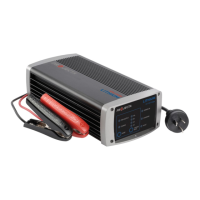
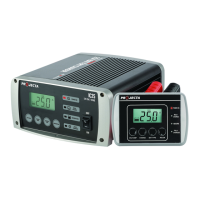
12V 7A 7-Stage
PWR SUPPLY
GEL
AGM
WET
CALCIUM
MODE
POWER ON
CHARGING
FULLY CHARGED
1A
2A
4A
7A
CHARGE
RATE
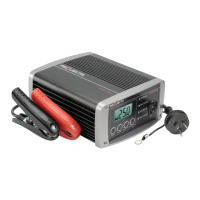
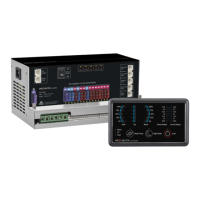
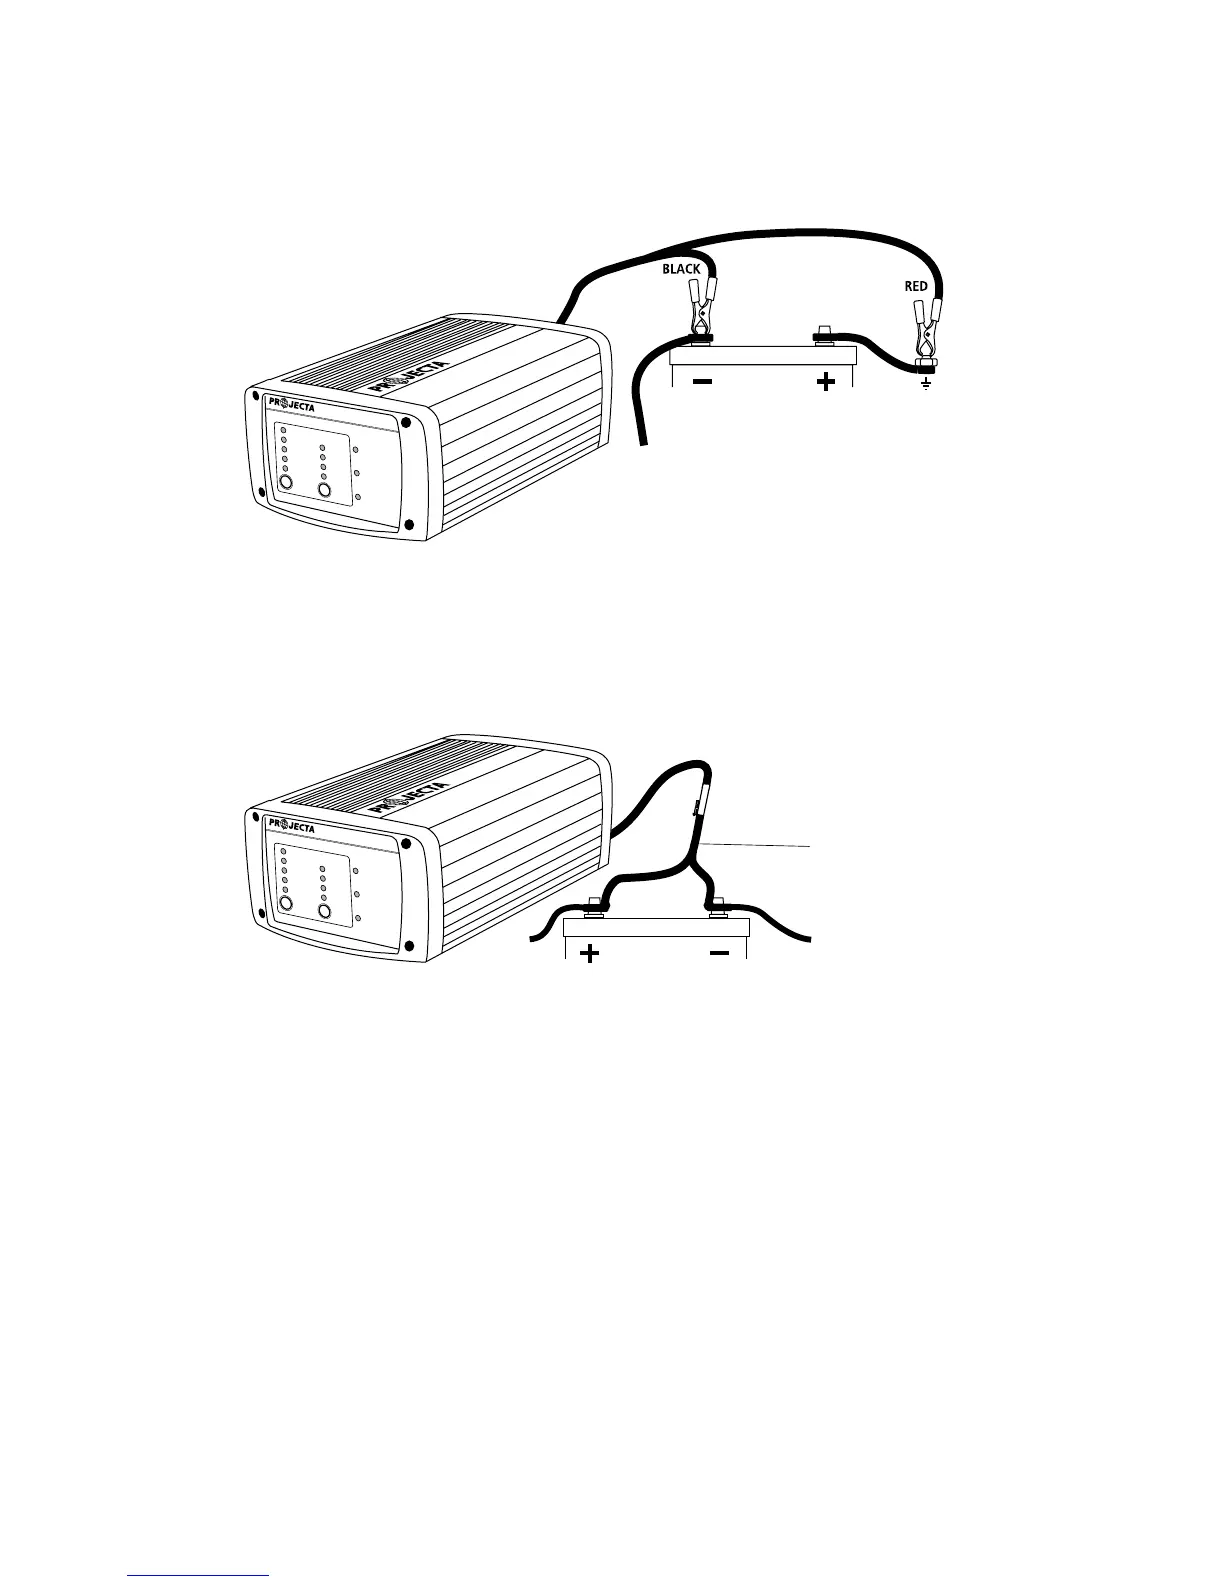
Positively earthed
Connect the BLACK lead (battery clip) from the charger to the Negative (-) battery terminal.
Connect the RED lead (battery clip) from the charger to the vehicle’s chassis away from
the fuel line or moving parts.
STEP 2C – CONNECTION IN VEHICLE WITH HARNESS (IC700 ONLY)
Connect the RED ring terminal of the harness to the Positive (+) battery terminal.
Connect the BLACK ring terminal of the harness to the Negative (-) battery terminal.
Connect the plug on the harness to the charger’s output lead socket.
STEP 3 – CONNECT TO 240V MAINS POWER
Connect the battery charger to the 240V mains powered socket and turn on the mains
power.
STEP 4 – SET CHARGE RATE
The charge rate should be set according to the size of the battery. See the recommended
charge rates for various battery sizes in the table on the following page.
a. Press the CHARGE RATE or MODE button to enter setting mode.
b. Press the CHARGE RATE button until the desired setting is achieved.
9
Connection in vehicle
(positively earthed)
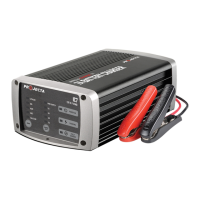
12V 7A 7-Stage
PWR SUPPLY
GEL
AGM
WET
CALCIUM
MODE
POWER ON
CHARGING
FULLY CHARGED
1A
2A
4A
7A
CHARGE
RATE
Vehicle harness