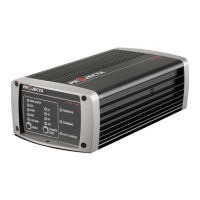
14
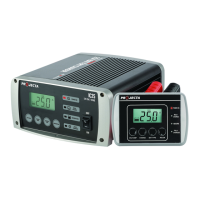
STEP 3 – REMOTE CONTROL* & TEMPERATURE SENSOR* (OPTIONAL)
Ifyourequirethetemperaturesensorandremotecontrol,installbeforeconnectingthe
chargerto240Vmainspower.Theseaccessoriesareoptional;thechargerwilloperate
normallywithorwithoutaccessoriesbeingfitted.
Toinstalltheremotecontrol,insertthedataplugintothedatasocketattherearofthe
battery charger.
Cablelength:4.5metres.
Warning:Ensurethecableissecuredsafelyawayfrommovingparts.
Installing Temperature Sensor
Toinstallthetemperaturesensor,inserttheplugintothetemperaturesensorsocketat
therearofthebatterycharger.Installtheringterminaltothenegativebatteryterminal.
Cablelength:1.8metres
Warning: Ensurethecableissecuredsafelyawayfrommovingparts.
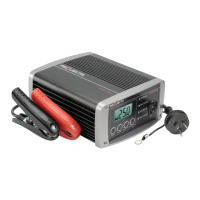
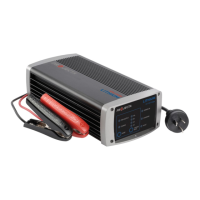
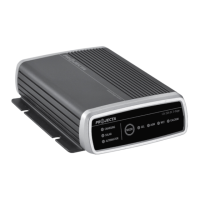
STEP 4 – CONNECT TO 240V MAINS POWER
Connectthebatterychargertothe240Vmainspoweredsocketandturnonthemains
power.TurnbatterychargerOn/Offswitchtoon.
*NotincludedwithIC2500W