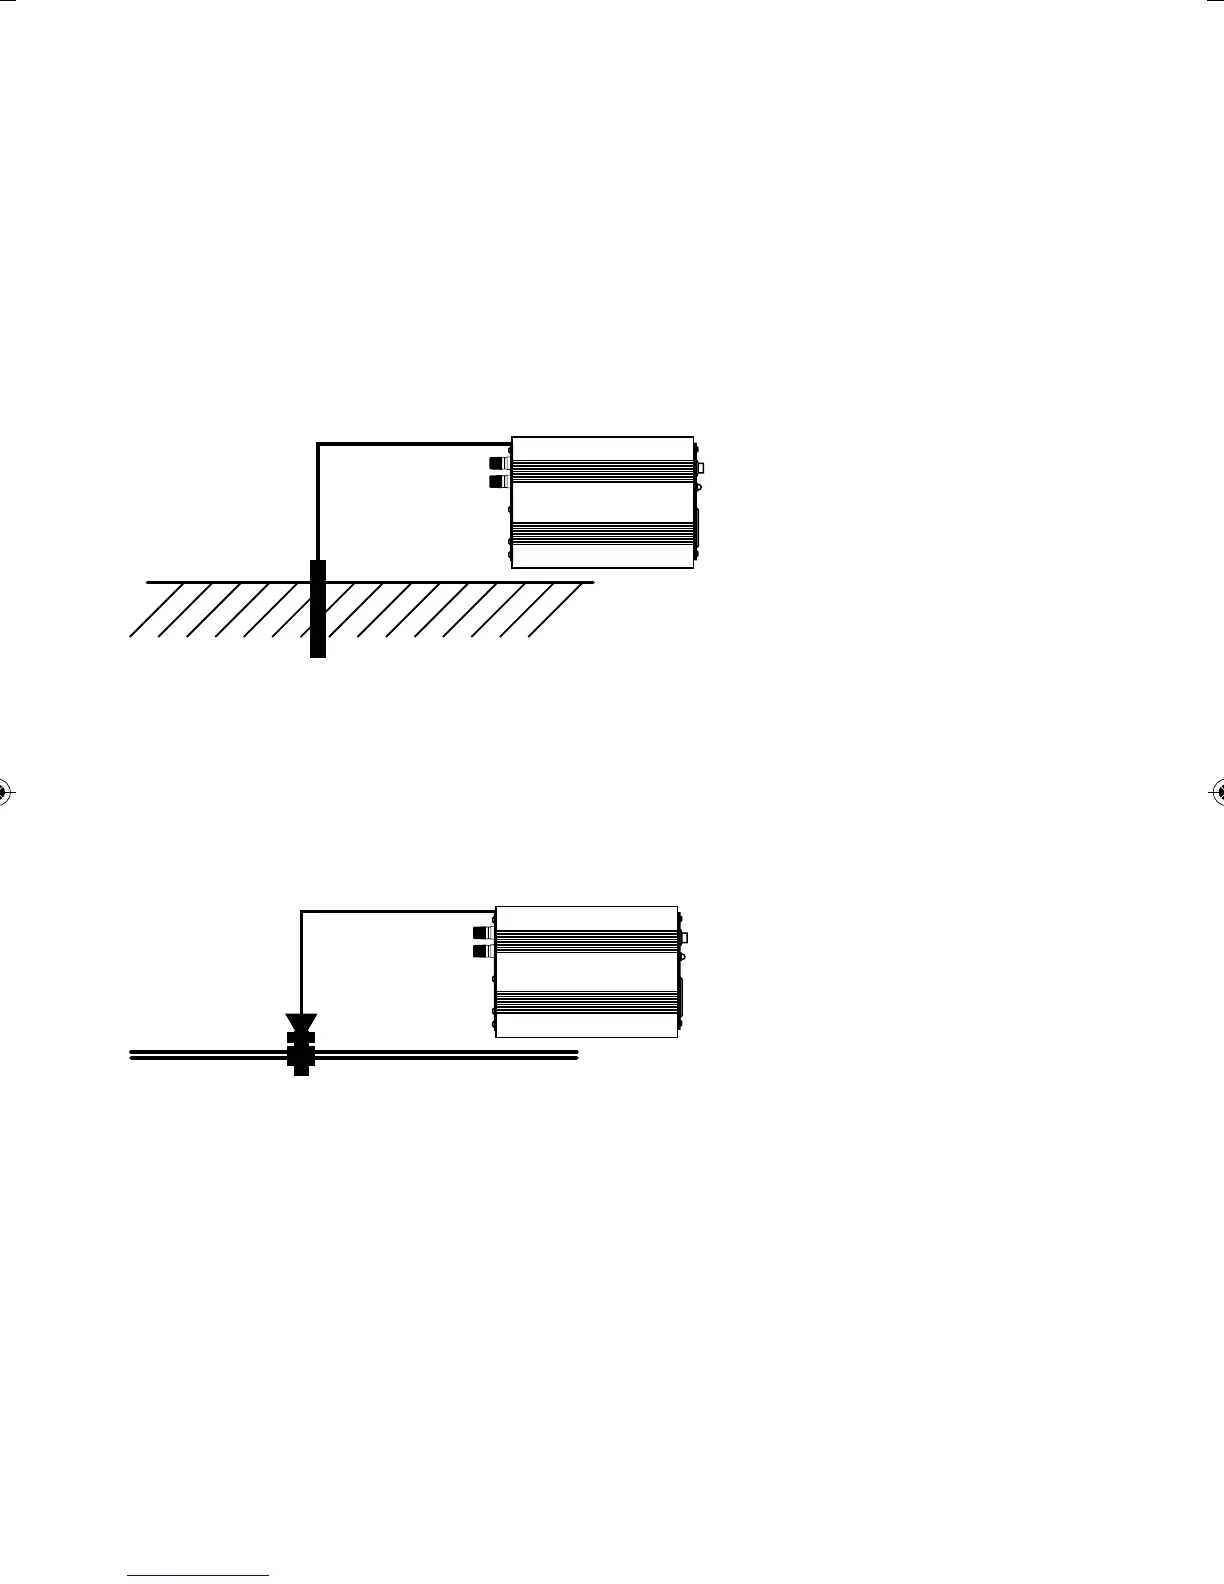
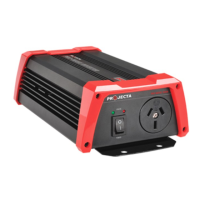
EXTERNAL EARTHING: (OPTIONAL)
Projecta inverters have been internally bonded for safety, by connecting the AC socket/s earth pin to
the inverter case and to the DC negative supply input. Because of this most installations do not
require the inverter to be earthed. However if the inverter is used in a stationary land based
application or if the inverter is causing interference with TV sets or radios it is recommended that an
external earth connection is made by one of the following methods:.
U External Earthing Stationary Applications --Connect an earth wire (Preferably solid Green
or Green with Yellow stripe) from the external earth connection (Chassis GND) on the rear of the
inverter to a metal stake or pipe that is driven into the ground at least 1.2m.
U External Earthing Mobile Applications --Connect an earth wire (Preferably solid Green or Green
with Yellow stripe) from the external earth connection (Chassis GND) on the rear of the inverter to
the chassis of the vehicle or ground wires in a boat.
EARTH STAKE 1.2M
CHASSIS CONNECTION
11