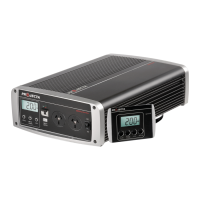
REMOTE CONTROL DISPLAY
To install the remote control, insert the data plug into the data socket at the rear
of the inverter. To operate the inverter using the remote, the inverter On/Off
switch must be turned to ON.
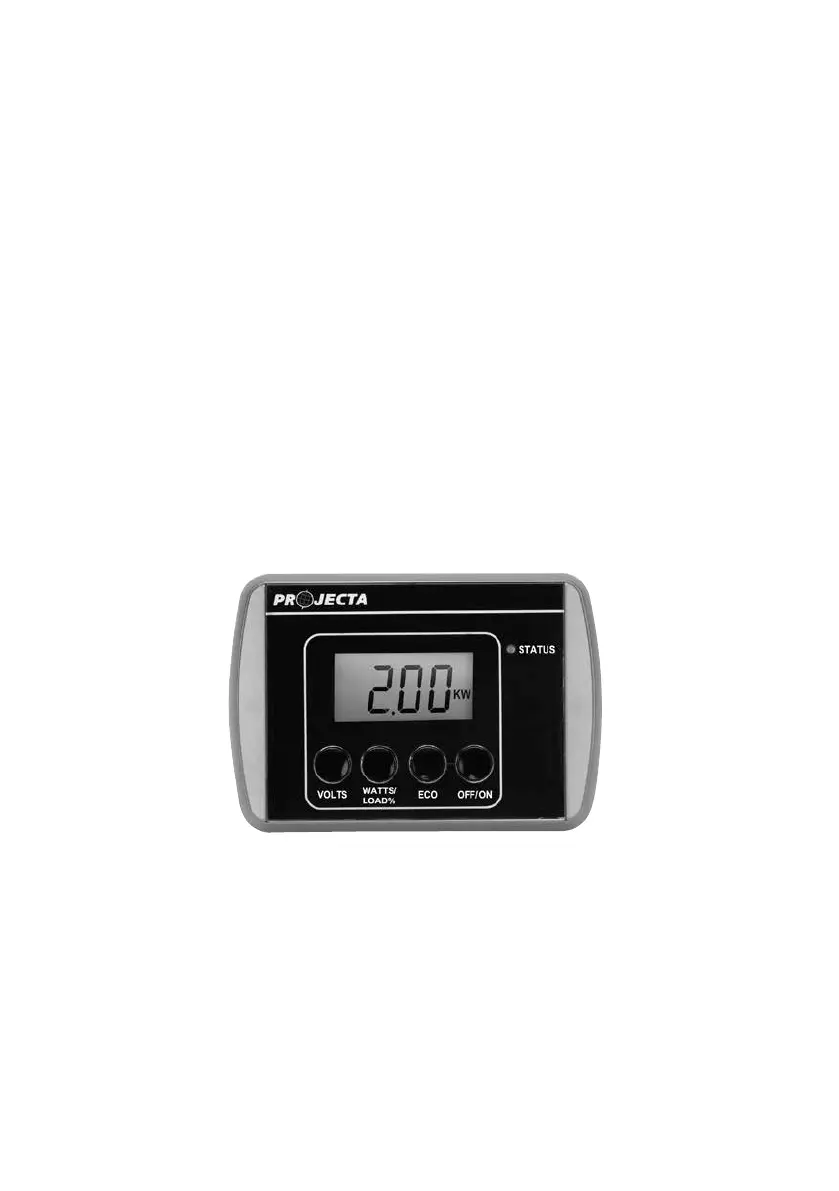
The remote is equipped with an LCD screen identical to the inverter, as well a bi-colour
status L.E.D and audible alarm. During normal operation, the LCD screen will default to
the VOLTS display (input battery voltage). Alternative information can be displayed by
pressing the relevant buttons:
VOLTS: Displays input battery voltage
WATTS & LOAD%: Displays the amount of power being drawn by the appliance
(in Watts) & indicates the percentage of total capacity being drawn by the appliance
(Load). Press the WATTS/LOAD% button on the front of the unit to alternate between
Watts and Load display information.
ECO: Displays ECO mode status settings.
In the event of a fault or error, the alarm will sound, the LCD screen will display
one of several fault codes and L.E.D will illuminate various signals. Refer to the table
on the page 13 for fault codes and L.E.D signals.
10