9
WIRING AC MAINS POWER TO THE INVERTER
1. Ensure the inverter is turned off and disconnected from DC power, also ensure
AC mains wiring to be connected to the inverter is isolated and safe to work with.
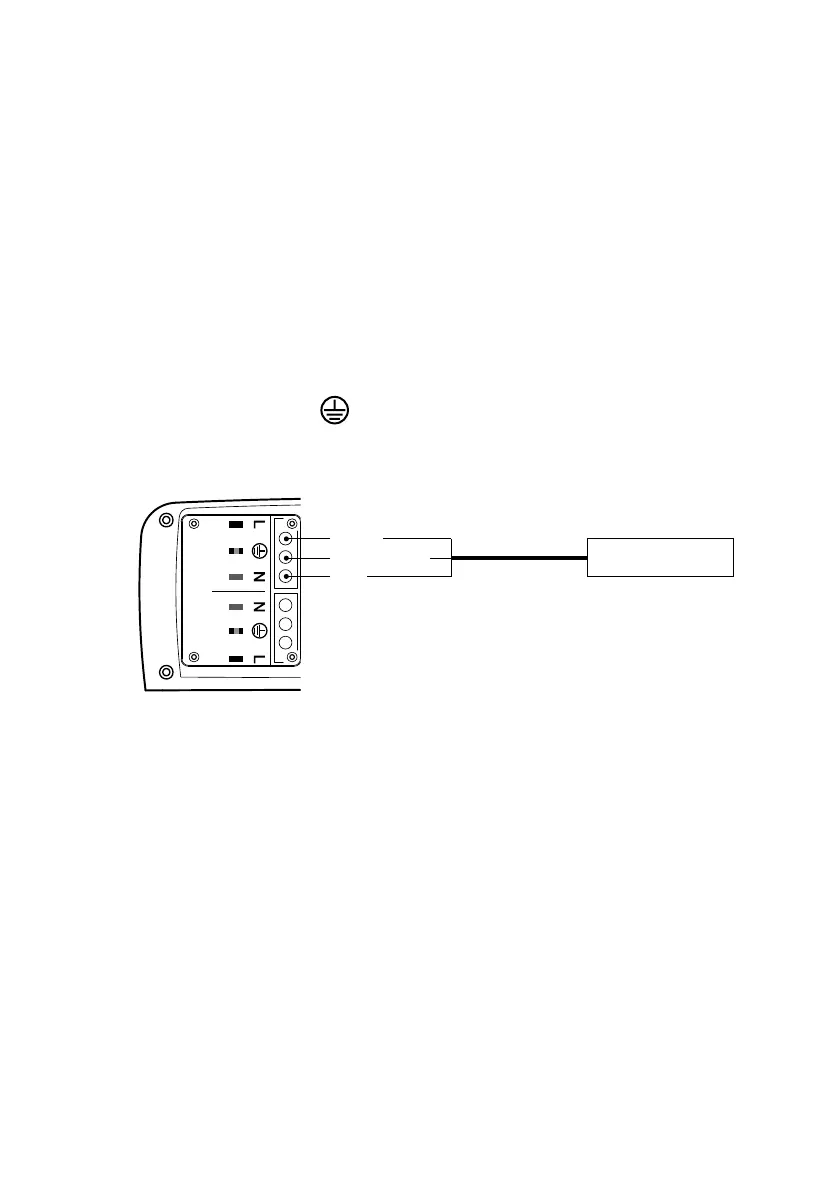
2. To gain access to the INPUT terminals remove the cover located at the back of the unit
using a phillips head screw driver.
3. Select suitable size cable glands/conduit fittings (16mm or 20mm) & cable to be wired
to the INPUT terminals. Ensure multi strand cable is used as per AS3001.
4. Once the suitable size cable glands/conduit fittings are selected, push through the
appropriate size pre cut holes located on the rear cover & install the fitting.
5. Strip the cable back and feed through the cable glands/conduit fitting, then hard wire
the cables to the INPUT terminals. Ensure cable is wired to the INPUT terminal as per
the below illustration:
Earth (Green/Yellow) connect to:
Neutral (Blue) connect to: N
Active (Brown) connect to: L
6. Refit rear cover and tighten cable gland/conduit fitting.
Brown
Green/Yellow
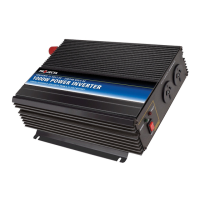
REMOTE
12VDC INPUT
+
–
2000W Pure Sine Wave
240V a.c 50Hz input – Max connected output load = 2000W
Wiring to be carried out by licensed electrician.
Incorrect wiring will damage the unit and void warranty.
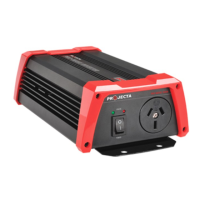
OUTPUTINPUT
OFF
ON
VOLTS ECOWATTS
LOAD%
SAFETY
SWITCH
TEST
OFF
ON
Blue
AC Mains Power IN