17 / 25
4. Push the 8 screws through the front blade in order to remove the squeegee front plate.
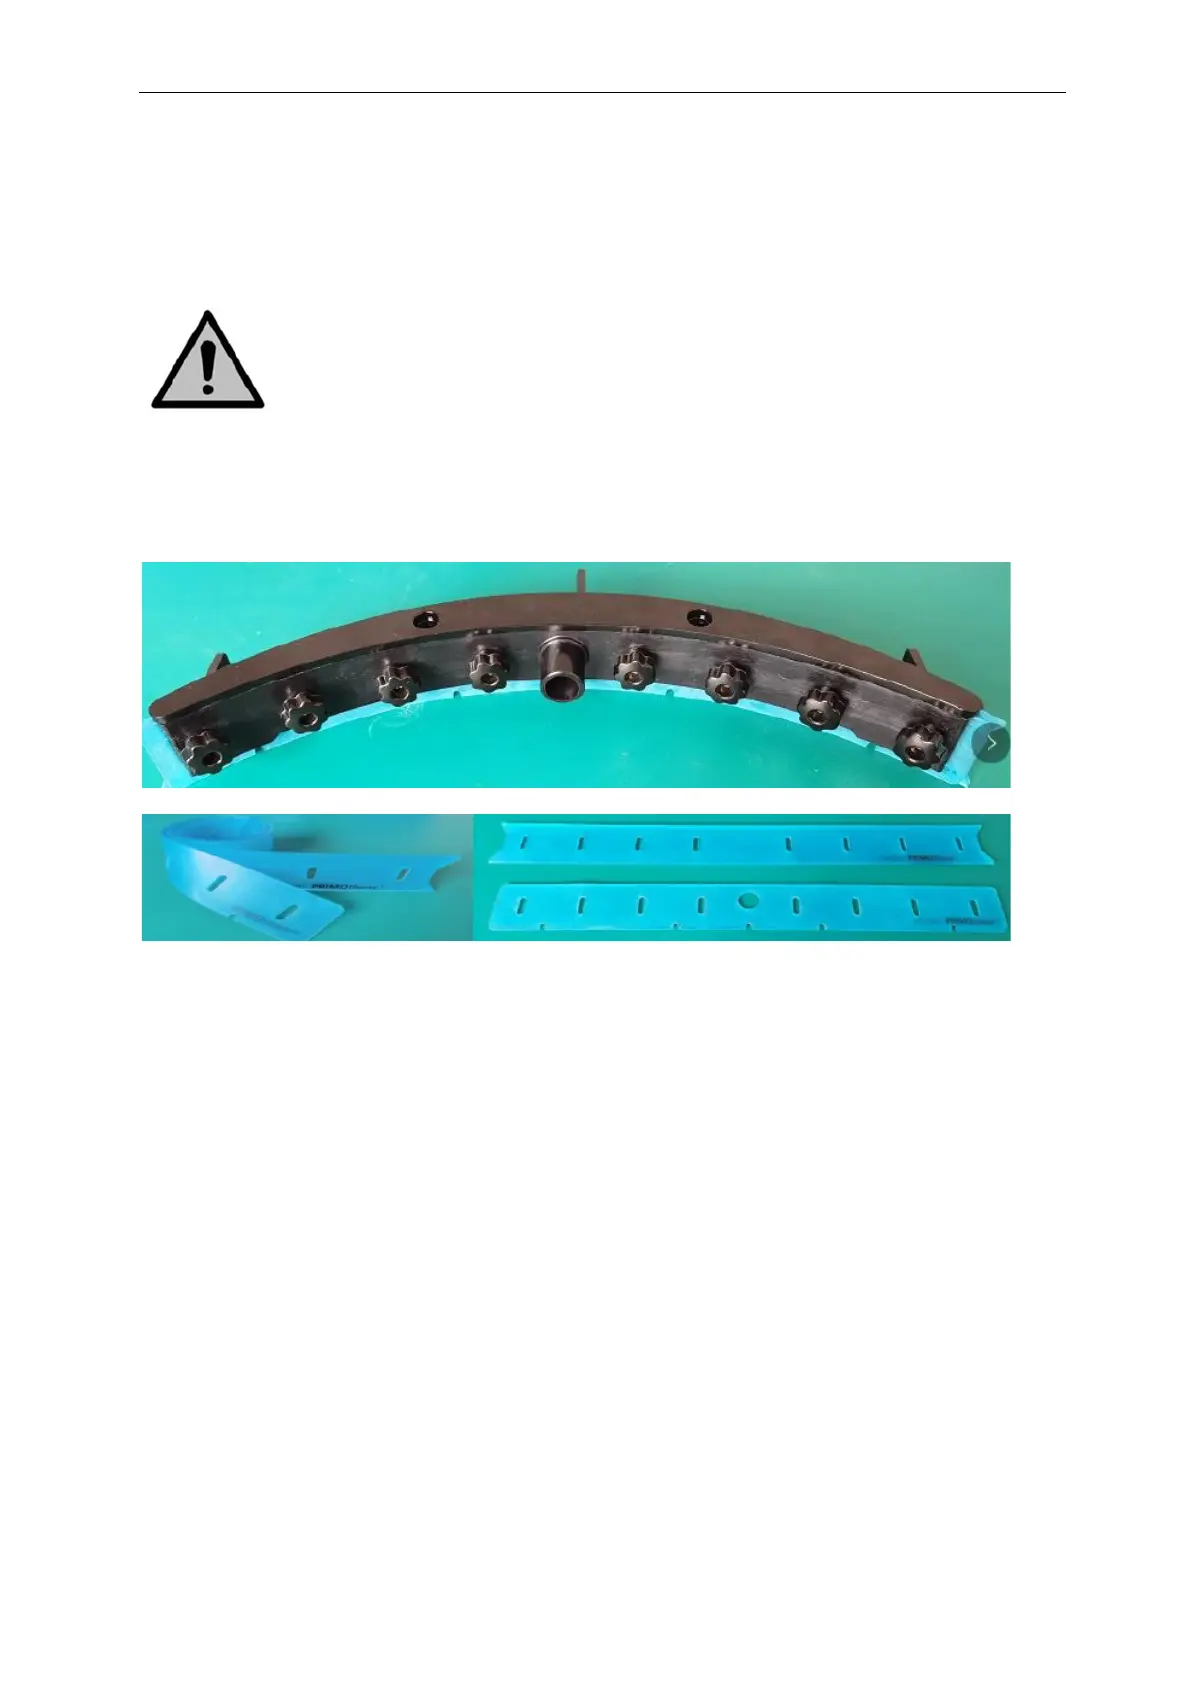
5. Take off the rear rubber blade.
6. Inspect the front and rear rubber blades:
The first time: flip the blades so the top of the blade is now facing the floor. Push the front
plate screws through the holes
The second time: attach a new set of blades. Push the front plate screws through the holes.
Caution:
The special squeegee blades that contain small arrow-like shapes cannot be switched. These need
to be replaced every time
Put back the plastic rear plate.
Screw the 8 plastic nuts on the back.
Attach the Squeegee:
1. Take the vacuum hose,
2. Insert the hose connector (refer to the above image) in the Squeegee.
3. Twist the hose connector 1/4turn for a firm fit.
4. Carefully pull the vacuum hose from the top of the machine
5. Hold the scrub deck firmly with one hand.
6. Align the pins on the scrub deck with the holes on the squeegee.
7. Screw the squeegee in place.