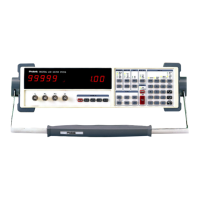
Capacitance Measurement
This test verifies that the Model Z9216 is able to measure components at different frequencies.
The limits of the readings are the same as before: ± (component tolerance + meter tolerance).
1. If the fixture configuration has changed, perform open and short circuit calibration.
2. Set the Model Z9216 to the C+D measurement mode, parallel equivalent circuit, and 1 kHz
test frequency.
3. Install the 22 nF capacitor. Verify that the unit reads the capacitance correctly to within 1.10%.
Verify that D is below 0.0001.
4. Set the unit to 100 Hz. Verify that the capacitance reading is close to the value measured
above and within the tolerance stated above. Repeat for 120 Hz. D values should be below
0.0001.
5. Repeat for 10 kHz. At 10kHz, the tolerance is 1.15%. For 100 kHz the tolerance is 1.25%. D
values should be below 0.001 for 10 kHz and 0.01 for 100 kHz.
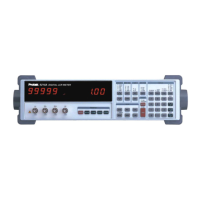
Performance Tests
These tests are intended to measure the Model Z9216's conformance with its published
specifications. These test results, along with the results of the functional tests, can be recorded
on the test sheet at the end of this manual.
Necessary Equipment
Instrument Critical Specifications
Time Interval Counter Time Interval Accuracy: 1 ns max
DC/AC Voltmeter 5 ½ digit DC accuracy, true RMS AC to 100 kHz
Resistance decade box
Accuracy 0.02%: 1 Ω to 1 MΩ
Capacitance decade box
Accuracy 0.02%: 1000 pF to 10 µF
Test conditions: at least 30 minutes of warm-up time, and a temperature in the range of 23°C ± 5
°C (73°F ± 9 °F).
.
Frequency Accuracy
This test measures the accuracy of the different output frequencies. They should be within 0.01%
(100 ppm) of the nominal value.
1. Set the Model Z9216 to its default conditions by pressing the key sequence RCL 0 ENTER.
Set the unit to constant voltage mode, 1 kHz test freqency, and remove any part from the
fixture.
2. Install the BNC adapter on the fixture. Connect the IH lead to the frequency counter.
3. Verify that the frequency counter reads 1 kHz ± 0.1 Hz (+0.01%). Record the result.
4. Repeat step 3 at 100 Hz, 120 Hz, 10k Hz and 100 kHz. The frequencies should all be within
0.01% of the nominal frequency. Record the results.
1