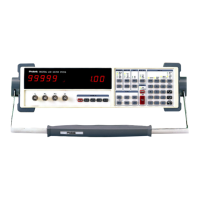
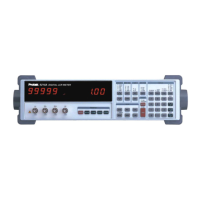
Values for Fail Bins 8 and 9
To set the QDR limit value, select Bin 8 (using the keys BIN# 8 ENTER) and press the NOM key.
This action will generate a display of the present QDR limit, or “----“, in the right alphanumeric display
and turn on the NOM LED. Input the value with the numeric keys and press the ENTER key.
Resistors for the C+R mode are entered in Ω (the allowable range of resistance values is only 0 to
9999 Ω, so no kΩ or MΩ key is needed). There are no limits for the QDR bin.
Bin 9, the general failure bin, cannot be set. Parts that do not fall into any other bin are assigned
to this bin.
Enable Binning
To enable or disable binning, press the BIN# key until the “Sort Off” or “Sort On” message appears.
Pressing the ENTER key from this display toggles binning (sorting) on and off. When binning is
enabled, the BINNING LED is on, the BINS display is active, and the handler interface (if installed) is
active. The handler interface is active whenever binning is enabled, whether or not the BINS display
is on. See the Handler section for more information on the Handler interface.
Using a Worksheet and Reusing Setups
Before entering binning information, it is usually better to write down the desired binning setup since it
is a fairly complicated procedure. See the binning worksheet below in Table 4-2.
Also, be sure to save setups that are used often. Certain setups can be edited, for example, one
percent resistors using the same nominal value—a different value of resistance can be sorted by
simply changing the nominal value, if the only nominal value entered was for Bin 0. For this reason, it
is often better to enter sequential binning data with a single nominal value and different percentage
limits, instead of with different nominal values. It is advisable to check the nominal values and limits
before making measurements, to be certain that they have not been modified. The binning setup can
be viewed in the same manner as it was entered; just do not press the ENTER key unless a value
needs to be changed.
41