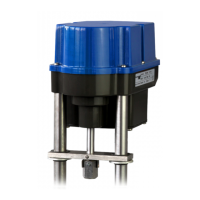
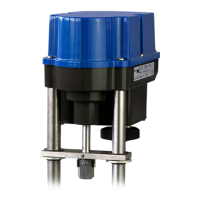
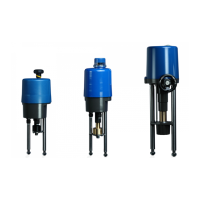
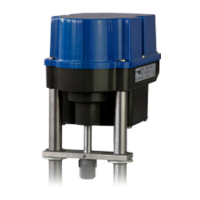
7. Valve mounting
The PSQx03 actuators are provided with a mechanical interface according to ISO 5211 for valve mounting. The
„Wolfrom“ gear does contain a removable drive bush to connect the actuator to the valve stem.
1 = actuator flange
2 = drive bushing
3 = indicator tooth
Ensure that the actuator flange suits the valve flange.
The bore of the drive bush (square, round bore with
keyway, double-D) must correspond to the valve stem.
The drive bushing (item 2) has one raised indicator tooth
(item 3) to define the zero position of the bushing. This
tooth may be filed off if other orientations are required.
Clean all surfaces of the connection area, slightly
lubricate drive bush and valve stem.
Insert drive bush into the actuator first.
Position the actuator on the valve. Tighten the screws in
a diagonal sequence with the required torque.
For valve mounting please ensure that the cover of the actuator is always closed in order to avoid
that components inside the actuator are damaged.
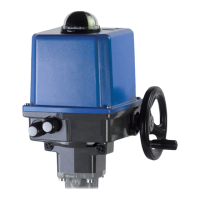
8. Setting the mechanical stops
There are two adjustable screws installed for setting the mechanical limit of the 90° motion.
When setting the mechanical end positions, only the handwheel may be used. Do not operate the
actuator electrically.
Remove the protection cap (figure 6, item 3) from either stop screw.
Unscrew both hexagon sockets anti-clockwise by approximately 5 turns.
Move the actuator to the closed position by turning the handwheel clockwise.
Turn stop screw for closed position (figure 6, item 1) to the stop.
Move the actuator to the open position by turning the handwheel anti-clockwise.
Turn stop screw for open position (figure 6, item 2) to the stop.
Item 1: Stop screw CLOSED position
Item 2: Stop screw OPEN position
Item 3: Protecting caps
Figure 6: Mechanical stops

 Loading...