6
Remote trigger
Your studio flash kit comes with a remote trigger that lets you wirelessly fire your flash. For more information, see
“Using the remote trigger” on page 16.
Memory feature
Your flash has a memory feature that automatically stores all the flash panel settings. When you turn off your flash,
then turn it back on, all settings you entered are restored.
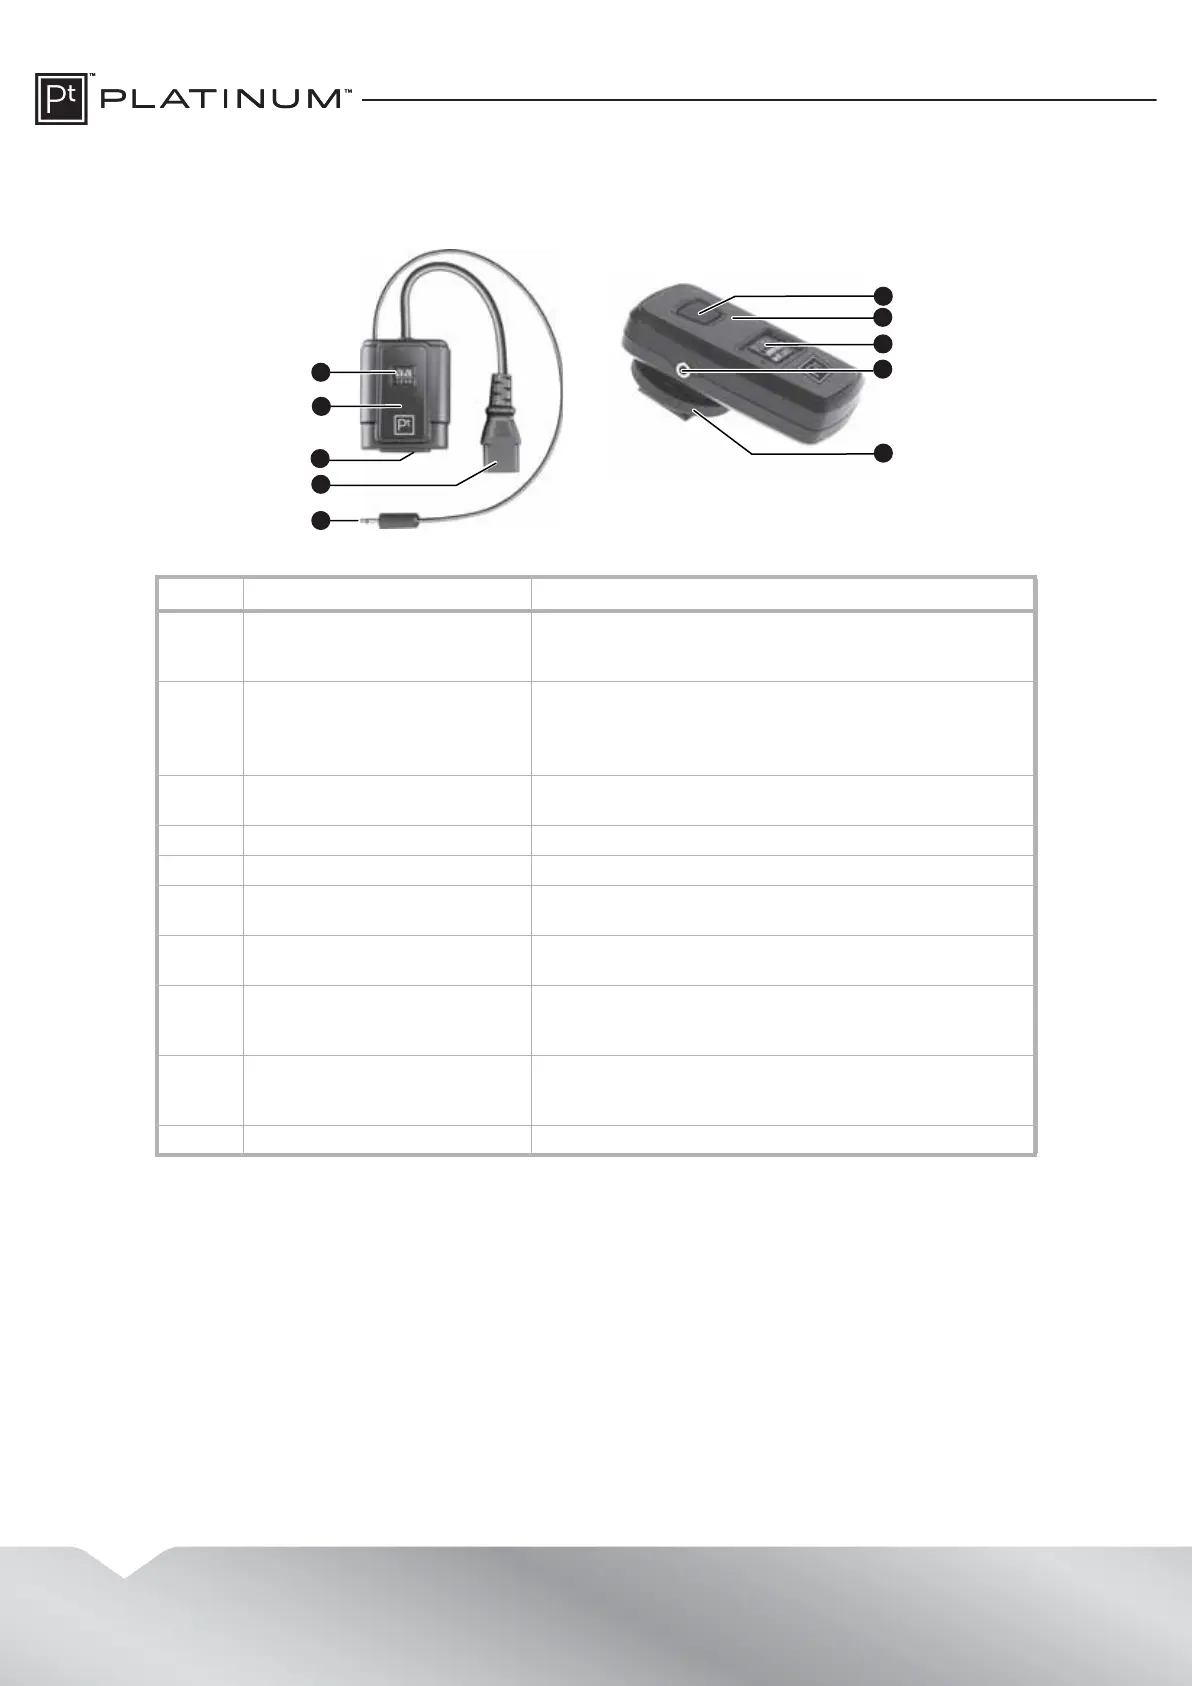
# Item Description
1 Channel code switches Use these switches to set the channel the receiver uses to
receive signals. The receiver and transmitter must be set to
the same channel.
2 LEDs The power LED lights blue when the power cord is
connected to the receiver and a power outlet.
The LED momentarily turns red when it receives a command
from the transmitter.
3 AC power jack Plug the AC power cable into this jack and into a power
outlet.
4 AC power cable Plug this cable into the AC power jack on the flash head.
5 PC sync port cable Plug this cable into the SYNC jack on the flash head.
6 Test button Press to test the flash without taking a picture or to release
the stored flash power.
7 LED Lights when the transmitter is sending a signal to the
remote receiver.
8 Channel code switches Use these switches to set the channel the transmitter uses
to send signals. The transmitter and receiver must be set to
the same channel.
9 PC sync cable jack If the camera does not have a hotshoe connector, plug the
PC sync cable into this jack and into the sync jack on the
camera.
10 Hotshoe connector Slide this connector into the hotshoe on the camera.
5
2
1
3
4
7
6
8
9
10
Receiver Transmitter