10
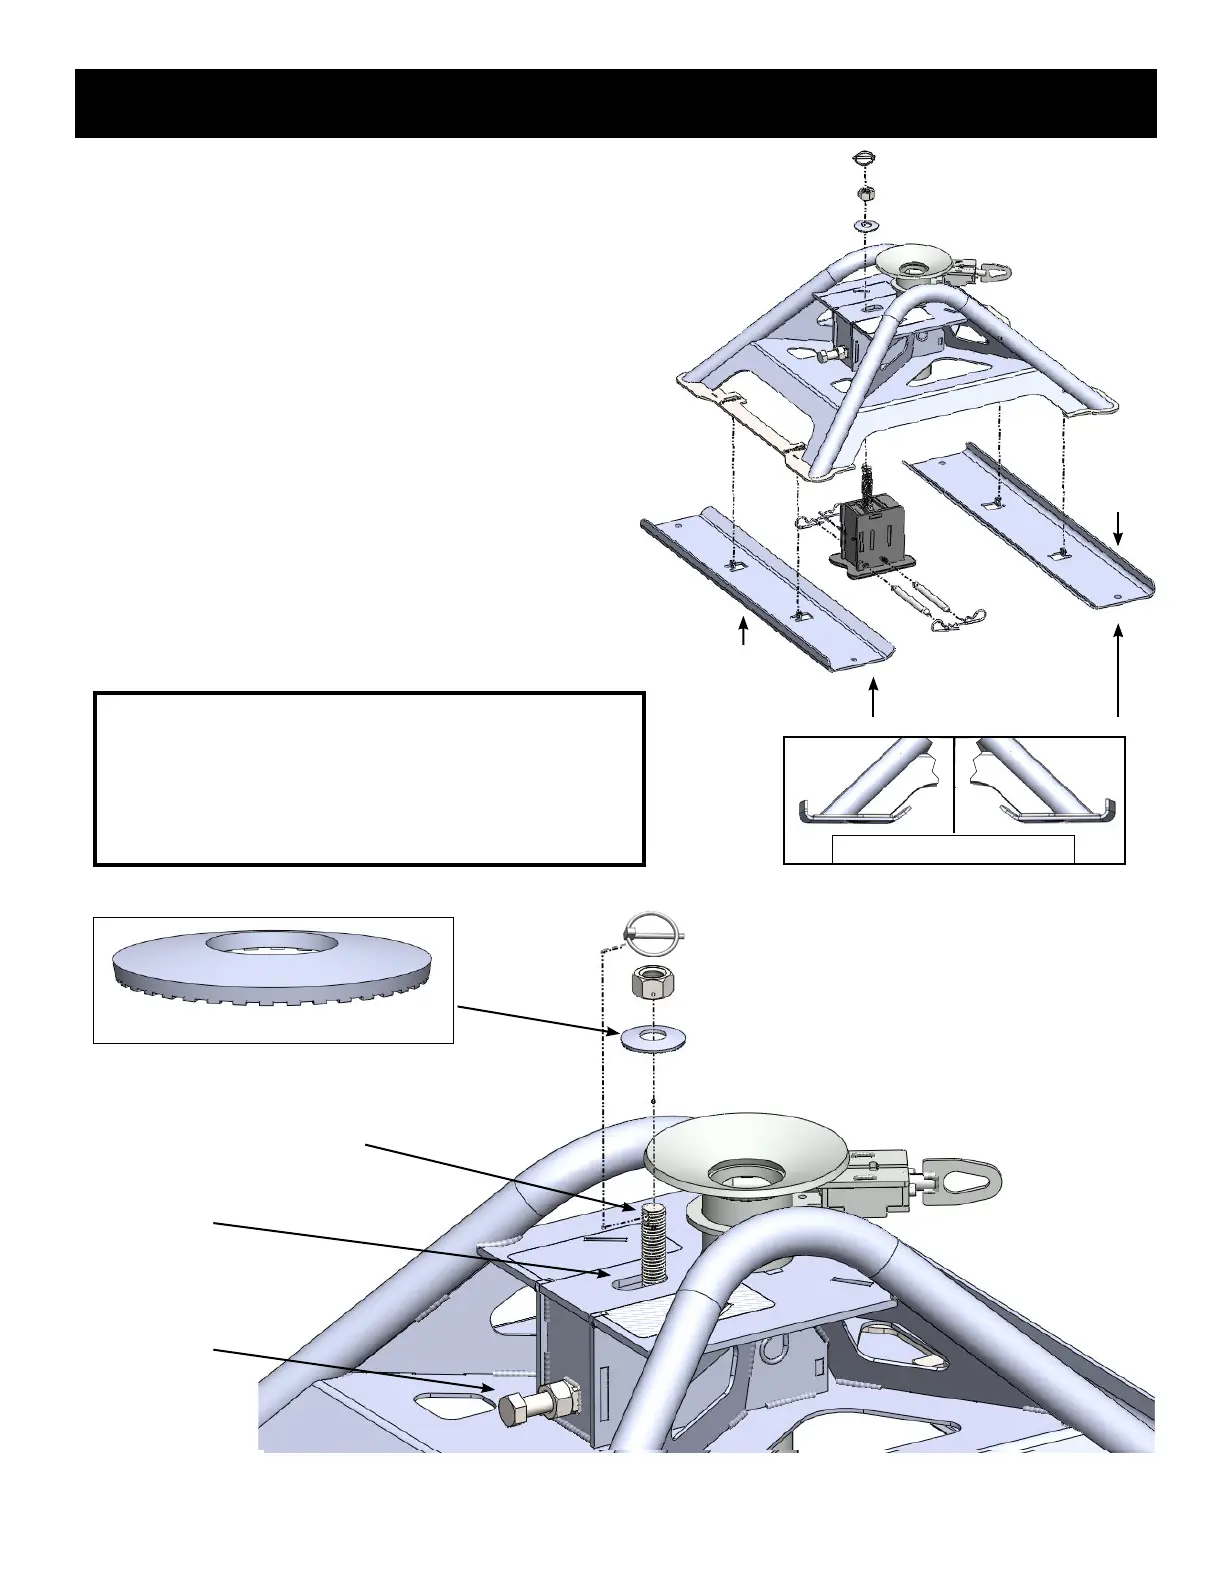
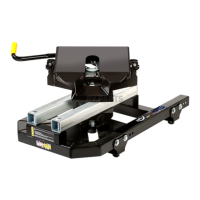
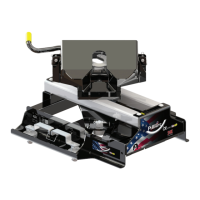
ATTACHING THE HITCH
OVAL SLOT
SET SCREW
COUPLER TUBE
BED SAVER RAILS
90°
1. Set the hitch over the Gooseneck Receiver with the PullRite
logo plate facing the truck tailgate. Make sure that the Draw
Down Bolt from the Gooseneck Receiver extends up through
the oval slot in the top of the hitch near the Coupler Tube.
Slide the Bed Saver Rails in place under hitch feet (90° bend
facing outward as seen in diagram at right
), and attach
with clips. Once the hitch is seated, the next step is to fasten
the hitch down to the truck bed.
2. Place the Conical Tooth Washer (teeth down) over the
Draw Down Bolt to the hitch, and then thread on the
foot pounds. As an extra measure of security, insert the
provided lynch pin through the hole in top of Draw Down Bolt
above the nut and snap ring over into the lock position.
3.
L
ocate the set screw and jam nut on the front of the hitch
facing the truck cab.Tighten the set screw to 45 foot pounds
using a torque wrench, and then snug tighten the jam nut.
Make sure hitch is tight against the truck bed.
Warning: The Draw Down Bolt and fasteners are the only
bolt holding your hitch in place, care should be given to make
sure that each time you install your hitch, you have inspected
each fastening element for wear, corrosion, crossed threads
or any unusual appearance. you should also check the torque
of the Draw Down Nut between each use.
REAR