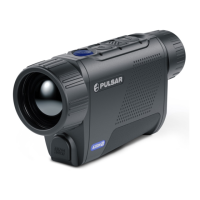
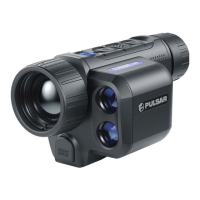
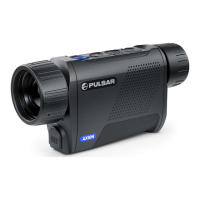
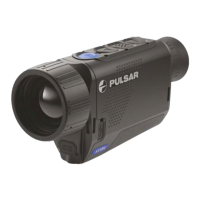
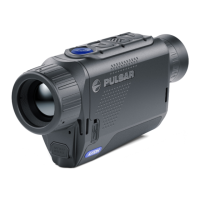
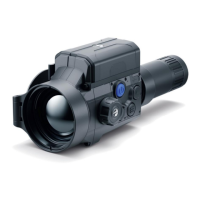
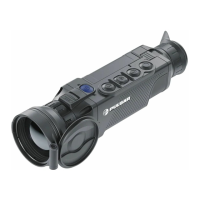
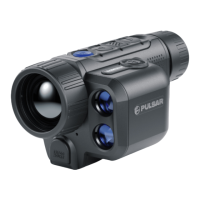
Photo Mode. Capturing an image
1. Switch to the Photomode by pressing and holding the DOWN/REC (3)
button.
2. Press the DOWN/REC (3) button briefly to take a photo. The icon
flashes – the photo file is being saved to the built-in SD card.
Notes:
You can enter and operate the menu during video recording.
Recorded videos and photos are saved to the internal memory card in
the format img_xxx.jpg (photos), video_xxx.mp4 (videos).
The maximum duration of a recorded file is five minutes. After this time
expires, a video is recorded into a new file. The number of recorded files
is limited by the capacity of the device's internal memory.
Regularly check the free capacity of the internal memory and move
recorded footage to other storage media to free up space on the internal
memory card.
In case of a memory card error, you can use the format function in the
General Settings section of the main menu.
 Loading...

