ENGLISH
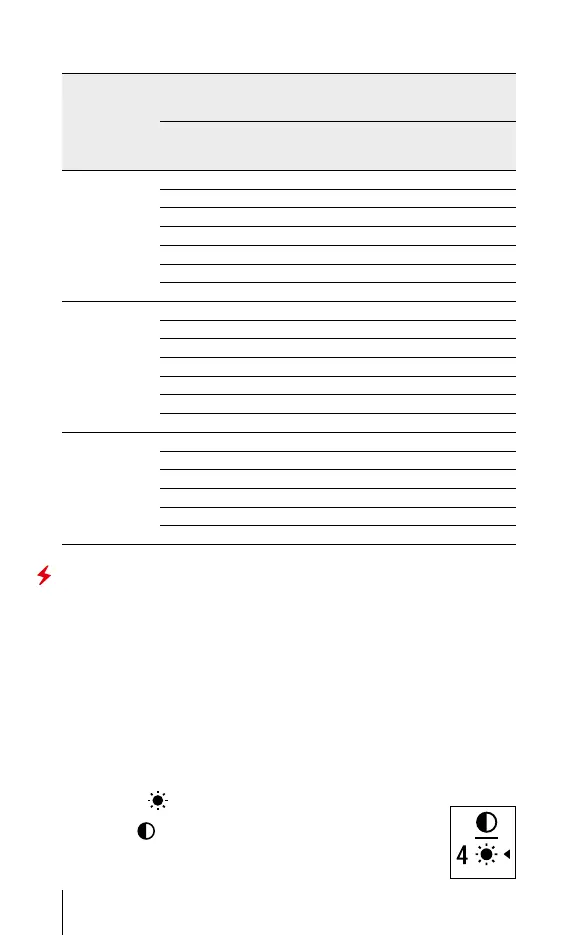
Selection table for optical device insert rings
Cover adapter
model
The internal diameter of the insert needs to match the outer
diameter of the objective lens housing of the daylight optical
device it is being installed on.
Insert internal
diameter, mm
Suitable for lens housing of daylight
optical devices with an outer diameter
of, mm
Cover adapter
FN 42mm
45.5 45.5
46 46
46.5 46.5
47 46.7-47.6
48 47.7-46.7
49 48.7-49.6
50 49.7-50.6
Cover adapter
FN 50mm
51.6 51.6
53.4 53.4
55 54.7-55.6
56 55.7-56.6
57 56.7-57.6
58 57.7-58.6
59 58.7-59.6
Cover adapter
FN 56mm
60 59.7-60.6
61 60.7-61.6
62 61.7-62.6
63 62.7-63.6
64 63.7-64.6
65 64.7-65.6
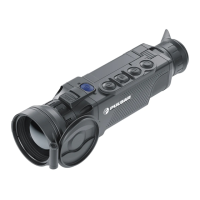
Powering On and Image Setup
•
Remove the lens cover (1) by turning it counterclockwise.
•
Turn on the device by pressing the ON (9) button. An image will appear on
the display after a few seconds.
•
Adjust the eyepiece diopter ring of your daylight optical device until the
symbols in the display are sharp. In future, it will not be necessary to adjust
the eyepiece diopter, regardless of the distance and other conditions.
•
Rotate the lens focus knob (10) to focus on the visual target.
•
Basic settings (brightness and contrast adjustment) can be altered by using
the quick access menu.
•
Enter the quick menu with a short press of the M (7) button.
•
A short press of the M (7) button enables you to switch between functions, as
described below.
- Brightness
– by pressing the RIGHT (6) and LEFT (8) buttons
and changing the display brightness value from 0 to 20.
- Contrast
– by pressing the RIGHT (6) and LEFT (8) buttons
and changing the display contrast value from 0 to 20.
•
Turn the device off after use with a long press of the ON (9) button.
7