TM
Cover Gasket Replacement Instructions
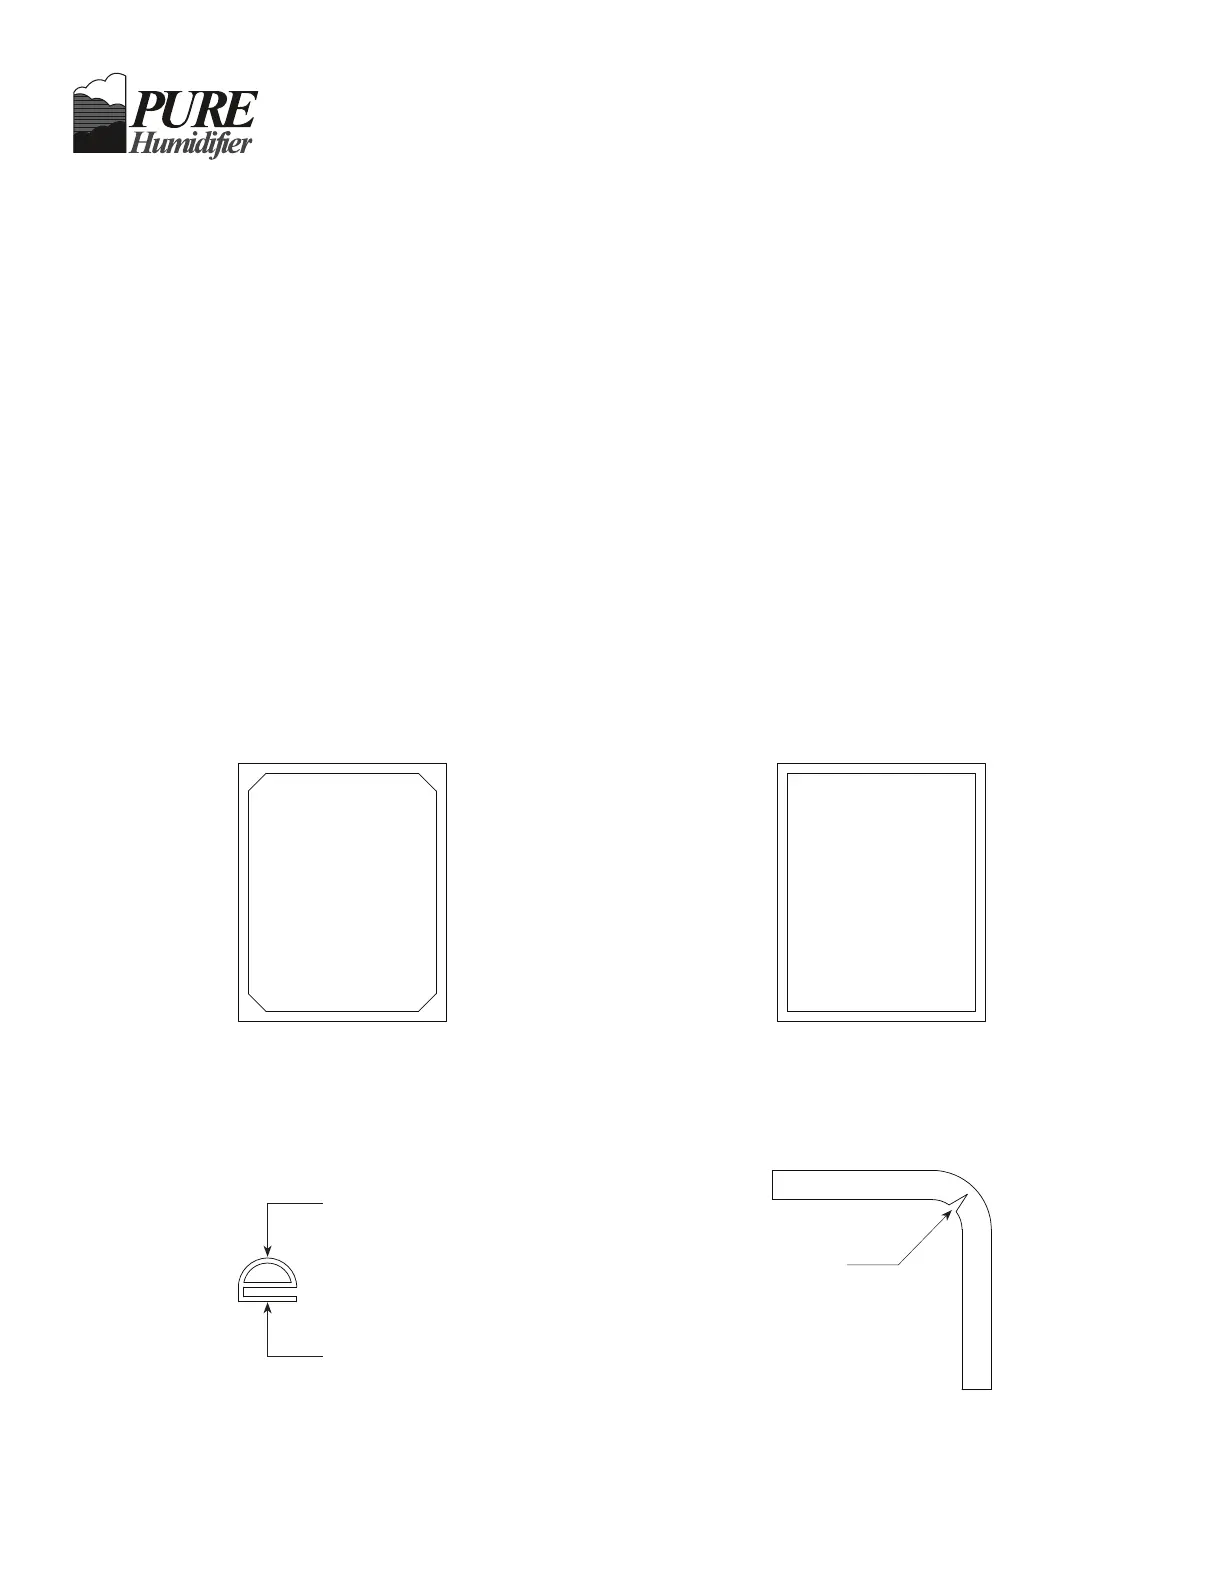
Remove the reservoir cover. While looking at the top of the unit, reference Figure A and B to determine which humidi¿ er
tank style you have.
Figure A Installation
Fit the gasket around the entire lip of the tank opening. Cut the gasket ¹»” longer than required, this will ensure proper
¿ t when the cover is clamped back on. Slide the gasket onto lip of tank around the entire perimeter, and seal the ends
together with a small amount of silicone.
Figure B Installation
Fit the gasket around the entire lip of the tank opening. Cut the gasket ¹»” longer than required, this will ensure proper ¿ t
when the cover is clamped back on. Slide the gasket onto lip of tank around the entire perimeter. Notch only the bottom
À ap of the gasket (reference Fig. C) in the corners of the tank. Seal the ends together with a small amount of silicone.
Fig. A
Plan View of Humidi¿ er
Fig. B
Plan View of Humidi¿ er
Gasket Top
DO NOT NOTCH
Gasket Bottom
NOTCH HERE
Bottom View of Gasket
Section View of Gasket
Notch gasket Bottom Only
Fig. C
 Loading...