Do you have a question about the Pyle Pro PLTTB-1 and is the answer not in the manual?
Instructions to prevent electric shock, avoid opening the unit, and refer servicing to qualified personnel.
Guidance to prevent fire or electric shock by avoiding exposure to rain, moisture, and extreme temperatures.
Ensures safe connections by verifying AC power is off before making any wiring adjustments.
Explanation of symbols indicating dangerous voltage and the necessity to refer to the instruction manual.
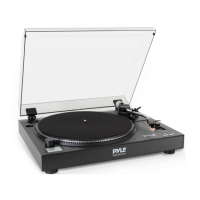
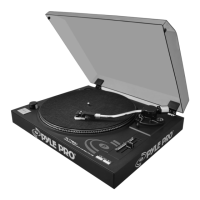
Identifies power switch, start/stop, pitch control, speed selectors, and indicator lights.
Details the tonearm lever, lock, headshell, counterweight, and antiskating control.
Describes the platter for records and the adapter for 45 RPM singles.
Locates signal connectors for audio output and the power cord connection.
Identifies the dust cover used for protecting the turntable from dust.
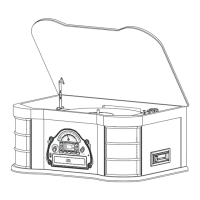
Step-by-step instructions for placing the platter, attaching the drive belt, and adding the rubber mat.
Guidance on sliding the counterweight onto the tonearm for proper balance.
Steps to attach the dust cover hinges to the cover and the turntable base.
Instructions for setting the stylus pressure by balancing the tonearm and adjusting the counterweight.
Instructions on adjusting the antiskating control to match the counterweight setting for proper tracking.
Guide to connecting audio output and ground wires to an amplifier or mixer.
Steps to remove stylus cap and turn on the turntable, noting indicator lights.
Guidance on selecting speeds, placing records, and lowering the stylus onto the groove.
Procedure for lifting the stylus, securing the tonearm, and powering off the unit.
Steps for removing the old cartridge and connecting wires to a new replacement cartridge.
Detailed technical data including dimensions, weight, speeds, power supply, and performance metrics.
| Type | Belt Drive |
|---|---|
| Platter Material | Aluminum |
| Output | RCA |
| USB Recording | Yes |
| Motor | DC Motor |
| Built-in Preamp | Yes |
| Speeds | 33 1/3 RPM, 45 RPM |
| Cartridge Type | Moving Magnet |