Page: 35
7.1.2 Serial Connection (RS232)
The control panel is set up by the
factory with RS232 port enabled as a
method of connection to the UDL
software.
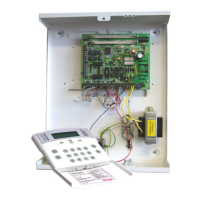
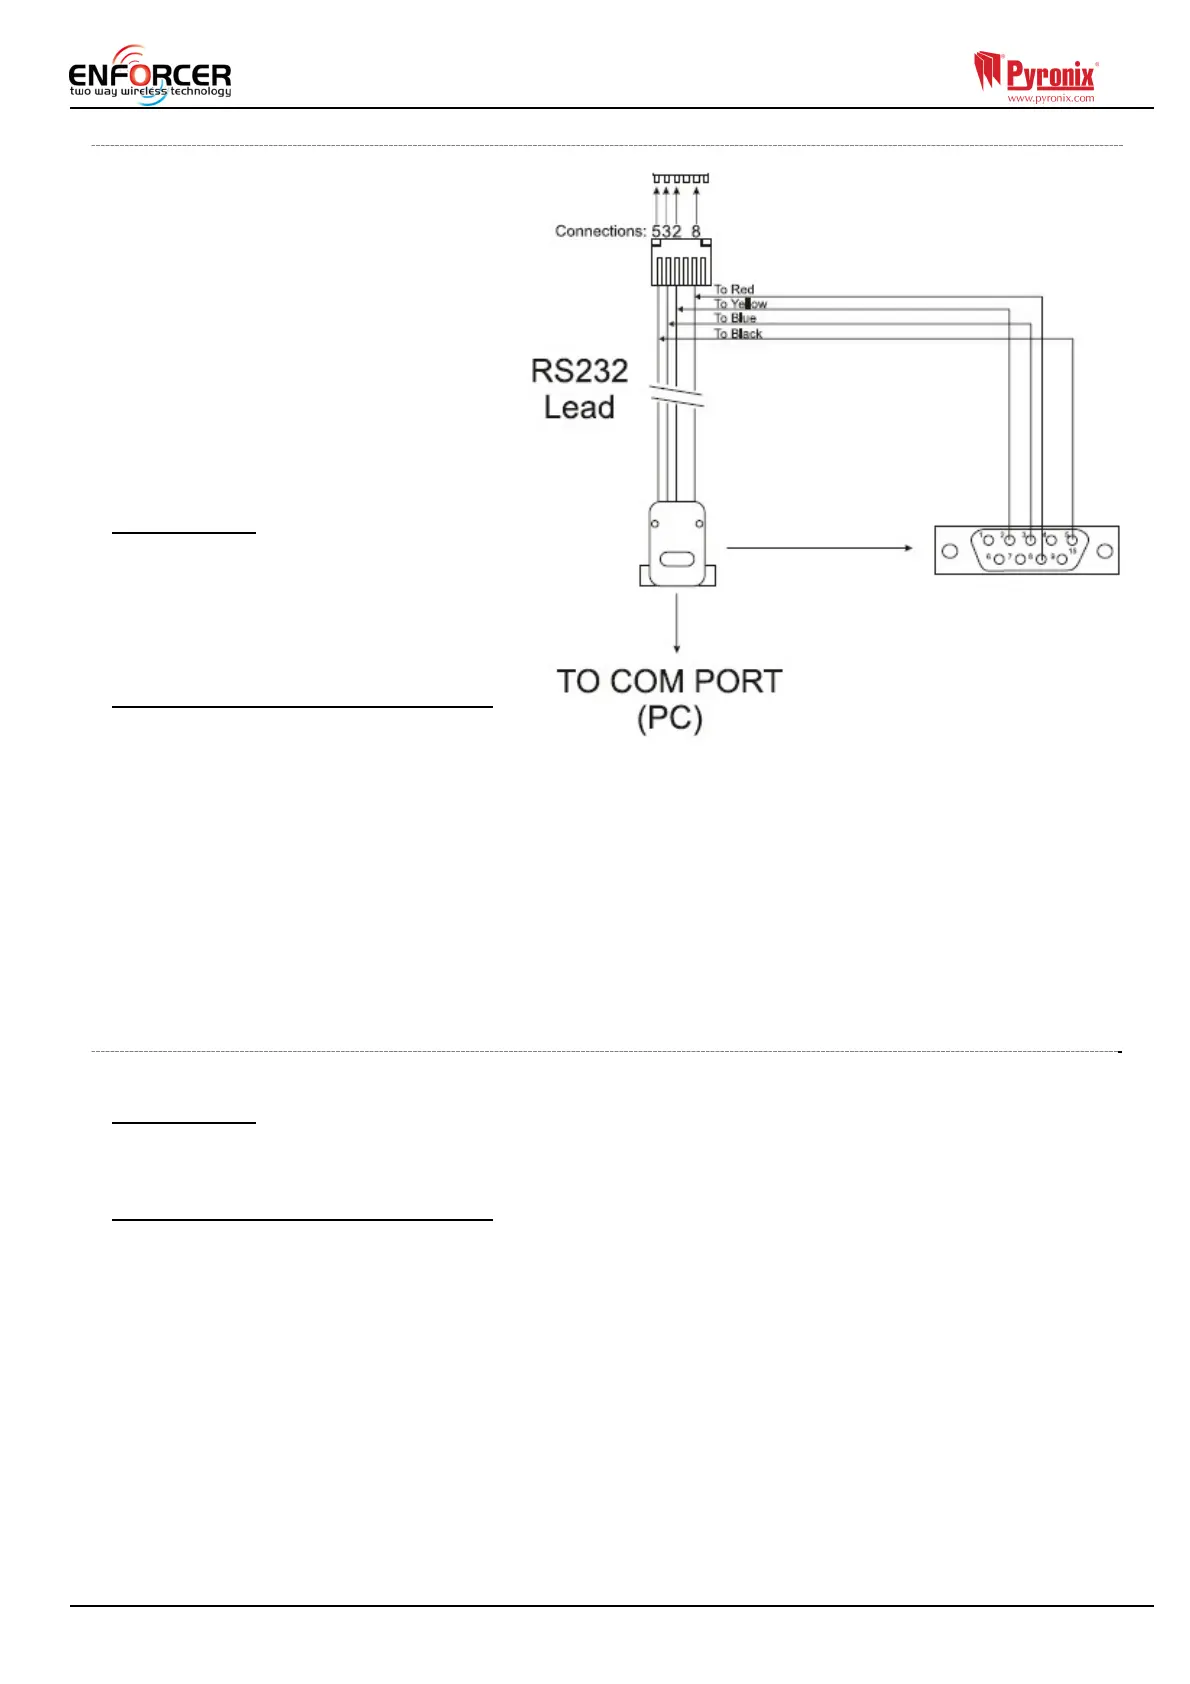
NOTE: For this connection a special
cable that is supplied by Pyronix is
required -or it can be created
according to the diagram on the right.
NOTE: If the PC does not have serial
port, you may require a standard
RS-232 to USB converter.
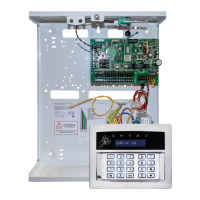
Unscrew and open the Enforcer casing,
plug the RS-232 cable into the
dedicated connector as shown on the
image to the right.
On the Panel
1) Enter the Engineer menu (code
9999)
2) Scroll the menu (x button) until
the “Options Up/Downloading”
3) Choose RS-232 in the “Download
by” option
On InSite UDL software from a PC
1) To setup the COM port associated
to “modem” open the software, click
on “Configuration”, - choose “Modem Settings” and select “RS-232” option
2) Make sure that the serial COM used by UDL software is set the same as in Control Panel ->
Device Manager -> Ports
3) Make sure that the UDL Graphic user interface RS-232 icon has turned green
4) Click on “Force Dial Customer”
5) Set “Dial Mode” field to “RS-232”
6) Enter the Engineer code in the “Engineer Code” field
7) Click on “dial”
8) If connection is successful, the RS-232 icon will become blue
NOTE: If a Site Name is set up on the panel the UDL Site Name must be the same otherwise the
connection will not be possible.
7.1.3 Modem Connection (DIGI 1200, PSTN)
Make sure that the panel and the modem on the PC where UDL is installed are connected to a
suitable PSTN line.
On the Panel
1) Enter the Engineer Menu (code 9999)
2) Scroll the menu (X button) until the “Options Up/Downloading”
3) Choose Modem in the “Download by” option
On InSite UDL software from a PC
1) To setup the COM port associated to “modem” open the software, click on “Configuration”,
choose “Modem Settings” and select “MODEM” option
2) Verify that COM port associated to “Modem” in the UDL software is set the same as in Control
Panel -> Device Manager -> Ports
3) Verify that the modem Icon has turned green in the software Graphic User Interface
4) In the “Configurations” menu choose the “Modem Type” from the drop down menu. This is the
modem connected to the PC and used to call the panel
5) Press “Load Default String” to program the right initialization string for the selected modem
6) Click on “Force Dial customer”
7) Set “Dial Mode” field to “MODEM”
8) Insert the telephone number in “Telephone Number” field
9) Enter the Engineer code in the “Engineer Code” field
10) Click on “dial”
11) If connection is successful, the modem Icon will become blue.
NOTE: If a Site Name is set up on the panel the UDL Site Name must be the same otherwise the
 Loading...