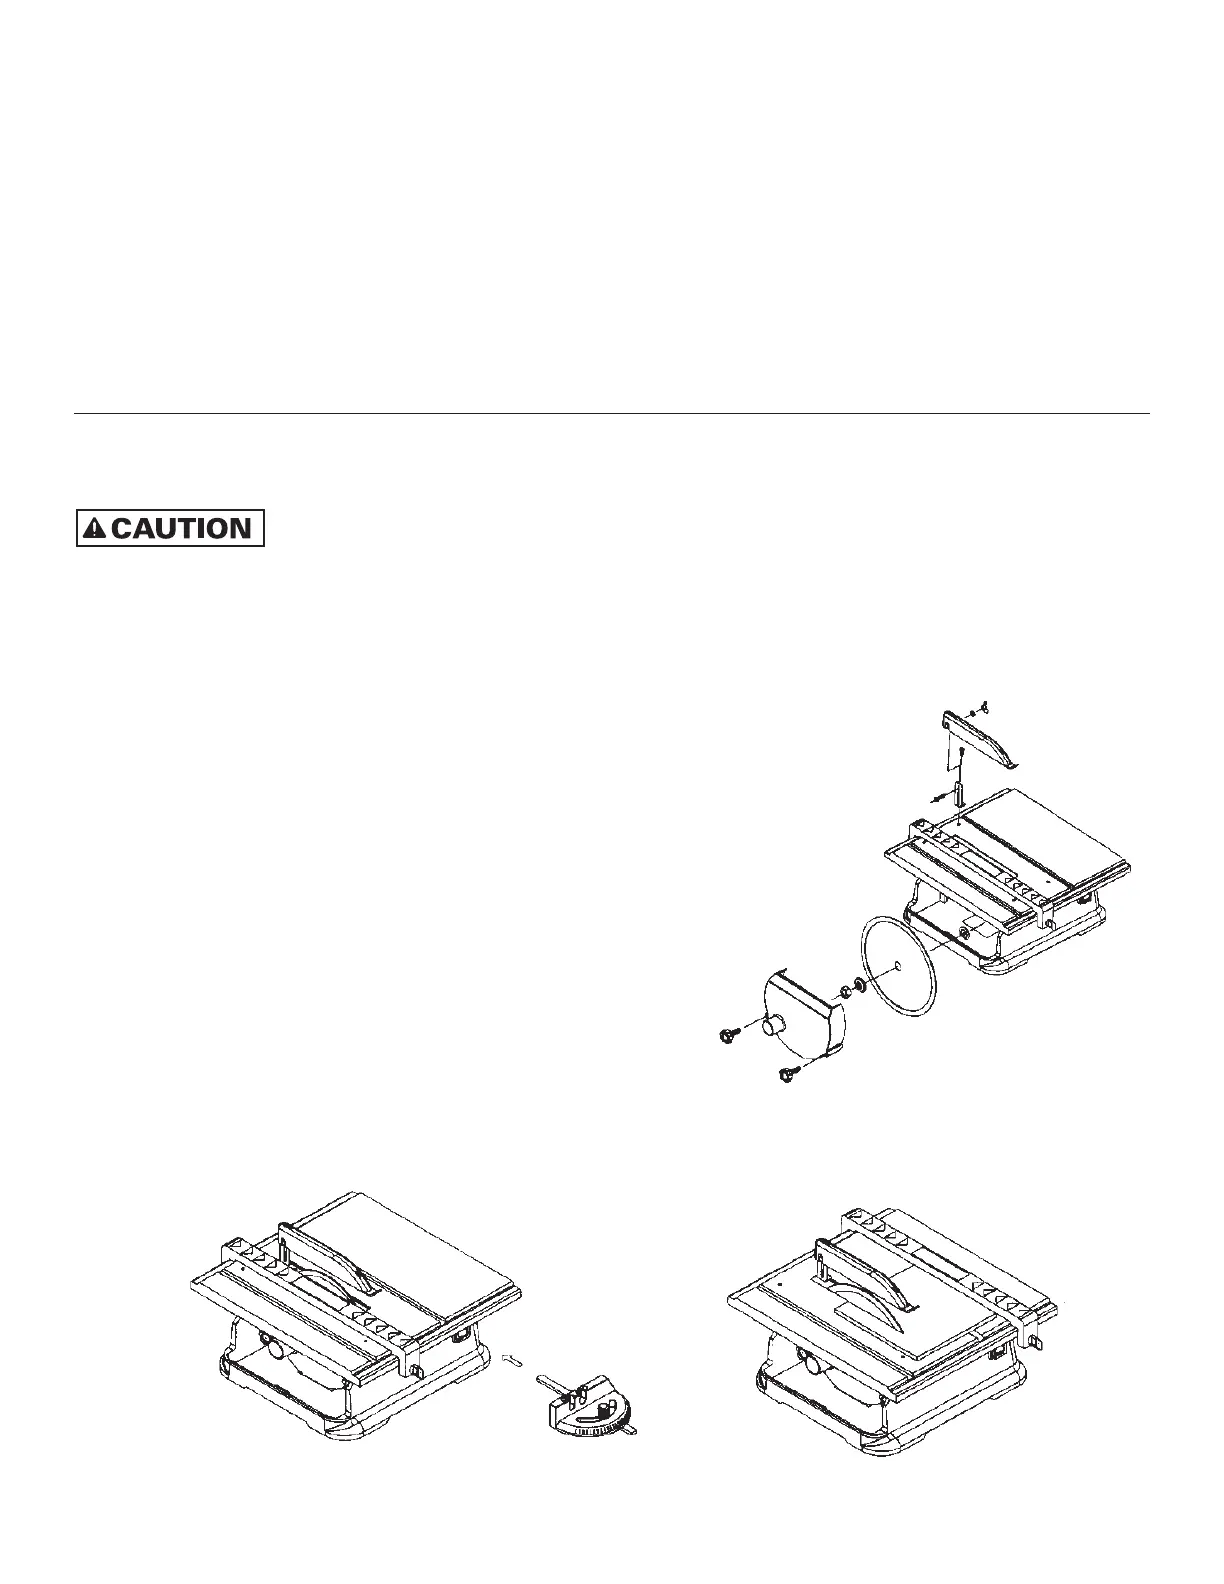
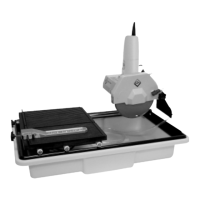
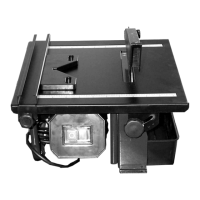
• Place the blade onto the shaft, pushing it up against the inner washer. Make
sure the directional arrows on the blade are facing towards you. Place the
outer washer and blade shaft nut, then tighten the blade shaft nut. Make
certain the nut is firmly tightened with the wrench provided. Do not over
tighten! Place dustcover and tighten with screws. (See diagram 1)
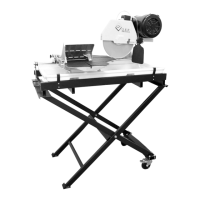
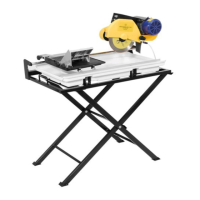
• Place the Rip Guide on the top of the cutting table and tighten wing
screw into its support nut. The guide is marked in both inches
and centimeters for accurate cutting. Rip guide can be used
on either side of the cutting blade. (See diagram 2)
• Place the Miter Guide onto its left or right track.
(See diagram 2)
• For straight cutting, after the rip guide is positioned for the
desired cut, place the material flush against the rip guide then
push the material towards the blade. (See diagram 3)
- 7-
DIAGRAM 1
DIAGRAM 2
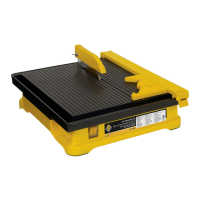
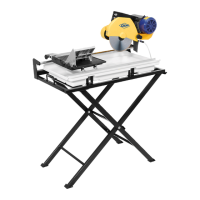
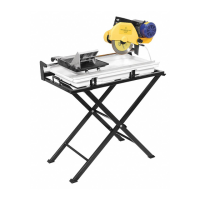
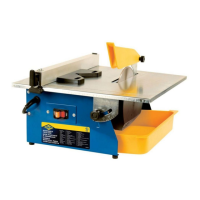
FEATURES OF THE TILE SAW
• Direct drive motor.
• Wet cutting.
• Water reservoir completely separated from all electrical components.
• 7 in. continuous rim wet diamond blade included for cutting tile and other materials.*
•
Adjustable chrome table for precision miter cuts (0°–45° degrees).
*This saw comes with a diamond blade that is ideal for cutting ceramic tile. If your project requires the cutting of
other substrates, including porcelain, it is recommended that you use the specific type of blade for the material
being cut.
ASSEMBLY AND SET UP
FOLLOW ALL OF THE ASSEMBLY AND INSTALLATION INSTRUCTIONS COMPLETELY
BEFORE CONNECTING THE TILE SAW TO A POWER SOURCE OR TURNING THE MOTOR ON.
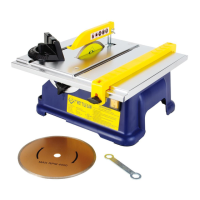
The contents of the box are as follows
• 7 in. Diamond Blade • Owner’s Manual
• Blade Guard • Miter Guide
• Rip Guide • Blade Wrench
DIAGRAM 3
60087_Manual.qxd:60087_Manual 4/23/09 4:04 PM Page 7