SPECIAT SAFETY
INSTRUCTIONS BEFORE USING
THE
832OO
BRIDGE
SAW
Check the
following areas;
1. Does the voltage of the
motor
correspond
to the main voltage?
2.
A
grounded
main connection
(wall
socket)
needs
to be
used.
3. Are the main
lead
and
plug
in
good
condition without any loose ends or damage?
A. Avoid using long extension cords.
B. Always
place
the saw on
a flat surface to
prevent
it from tipping over.
While using the
saw;
1. Never use-cracked
diamond blades. replace them
2. Be sure that the switch
is in the OFF
"OFF'Lposition
before connecting the saw to the main
voltage.
3. Always
keep
away
the main lead from moving
parts
of the saw.
4.
Do not apply side-pressure to the diamond blade.
lt can break the blade and cause
harm.
5.
Remove the
plug
out of the
wall socket before
you
make any
repairs
or
replace
blade.
IMMEDIATELY SWITCH
OFF THE SAW
IN
CASE OF;
1. Excessive sparking of the
brushes.
2. Malfunction of the main
plug,
socket
or damaged cables.
3.
Broken switch.
4.
Smoke
or smell caused
by scorched
insulation.
FUNCTIONAL
DESCRIPTION
AND OPERATION
STARTING
AND STOPPING
1.
Connect
the
unit to a
power
supply of the
correct
voltage and
frequency
(120V-60H2).
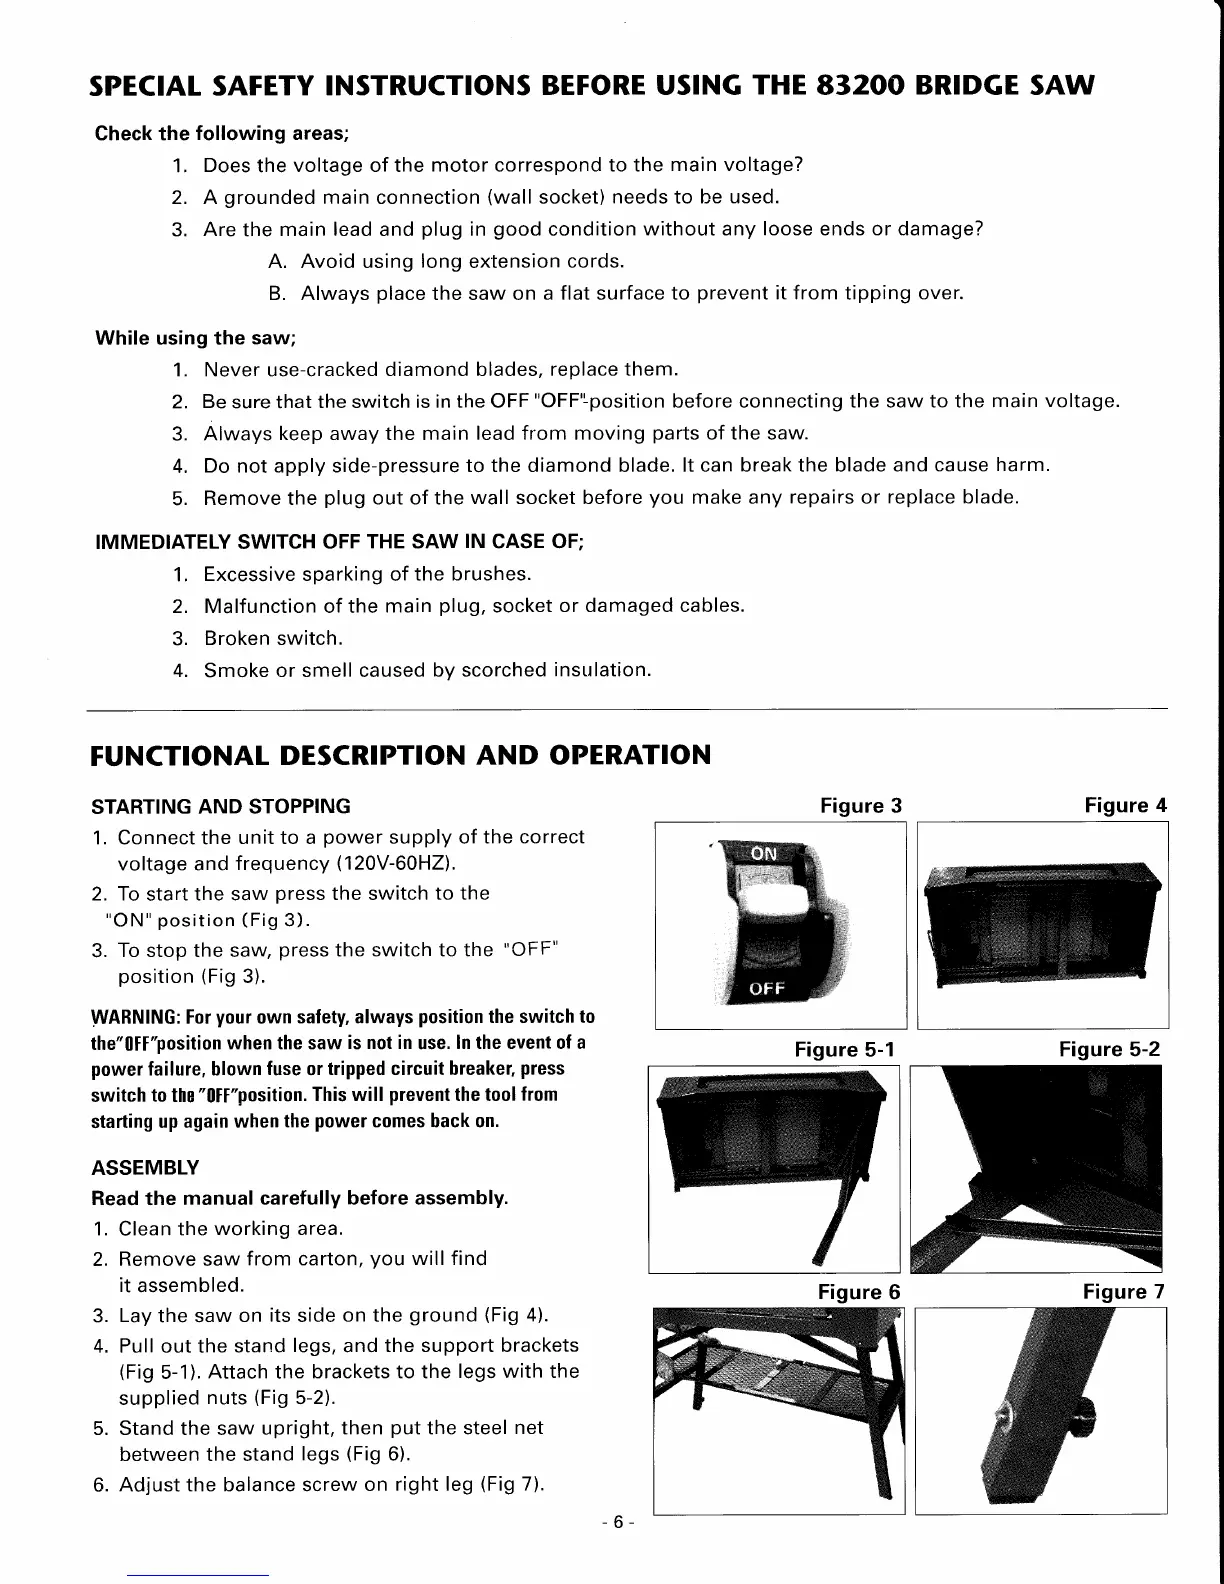
2. To
start
the saw
press
the switch
to the
"ON" position
(Fig
3).
3.
To stop the saw,
press
the
switch to the
"OFF"
position
(Fig
3).
WARNING:
For
your
own
safety, always
position
the switch to
the"0ff"position
when the saw
is not in
use.
ln the event of a
power
failure, blown
fuse
or
tripped circuit breaker,
press
switch
to
the
"0t["position.
This will
prevent
the tool
from
starting
up again
when
the
power
comes back on.
ASSEMBLY
Read
the
manual
carefully before assembly.
1.
Clean
the
working area.
2.
Remove
saw
from carton,
you
will find
it
assembled.
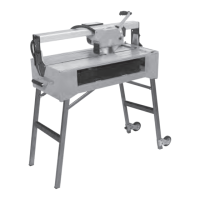
3.
Lay
the saw
on
its
side
on the
ground
(Fig
a).
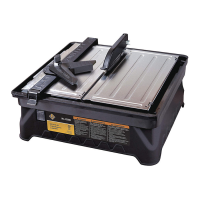
4. Pull out the stand
legs,
and the
support brackets
(Fig
5-1).
Attach
the
brackets to the
legs with the
supplied
nuts
(Fig
5-2l'.
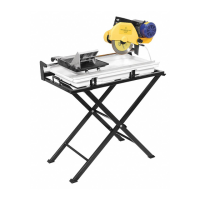
5. Stand the saw
upright,
then
put
the steel
net
between the stand
legs
(Fig
6).
6.
Adjust the balance screw
on
right leg
(Fig
7).
Figure 3
rc
Figure
4
Figure 5-1
Figure 5-2
Figure
6
Figure
7