– 11 –
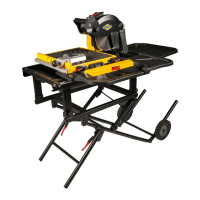
5. From underneath the saw, directly below the
rip fence, there are two ¼” bolts located under
the left rip fence and 2 bolts under the right rip
fence. Loosen both bolts for the rip fence that
you are adjusting. (See Images E & F)
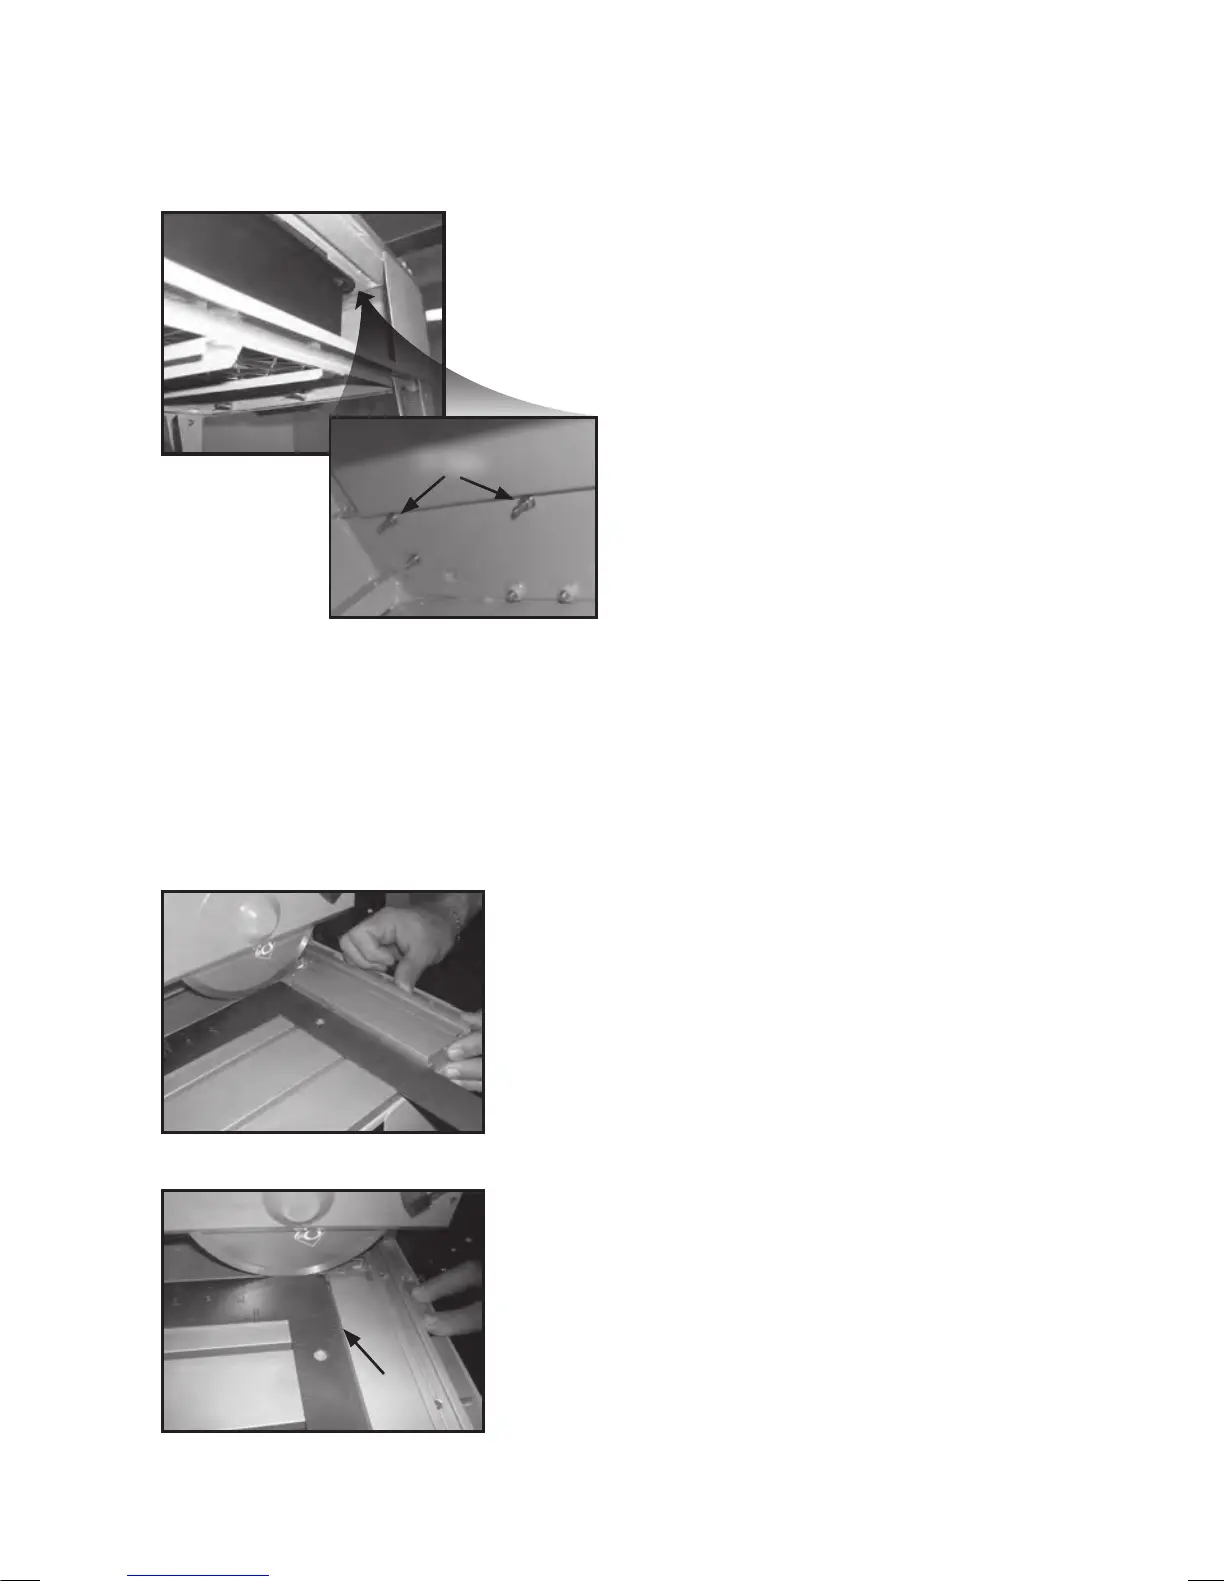
6. Once the screws are loose, easily slide the rip
fence above, allowing you to close the gap
between the square and the rip fence. When
the square is flush against the rip fence
re-tighten the two ¼” bolts from the side you
are adjusting. If necessary, repeat the same
steps for the other side. (See Images G & H)
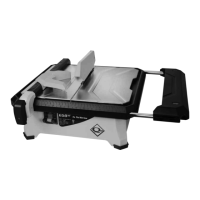
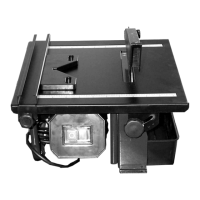
IMAGE E
IMAGE F
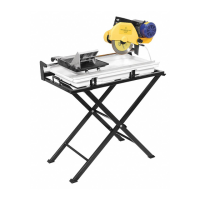
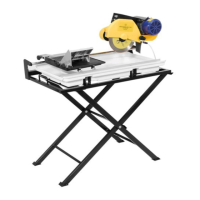
IMAGE G
IMAGE H
7. Once both rip fences are secured in place
slide the extruded aluminum angle bar
firmly against both rip fences and tighten in
place for additional support.
Q.E.P. CUSTOMER SERVICE:
1-866-435-8665
No More
Gap
¼
"
Bolts
 Loading...