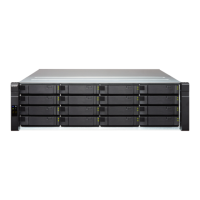
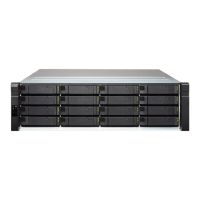
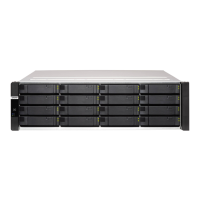
28
1. Connect either of the mini-SAS ports of the SAS HBA on Storage Controller A in the ES NAS and the
(SAS) IN PORT on the left controller in the expansion enclosure with a mini-SAS cable.
2. (Repeat the above step for Storage Controller B) Connect either of the mini-SAS ports of the SAS HBA
on Storage Controller B in the ES NAS and the (SAS) IN PORT on the right controller in the expansion
enclosure with a mini-SAS cable.
3. (For connecting more expansion units) If there are more expansion enclosures to
be connected, connect the (SAS) OUT PORT on the left controller in the expansion enclosure to the (SAS)
IN PORT on the left controller in the next expansion enclosure with a mini-SAS cable. Repeat this step
with the right controllers in both expansion enclosures.
4. (For connecting the last expansion unit) Connect one end of the mini-SAS cable to the OUT port on
the left controller in the last expansion enclosure and the other end of the mini-SAS cable to the mini-
SAS expansion port on Storage Controller B of the ES NAS (cross-connect to the other Storage Controller
of the ES NAS).
5. (Repeat the above step for the other Storage Controller) Connect one end of the SAS cable to the OUT
port on the right controller in the last expansion enclosure and the other end of the mini-SAS cable to
the mini-SAS expansion port on Storage Controller A of the ES NAS (cross-connect to the other Storage
Controller of the ES NAS).
6. Connect the power cables to the new expansion enclosures and power on the expansion enclosures.
Note:
1. If the ES NAS is not powered on, it is recommended to power-on the expansion units
first and then power-on the ES NAS.
2. To connect a mini-SAS cable, insert the mini-SAS connector into a mini-SAS port. Make
sure that it locks into place. To remove a mini-SAS cable, put one finger into the hole on
the finger tab on the mini-SAS connector and pull on the tab to release the lock.
3. Use mini-SAS SFF-8088 to SFF-8088 cable to attach ES1640dc with EJ1600. And use mini-
SAS SFF-8644 to SFF-8644 cable to attach ES1640dc v2 with EJ1600 v2. To attach
ES1640dc v2 with EJ1600 use mini-SAS SFF-8644 to SFF-8088 cable.
 Loading...