40
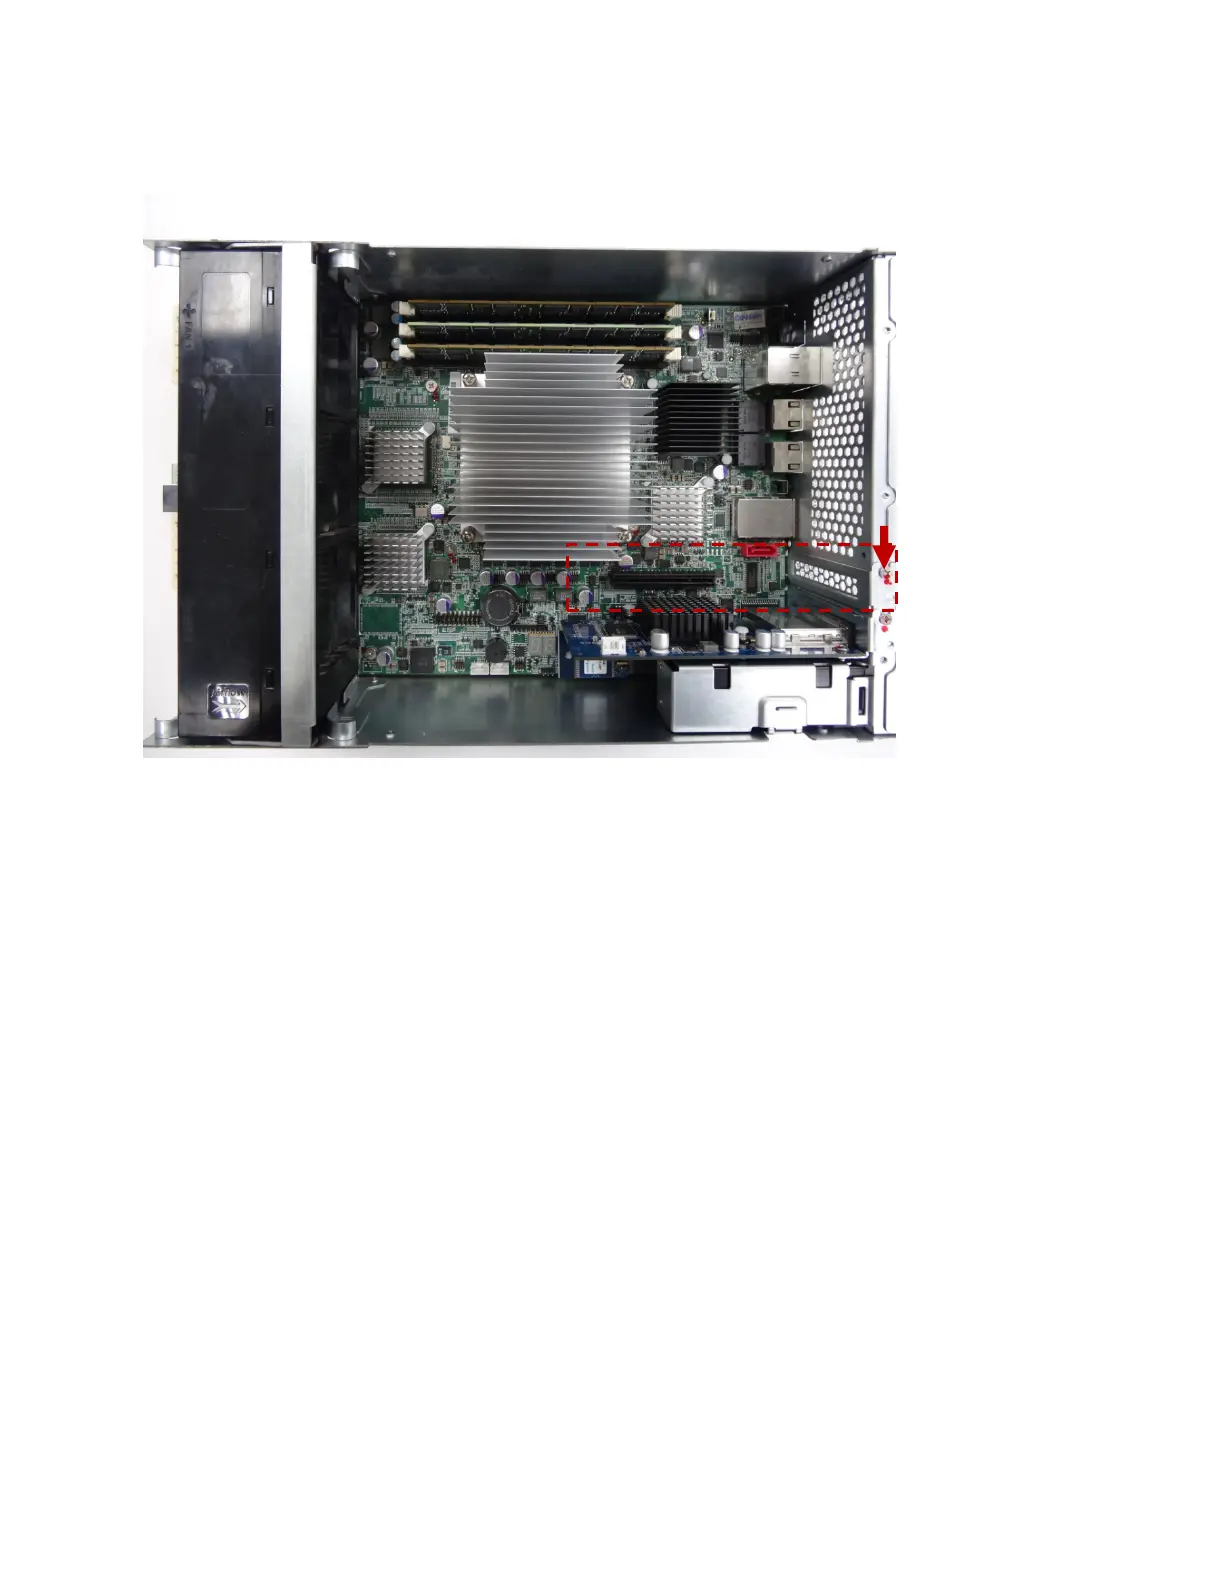
4. Remove the screw that secures the metal bracket to the chassis then remove the metal bracket.
5. Align and insert the expansion card into the PCIe slot.
6. Replace the screw of the metal bracket to secure the card to the chassis.
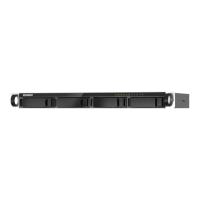
Note: When removing or inserting the Storage Controller, please use the handle of the Storage
Controller to ensure proper handling of the Storage Controller. Always lock the Storage Controller to
make sure that it is seated in place after installing it to the system.
Installing DIMMs
To install a DIMM:
1. Shutdown the respective Storage Controller on which the DIMMs are installed from QES (refer to the
High Availability app in software manual) or by pressing the power button on the Storage Controller
(Refer to Rear Panel LEDs and Buttons in Chapter 3: System Components).
2. Remove the Storage Controller from the system by loosening the thumb screws on the Storage
Controller.
 Loading...