Do you have a question about the QNAP Turbo NAS TS-219P II and is the answer not in the manual?
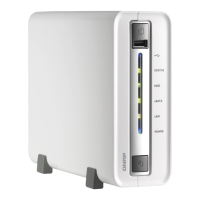
| Model | TS-219P II |
|---|---|
| Category | Storage |
| CPU Frequency | 1.6 GHz |
| Memory | 512 MB DDR3 |
| Drive Bays | 2 |
| Maximum Internal Raw Capacity | 8 TB (4TB x 2) |
| RAID Support | RAID 0, 1, JBOD |
| Hot Swappable | Yes |
| Network Interface | Gigabit Ethernet x 1 |
| Power Supply | External Power Adapter, 60W, 100-240V |
| Processor | Marvell 6282 |
| Flash Memory | 16 MB |
| Drive Compatibility | 3.5" SATA HDD, 2.5" SATA HDD |
| USB Ports | 3 x USB 2.0 |
| Power Consumption (Operation) | 17.5W |
Resets system settings to default including admin password, network configuration, and other defaults.
Resets all system settings to default, preserving data, clears users and share folders.
Steps for installing RAM modules in TS-x59 Pro II and TS-x69 series NAS models.
Instructions for RAM module installation in TS-x69U-RP/SP series NAS models.
Procedure for upgrading memory on specific high-end TS-series NAS models.
Step-by-step guide to hot-swapping a failed hard drive in RAID configurations.