Revision A—3 July 2019
© 2018 QSC, LLC. All rights reserved. QSC, and the QSC logo are registered
trademarks in the U.S. Patent and Trademark Office and other countries. #44 V.6
qsc.com
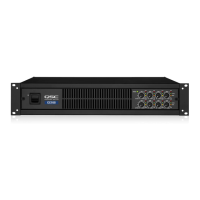
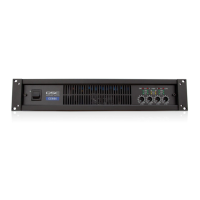
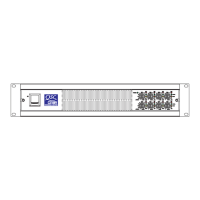
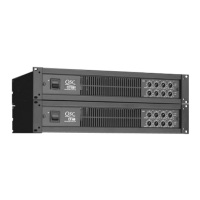
QSC Power Amplifiers Technical Notes
PLD, CXD, CXD-Q, DPA, and DPA-Q Series (4-channel models)
Procedure
1. Unplug the power cord from the amplifier and wait at least
three minutes for the internal voltages to bleed down.
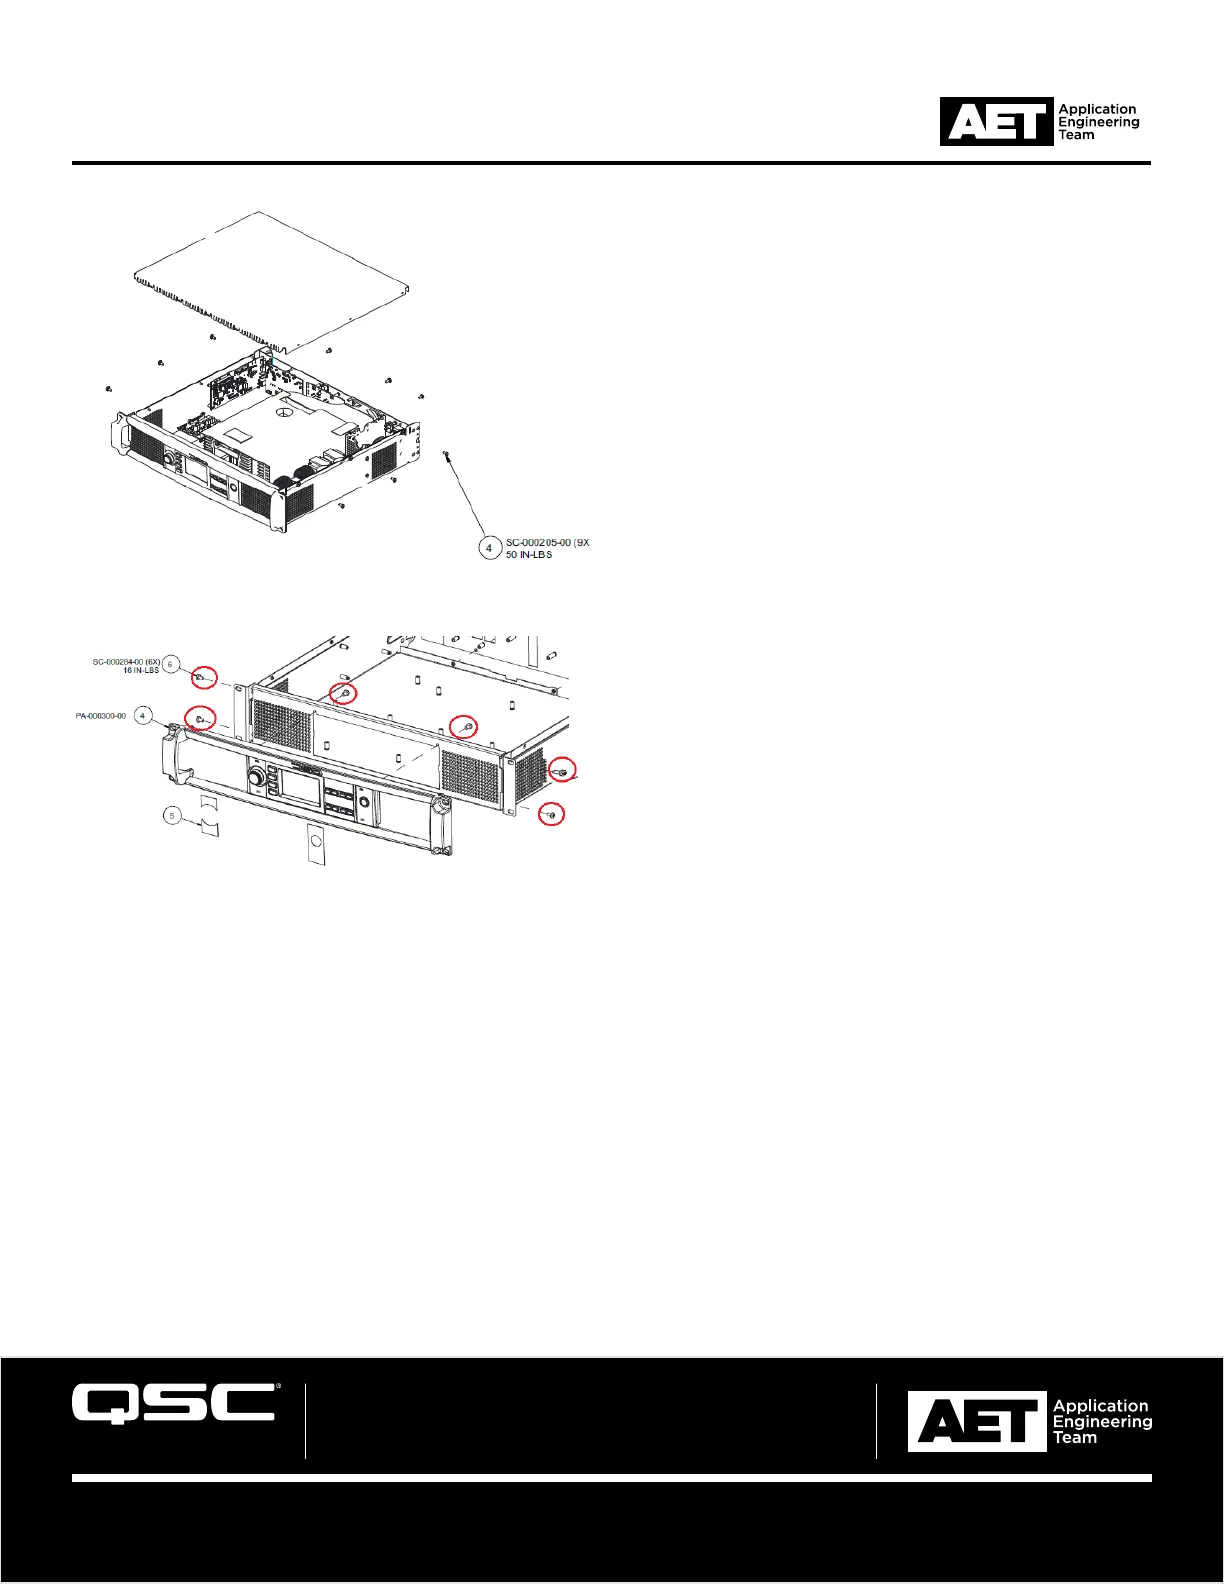
2. Set the amplifier upside-down and remove the bottom cover
(the xxx4.2 models use seven screws and the others use nine).
See Figure 1.
3. Lift the rear edge of the bottom cover up to about a 45-degree
angle and pull it out of the slots in the faceplate.
4. On either side panel of the amplifier are two screws right behind
the faceplate. Remove them. Also remove the two screws on
the inside of the front panel. See Figure 2.
5. The faceplate can now be freed from the chassis. To do
so, grasp both front ears of the faceplate and pull it straight
forward.
6. Use the knife to clear away the adhesive on the ribbon cable
header at the display module. Be careful to not damage the
ribbon cable with the knife. Unlock the latches and detach the
ribbon cable from the display module.
7. On the back of the faceplate, remove the six screws that attach
it to the display module. Remove the module.
8. Peel off the faceplate labels from the sheet and affix them (#5 in
Figure 2) to the new display module.
9. Place the new display module in the faceplate. Secure it with
the six screws. Tighten them to a torque of 0.56 N-m or 5 in-lb.
— Figure 1 —
— Figure 2 —
10. Plug the ribbon cable into the module and press it in firmly so the header latches lock. Apply a drop of RTV or silicone adhesive to each
side of the header to help prevent the plug backing out.
11. Reattach the faceplate to the chassis. Tighten the six screws to 1.8 N-m or 16 in-lb.
12. Hold the bottom cover at an angle so you can insert the hooks on the bottom cover into their slots in the faceplate. Attach the cover to
the chassis. Tighten all the screws to 5.6 N-m or 50 in-lb.
13. Check your work and make sure everything is properly reassembled. Plug in the power cord and turn the amplifier on.
14. You should feel air blowing through the faceplate slots. After the amplifier finishes booting it should display the home screen.
15. The amplifier is ready to put back in use.
If you have any questions or concerns about this procedure, please contact QSC Technical Services Group:
Telephone: 800-772-2834 (US only) or +1 714-957-7150
E-mail: tech_support@qsc.com
 Loading...