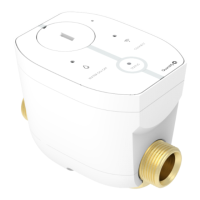
BUTTONS & INDICATIONS
1. Manual valve switch
2. Factory reset button hole
3. CONNECT LED for pairing
4. CONNECT button for pairing
5. STATUS LED
6. ON/OFF button for water
7. ON/OFF LED for water
FUNCTION CHECK
WATER SHUT-OFF CHECK
1. Press the WATER ON/OFF button. The
LED turns off when the ball valve has
completely shut off the water flow.
2. Open a tap. Check that no water
comes out of the tap.
3. Press the WATER ON/OFF button. The
LED shines white when the valve is
fully open. Check that water is now
coming out of the open tap. During
active waterflow the LED flashes
white.
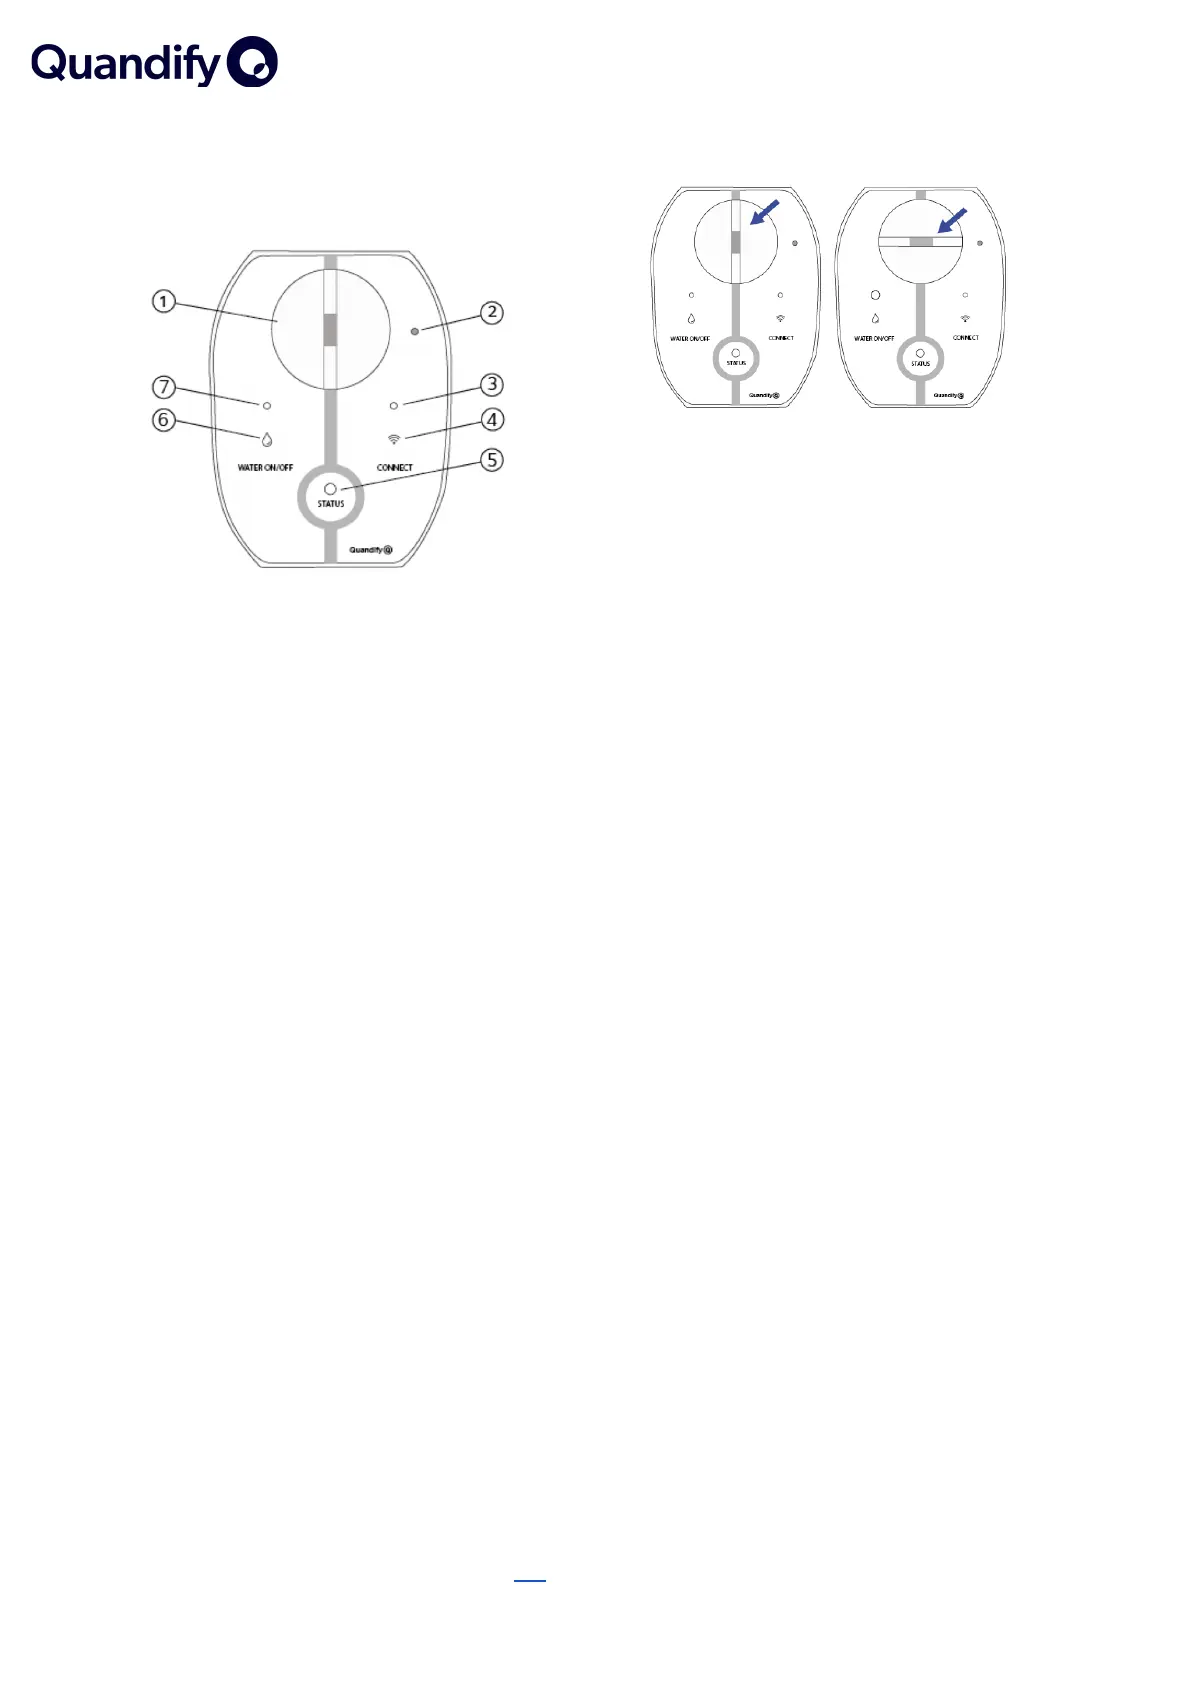
The picture on the left shows an open valve, a closed
valve is shown on the right.
MICRO-LEAKAGE DETECTION CHECK
1. Open a tap to simulate a very small
leak. A dripping stream of water will
suffice.
2. Press the WATER ON/OFF button to
close the valve.
When the valve is closed, the STATUS LED will
flash GREEN while the pressure sensor scans
for small leaks for about 45 seconds.
If the pressure sensor manages to find a leak,
the STATUS LED starts flashing YELLOW. If the
pressure sensor does not find a leak, redo the
steps with a slightly larger leak.
3. Close the tap and press the WATER
ON/ OFF button to open the valve
again.
LEAKAGE DETECTION CHECK
1. Open a tap with the valve in the open
position.
2. Leave the valve at full flow on the tap
for at least 45 minutes.
3. Check that the device emits an alarm
and switches off the flow after 45
minutes.
4. Then close the tap and reset the
device.