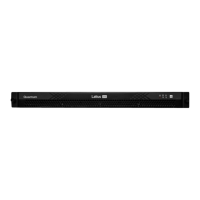
Locating Lattus Storage Nodes
Lattus Replace Decommissioned Disks 10
2. Unscrew the disk from the Lattus Storage Node and slide it out by pulling the handle towards the front
of the storage node. Do not pull upwards on the handle.
3. Remove the disk from its drive sled by unscrewing the screw holding the drive to the sled.
4. Screw the new disk into the drive sled and place it into the Lattus Storage Node.
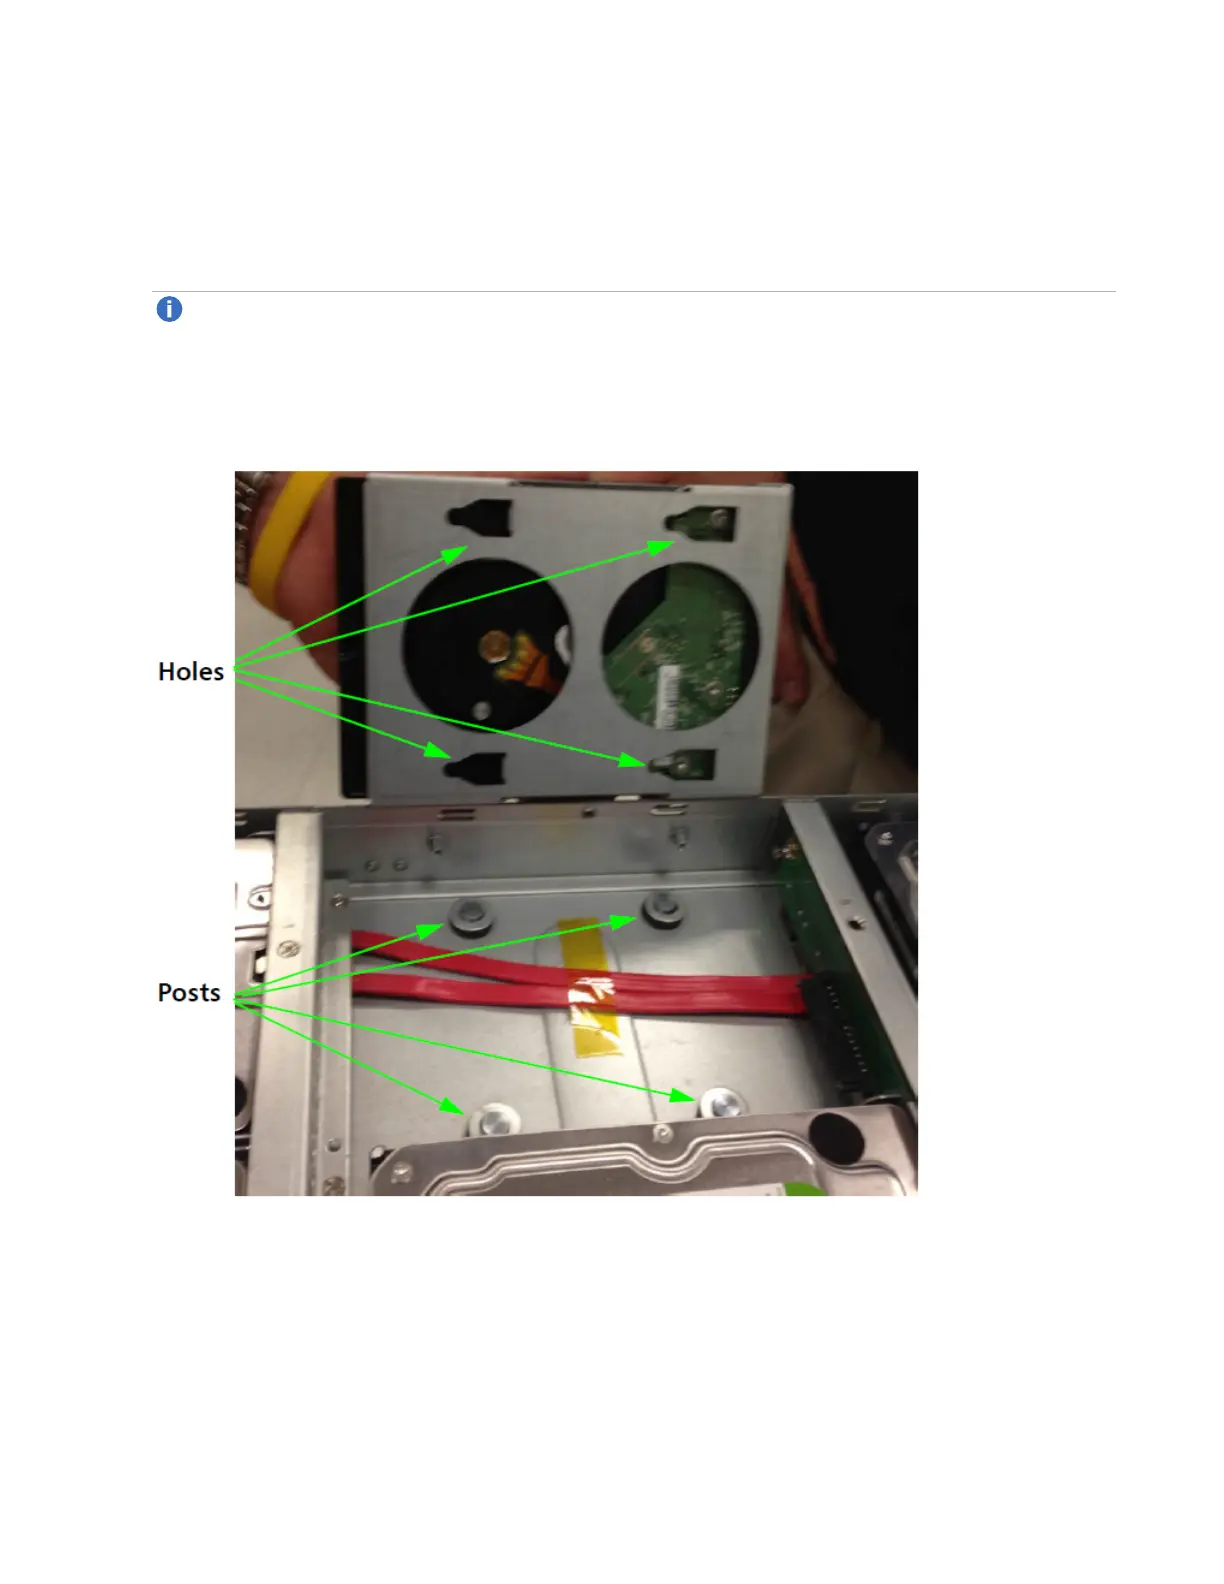
Note: There are four posts that must be inserted into the four holes on the bottom of the drive sled
when you install the drive into the storage node. The drive will not sit flush in the storage node
unless all four posts are inserted with the four holes.
The following illustration shows the four posts that must be inserted into the four holes on the bottom of
the drive sled.
5. Repeat steps 2 through 5 for each disk that must be replaced.
6. When all of the decommissioned disks have been replaced, slide the top plate back on the Lattus
Storage Node and screw it back onto the node tightly.