Do you have a question about the Quoizel NY8316P and is the answer not in the manual?
Provides essential safety advice for electrical installation and handling glass components.
Lists all components included in the package with their respective descriptions and quantities.
Attaches mounting screws, lock washers, and hex nuts to the crossbar for fixture mounting.
Secures the assembled crossbar to the electrical outlet box using provided screws.
Details the process of connecting fixture wires to supply wires using wire connectors.
Mounts the main fixture body onto the previously installed mounting screws.
Instructions for installing the recommended light bulb into the fixture socket.
Applies silicone sealer to mounting balls to prevent moisture entry into wire compartments.
Guides on applying caulk around the backplate for weatherproofing and drainage.
| Category | Outdoor Lighting |
|---|---|
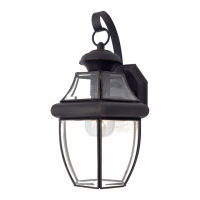
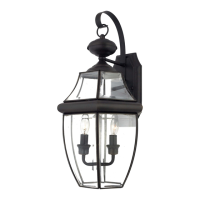
| Fixture Type | Wall Mount |
| Finish | Palladian Bronze |
| Material | Metal |
| Number of Bulbs | 1 |
| Damp Rated | Yes |
| Style | Traditional |
| Palladian Bronze | Yes |
| Bulb Quantity | 1 |
| Light Source | Incandescent |
| Polished Nickel | No |
| Voltage | 120 |
| Type | Outdoor Lighting |
| Bulb Type | Candelabra |
| Bulb Wattage | 60W |