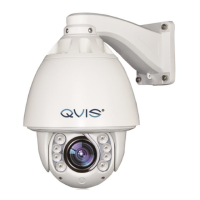
The dome supports auto scan 8 groups. Please
check the following steps to set up a scan.
1. SCAN NO.: Move the cursor here and click
IRIS + to enter the setup of SCAN Number.
Click the up or down button to select a preset
number (1-8) and click IRIS + to confirm.
2. TITLE: Move the cursor here and click IRIS
+ to enter the setup of SCAN Title. Check the
detailed above in DOME TITLE settings.
3. START: Move the cursor here and click IRIS
+ to start the current scan.
4. <LEFT LIMIT>: Move the cursor here and
click IRIS + to enter. Move the dome to a
defined position as left limit and click IRIS +
to save this left boundary.
5. <RIGHT LIMIT>: Move the cursor here and
click IRIS + to enter. Move the dome to a
defined position as right limit and click IRIS +
to save this right boundary.
6. SCAN SPEED: Move the cursor here and
click IRIS + to set up the scan speed ranging
1-30.

 Loading...