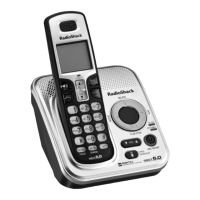
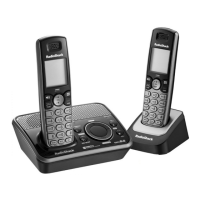
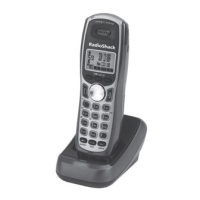
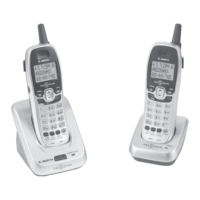
EasyManua.ls Logo

Radio Shack Presidian - 2) Installation; 2-1. Controls & Functions; 2-2. Installation

Radio Shack Presidian
16 pages
To Next Page IconTo Next Page
To Previous Page IconTo Previous Page
Loading...
3
2) Installation
2) Installation
2-1. Controls & Functions
Handset
Handset
Earpiece
LCD display
CID (Caller ID)/
MENU key
#/ key
(right cursor)
DELETE/TRANSFER
key
Handset Microphone
/MEMORY key
(phonebook/memory)
TALK/FLASH key
Twelve-key dial pad
/TONE/ key
(left cursor)
REDIAL/
PAUSE key
Handset Charging Contacts
key
(volume and
scroll up)
SELECT/
CHANNEL key
key
(volume and
scroll down)
END key
/SPEAKER key
Main Base Unit
Main Base Unit
Charging Contacts
find hs (handset)
key
CHARGE/IN USE LED
Voice mail waiting indicator
(flashing)
2-2.
2-2.
Installation
Installation
Before using your phone, carefully peel the protective fi lm off the display. The fi lm protects
the handset window during shipment and is not necessary for use.
Selecting a Location
You can place the phone’s cradles on a desk or table, or mount the base on a standard wall
plate or directly on a wall. Select a location that is:
near an accessible AC outlet
near a telephone line jack
away from electrical machinery, electrical appliances, metal walls or fi ling cabinets,
wireless intercoms, alarms, and room monitors
away from other cordless phones
»
»
»
»

Related product manuals