* After the servos are installed, operate each servo over its full travel and check that the pushrods and servo arms do
not bind or contact each other. Also make sure the controls do not require excess force to operate. If there is an
objectionable buzzing sound coming from a servo, there is probably too much resistance in the control. Find and
correct the problem. Even if there is no servo damage, excess battery drain will result.
IMPORTANT: NEVER cut the receiver antenna or mount it in the model folded back on itself. Doing so will change its
electrical length, possibly reducing the distance from the pilot that the model can be controlled (“range”).
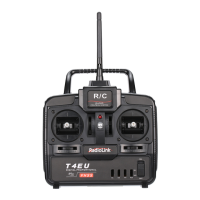
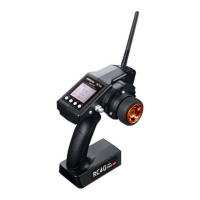
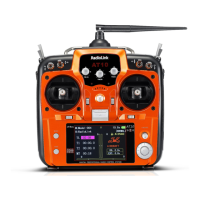
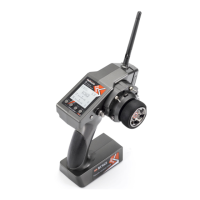
RECEIVER AND SERVO CONNECTIONS
Connect the servos to the receiver to perform the functions indicated:
Receiver
output
channel
Function
1 Aileron -or-right flaperon -or-right elevon (for tailless models)
2 Elevator -or-left ruddervator (for V-tail models) -or-left elevon (for tailless models)
3 Throttle
4 Rudder -or-right ruddervator (for V-tail models)
5 Retractable landing gear
6
Flap -or-left flaperon
The diagram shown is for aircraft models only. Additional servos may have to be purchased separately.
Aileron Servo
(Ch1)
6 Channal
Receiver
Elevator Servo
(CH2)
Throttle Servo
(Ch3)
Rudder Servo
(Ch4)
Gear Servo
(Ch5)
Flap (or 2nd
Flaperon) Servo
(Ch6)
Flaperon Mode(Dual Aileron Servos CH1&6)
Independent Aileron and Flap
5