3
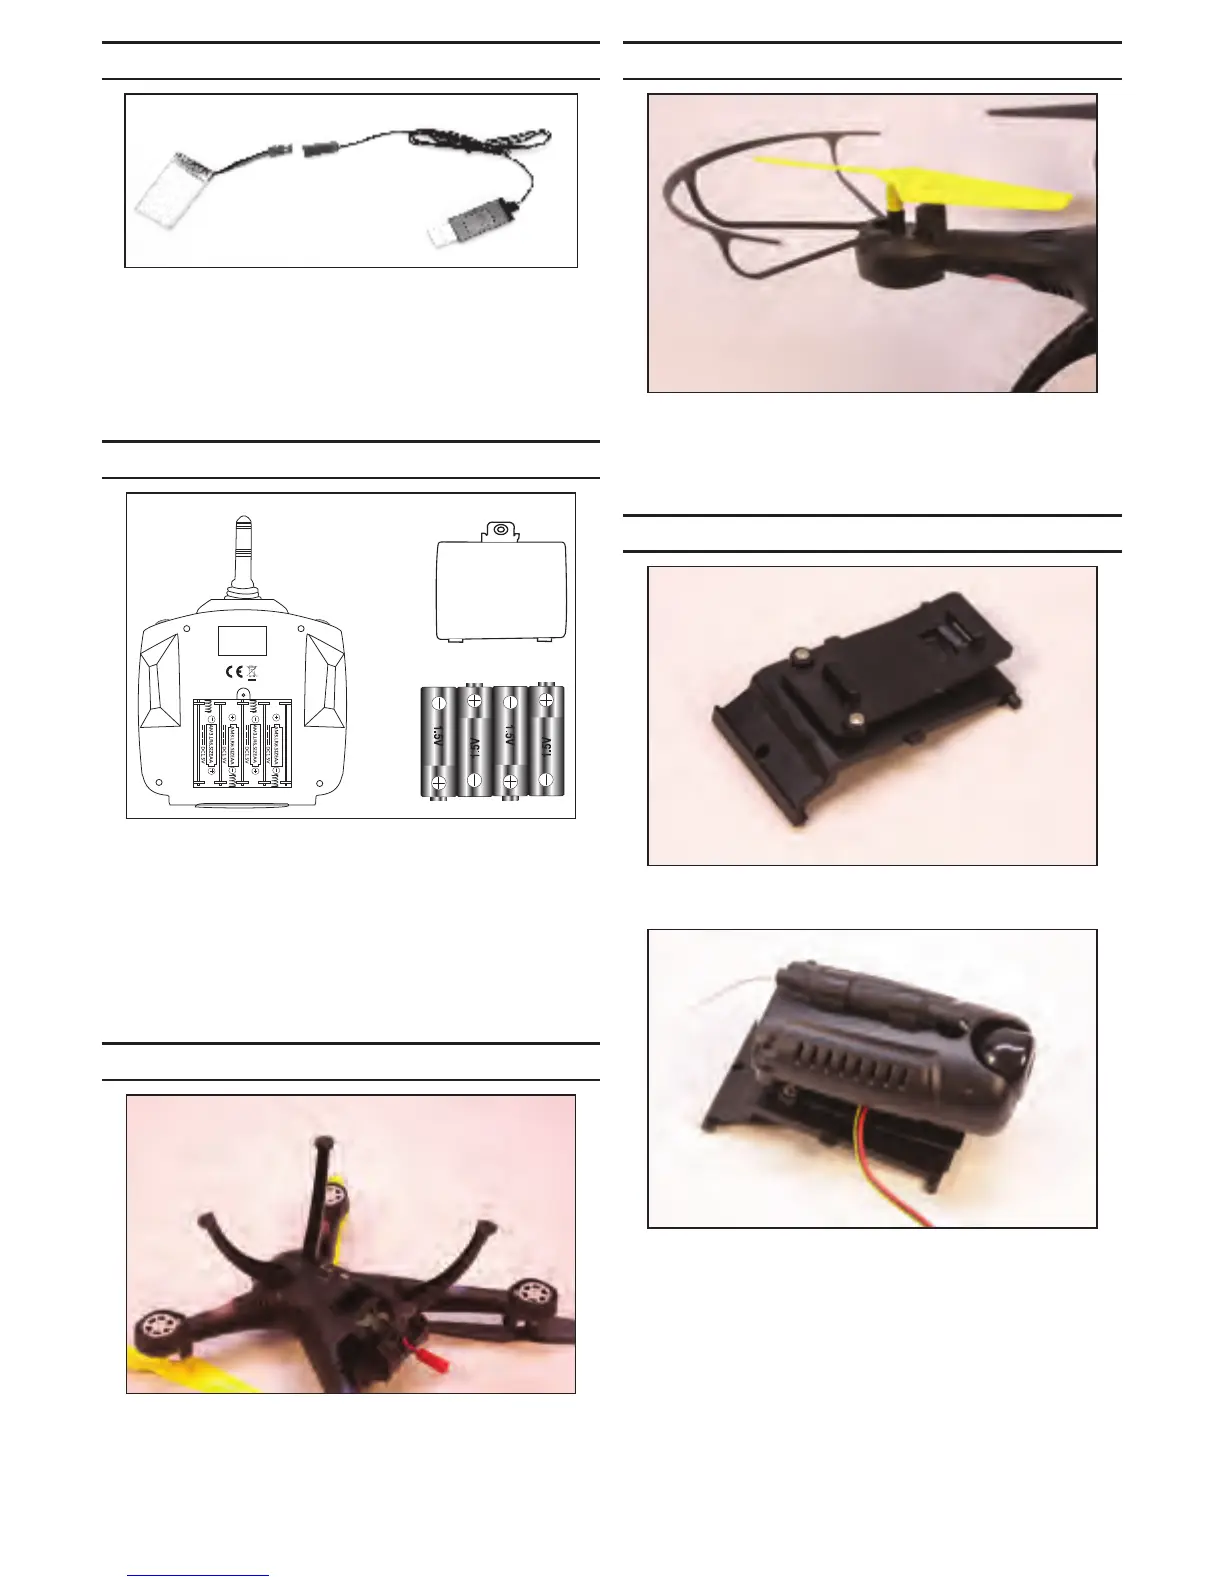
Charging the Flight Baery
Connect the USB charging adapter to a USB port on
your computer or a USB power adapter. The red LED will
illuminate.
Connect the lead from the baery to the lead from the
charging adapter.
When the red LED light is on, the baery is fully charged.
Transmier Baery Installaon
Remove the screw from the baery cover using the
supplied screwdriver. Press down on the arrow and slide
the baery cover toward the boom of the transmier
to remove.
Insert the four AA baeries. Align the + and - on the
baeries and transmier when installing the baeries.
Return the baery cover into posion. Reinstall the screw
to secure the cover.
Landing Gear Installaon
Install the main landing gear by aligning the pegs on the
gear with the holes in the boom of the drone. The gear
will angle out away from the drone when installed. The
front and rear landing gear are dierent and will only t
the proper holes in the boom of the drone.
Blade Guard Installaon
Install the blade guards by aligning the pegs on the
guards with the holes in the motor pods. Press the guards
completely down so they are resng on the pods. Failure
to do so may cause interference with the blades.
Camera Installaon
Use the supplied screwdriver to aach the camera mount
to the baery door.
The camera is then slid into posion in the slots on the
mount. Guide the camera control wire between the
camera and mount as shown to prevent tangling or
damage should your model land in tall grass.