4
Baery Installaon
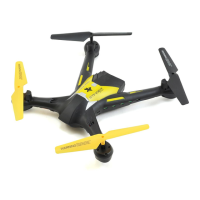
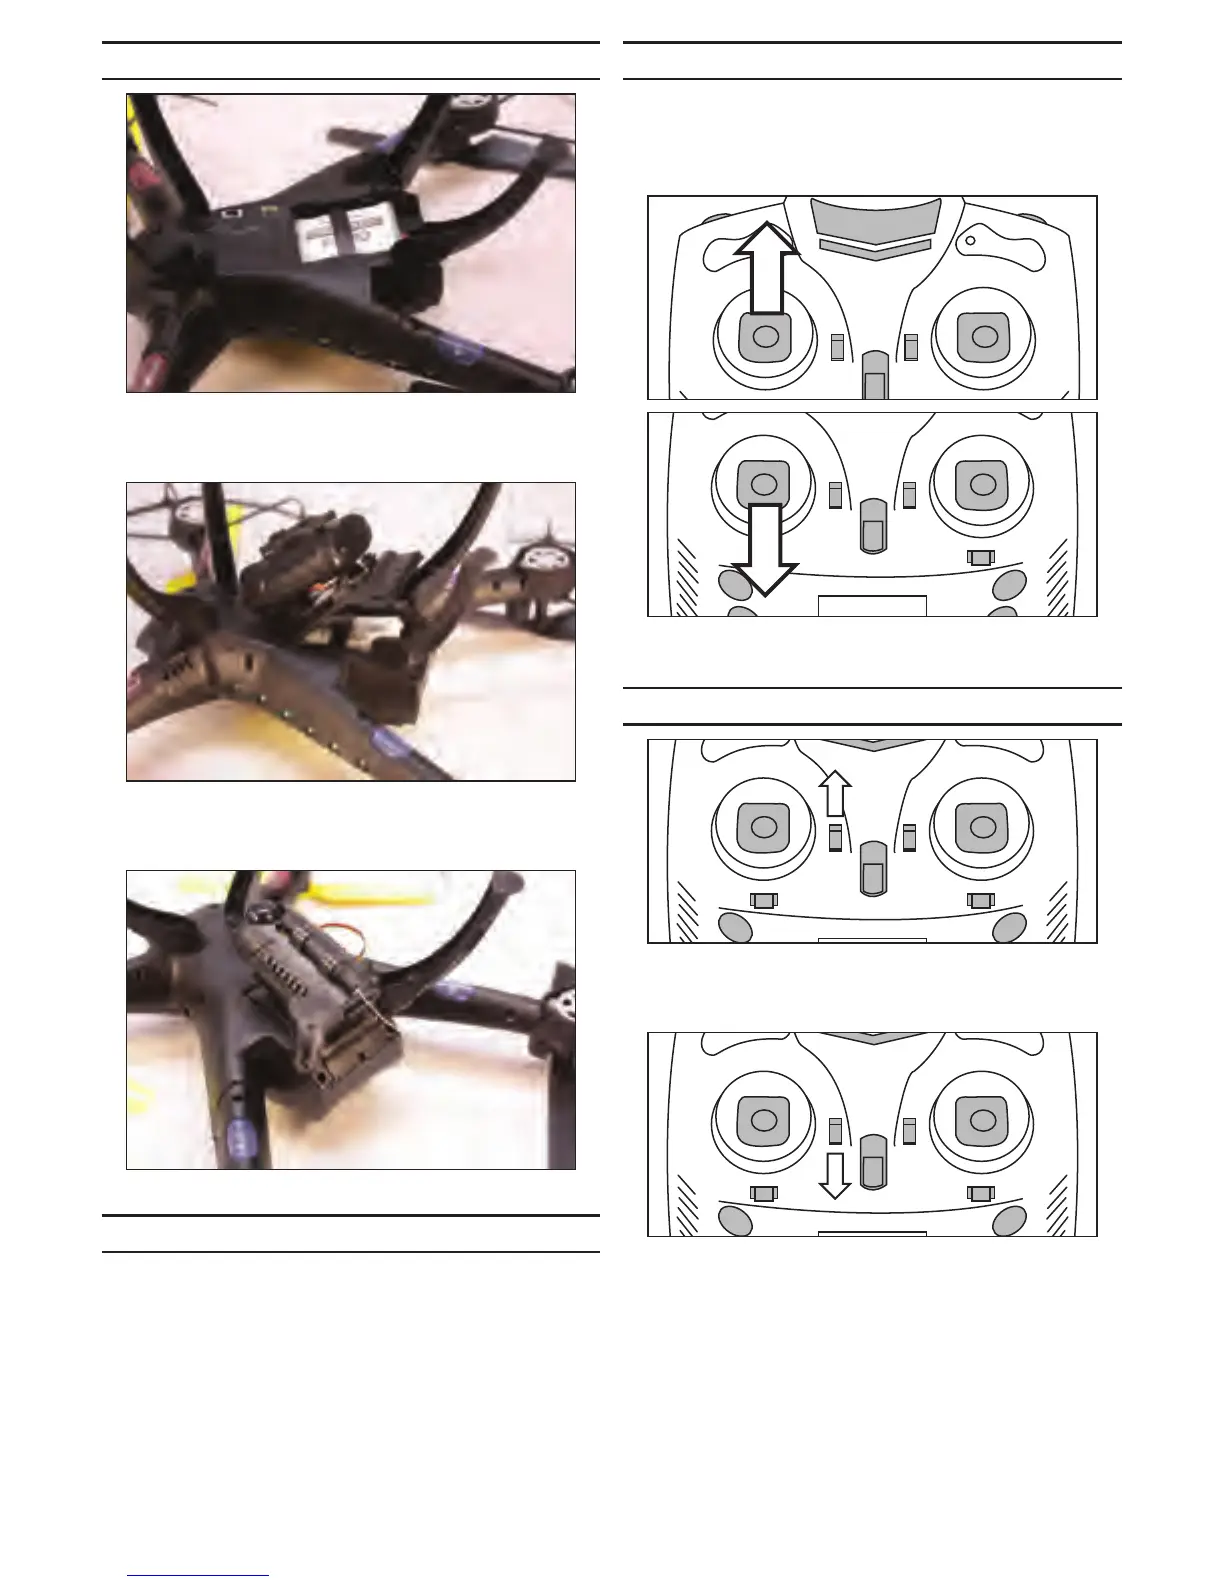
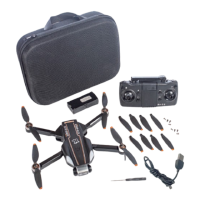
Connect the leads from the baery and the drone. Fit
the leads and connectors into the drone, then slide the
baery into posion.
Fit the baery cover tabs into the slots near the center of
the body. You will need to start at an angle and twist the
cover slightly to snap the tabs into place.
Close the baery cover by sliding it into posion.
Flight Preparaon
Rest the drone on the landing gear on a level surface.
Switch the power buon on the boom of the drone to
the ON posion. The LED lights on the drone will ash
rapidly.
Next, turn on the transmier. The LED lights on the drone
will ash slowly once the transmier and drone connect
to each other.
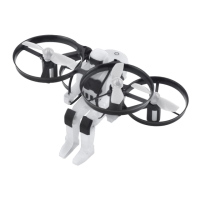
Arming for Flight
Once the drone and transmier connect you can then
arm the drone for ight. Move the le sck (throle) up
slowly unl the drone beeps. Move the sck down unl
the drone beeps again. Your drone is now ready for ight.
1
2
Once the drone has been armed, the LED lights will glow
solid indicang it is ready for takeo.
Auto Take-O and Auto Landing
Press the trim lever next to the throle sck up. The
drone will then rise to a height of roughly 3 feet (1 meter)
to begin its ight.
Pressing the trim lever next to the throle sck down will
enter landing mode. The power will quickly decrease and
stop the motors once the drone has landed safely.