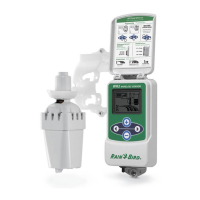
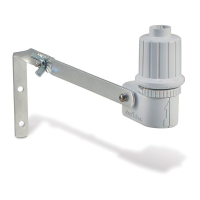
WR2-48 Wireless Sensor
6
5. The Sensor is successfully paired to
the Controller Interface when the
“Sensor Indicator / Pairing Status” icon
stops ashing. Once paired, sensor
signal strength and battery life are
communicated via the Controller Interface
icons. Additionally, a blinking light on
the bottom of the Sensor indicates signal
strength for 20 minutes immediately
following successful pairing. These “self
test” features are an indication that your
WR2 Wireless Sensor is operational.
Programming the
Set Points
The WR2 Wireless Sensor allows the
contractor to establish rainfall and
temperature set points appropriate for
local environmental and soil conditions.
Alternately, the contractor may elect to use
the “Standard Setting”: temperature 37°F
(3°C), rain fall ¼” (6mm) and “programmed
irrigation” mode. The ”Standard Setting” is
programmed at the factory and is active
after successful pairing.
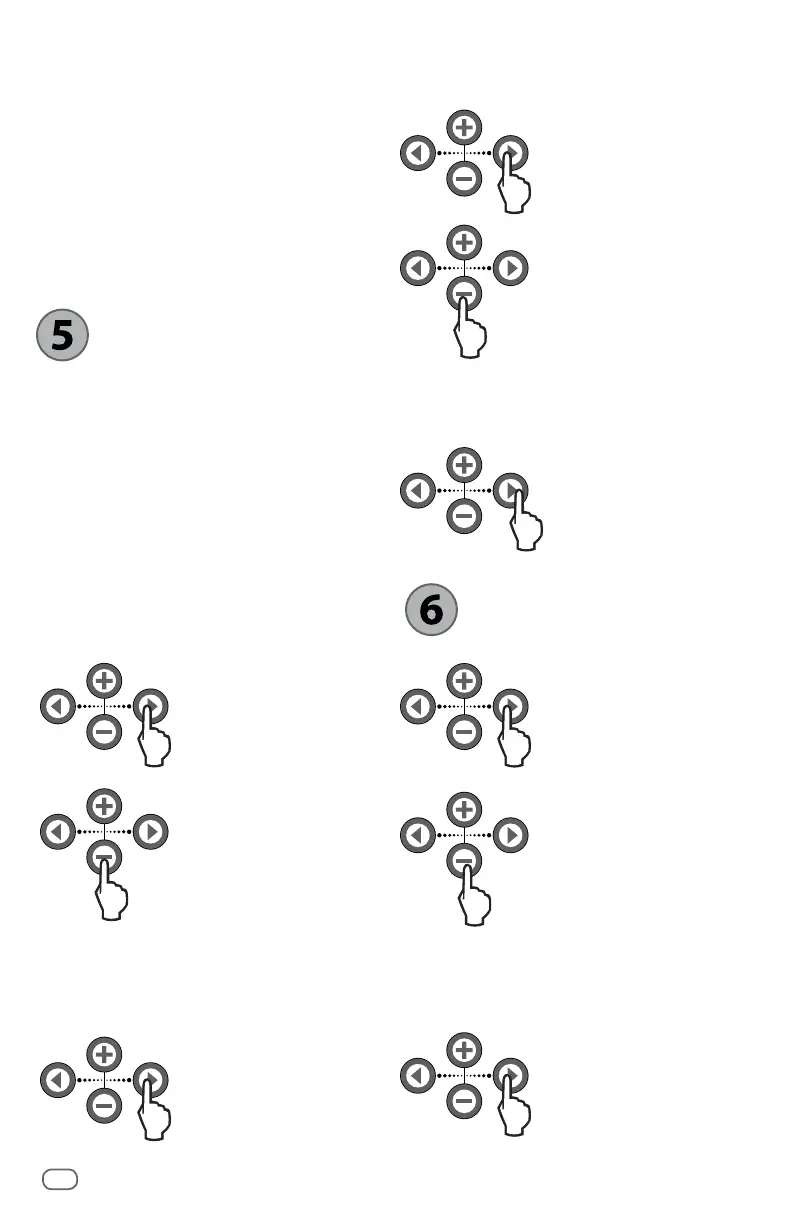
Rainfall Set Point
1. Push left or right
arrow on keypad to
navigate to the Rainfall
Indicator icon.
2. When the Rainfall
Indicator icon ashes,
press the + / – button
on the keypad to set
programming details.
Each press of the button
adjusts the set point.
Select from six (6) set
points ranging from 1/8”
(3mm) to 1/2” (13mm).
3. Press the left or right
arrow to accept
programming details
and to navigate to
next icon.
Temperature Set Point
(Rain/Freeze Sensor only)
1. Push left or right arrow
on keypad to navigate
to the Temperature
Indicator icon.
2. When the
Temperature Indicator
icon ashes, press
the + / – button on
the keypad to set
programming details.
Select one of three
temperature settings:
33°F (0.5°C), 37°F (3°C),
or 41°F (5°C).
3. Press the left or right
arrow to accept
programming details
and to navigate to
next icon.
Programming
Irrigation Modes
1. Push left or right arrow
on keypad to navigate
to the Irrigation Mode
icon.
2. When the Irrigation
Mode icon ashes,
press the + / –
button on the keypad
to set programming
details. Manually set
one of three irrigation
modes. See Irrigation
Modes.
3. Press the left or right
arrow to accept
programming details
and to navigate to
next icon.
 Loading...