12
Ordering & Tech Support: 877-272-6747 www.RainbowEcoscience.com
Troubleshooting
SYMPTOM POSSIBLE PROBLEM SOLUTION
Air bubbles in the
system
Reservoir not attached correctly or is
empty
Detach and re-attach reservoir.
Tubing not inserted properly Push tubing into fitting until you hear a click.
Seals are worn out or need lubrication
Performance may be improved temporarily
with lubrication. O-rings should ultimately be
replaced. Send in for repairs.
Tubing may have been cut incorrectly
Re-cut end to ensure straight edge, or
replace tubing segment.
Kinked or blocked tubes
Inspect the tubing to ensure that the lines
are free of kinks or debris.
Didn't prime the product through device
Set device to prime mode and use priming
port to run product through the lines until air
bubbles have cleared.
Device is placed with reservoir downhill
on slope
Situate device so that reservoir is on uphill
side of slope when working on uneven
surfaces.
Quantum Repair Instructions
1.
2.
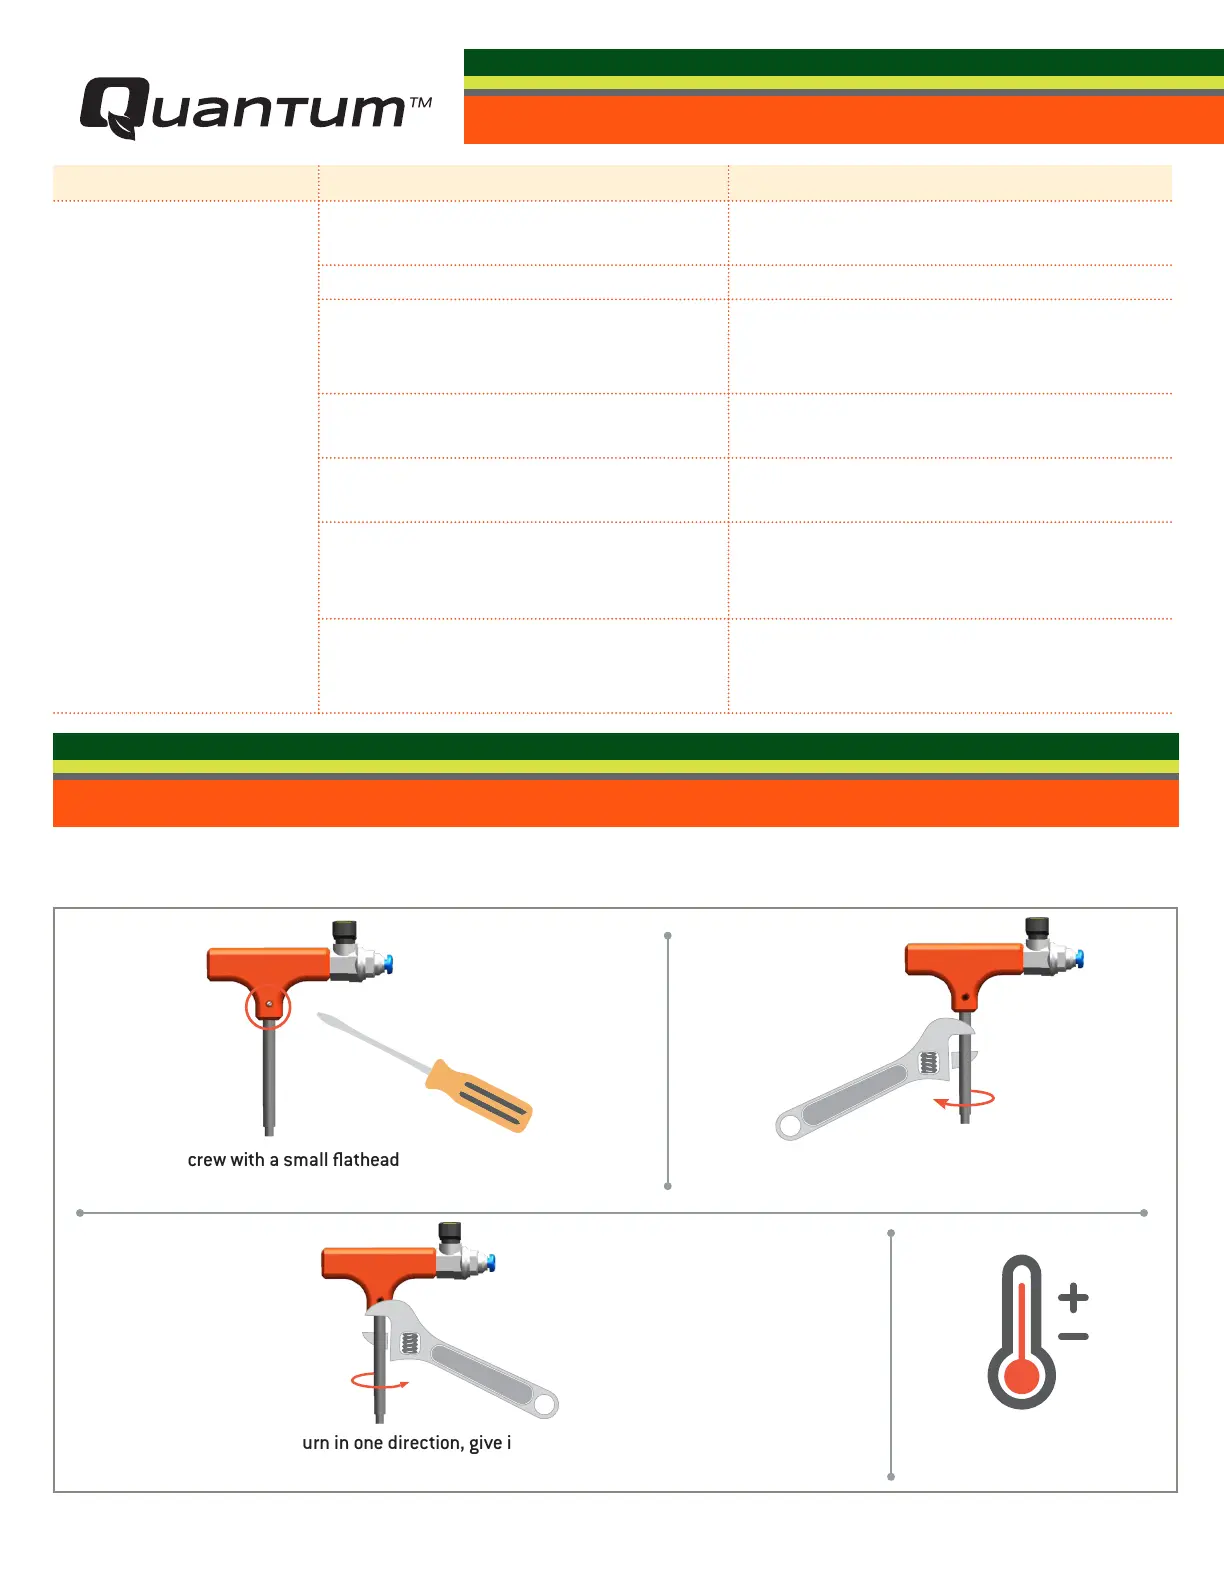
Replacing Set Screws/Tightening Injector Tee Tips
Loosen set screw with a small flathead screwdriver. If screw is
3.
Use a wrench to tighten the tip (turn tip in clockwise
direction).
4.
If a threaded part will not turn in one direction, give it a slight turn in the opposite
direction to loosen up the seal. *Avoid over-tightening and stripping of the set screw.
Place in a controlled
indoor enviroment.